So, you’re thinking about creating a Slinky Dog costume, huh? That’s a fun choice, and it can be surprisingly simple if you break it down. Imagine strutting around in a fluffy tail, floppy ears, and maybe even a cozy body suit. I’ll admit, my first attempted costume looked more like a furry potato than a beloved character, but hey, that’s part of the fun, right? Stick around for some crafty ideas and tips that’ll keep your creativity wagging.
Slinky Dog Color Palette
When you’re diving into the world of DIY costumes, one of the first things you’ll want to nail down is the color palette for your Slinky Dog.
Think about those classic shades: deep browns for his body, a warm tan for his floppy ears, and bright yellow or gold accents. You know, the colors that scream “Slinky!”?
Grab some fabric swatches or paint samples, and lay them out—this’ll help you visualize.
Imagine strolling into a party, and people can’t help but say, “Wow, look at that Slinky Dog costume DIY!”
Choosing the right colors not only ties your look together but also adds character.
Don’t stress if it’s not perfect; it’s all about having fun and releasing your inner artist.
Our Collection
When you’re putting together your Slinky Dog costume, our collection has everything you need to nail that look.
From the floppy Slinky Dog ears headband to the bouncy tail accessory, your costume will be a hit at any gathering.
And let’s not forget those paws gloves and nose mask—they’ll complete your transformation into everyone’s favorite toy dog.
1. Slinky Dog Tail Accessory
If you’re gearing up for a fun Slinky Dog costume, you absolutely can’t skip the tail accessory! Not only does it complete the look, but it’s also an easy DIY project that offers a couple of wins for dog owners — it saves money and gives your pooch a comfy but fun accessory. Plus, it’s a project that’s sure to bring a smile to everyone’s face at your next costume party. If you have a dog with premium dog food allergies, choosing the right materials will ensure that your pup stays comfortable during wear.
Materials Needed:
- Lightweight brown fabric (like felt or cotton)
- A pair of scissors
- A sewing needle and thread (or fabric glue for a no-sew option)
- Stuffing material (like cotton batting or old fabric scraps)
- Elastic band or a hair tie
- Black fabric or felt (for the tail tip)
- Optional: a sewing machine (for quicker stitching)
Step-by-Step Instructions:
- Cut the Fabric: Start by cutting a long rectangle from the brown fabric, about 4 inches wide and 24 inches long. This will form the main part of the tail.
- Create a Tube: Fold the rectangle in half lengthwise with the inside facing outward. Sew or glue along the long edge, leaving one end open. If you’re using a sewing machine, you can settle into that soothing rhythm while you stitch away.
- Turn it Inside Out: Gently turn the tube inside out through the open end. This helps to hide the seams and makes your tail look neat and polished.
- Stuff the Tail: Now, take your stuffing material and fill the tube until it’s puffy but not too stuffed—it should retain a bit of pliability. Think of it like filling a danish pastry…you want just the right amount.
- Close the End: Once stuffed, sew or glue the open end shut. If sewing makes you nervous, take a deep breath—it’s all about practicing those skills and honestly, sewing lines don’t need to be perfect.
- Add the Tail Tip: Cut a small piece of black fabric (about 3 inches) in a circle or oval shape. Attach this to the end of the tail for the iconic Slinky Dog look. You can either sew it on or use fabric glue to keep it simple.
- Secure to Your Pup: Finally, loop the elastic band or hair tie around the base of the tail. This will allow you to simply attach it around your dog’s hindquarters and keep the tail safely in place.
Optional Add-ons/Variations:
- Add Some Color: Want a sassy twist? Use colorful felt instead of plain brown. Get creative! You could even incorporate patterns like stripes or polka dots for a unique flair.
- Accessorize for the Season: Why not decorate your tail for different holidays? Think tiny bows for birthdays or little pumpkins for Halloween. Your furry friend will be the talk of the town.
Pro Tip:
To guarantee your pup’s comfort, always check for any loose threads or parts that could snag during playtime. Additionally, choose a stuffing material that’s lightweight so it doesn’t weigh down their wag. And hey, if it accidentally becomes a chew toy? You’ve just made a new dog favorite, right?
2. Slinky Dog Ears Headband

Adding a headband with Slinky Dog ears is the icing on the costume cake. It’s not only a delightful DIY project, but it’s also a charming way to express your love for Slinky Dog—plus, it’s a great solution for dog owners looking to save a few bucks or create a whimsical accessory that can be used again for future dress-up occasions. In addition, it’s important to consider using a dog diaper female in heat if your furry friend is prone to any accidents during the festivities.
Let’s explore this fun project; your furry friend will be proud to sport these ears.
Materials Needed:
- Brown felt fabric
- Black felt or fabric scraps
- A plastic headband (the kind you can find at any craft store or in your closet)
- Scissors
- Hot glue gun (or fabric glue as a no-sew option)
- A pencil or fabric marker
- Optional: Wire (for sturdier ears)
Step-by-Step Instructions:
1. Cut Out the Ear Shapes****: Begin by cutting two large ear shapes from the brown felt. Each ear should be about 8 inches long and 5 inches wide. This will let them flop adorably, mimicking the playful vibe of Slinky Dog.
2. Add the Inner Ear Detail**: Now, grab that black felt. Cut out** two smaller inner ear shapes, around 4 inches long and 3 inches wide. You’ll glue these onto the brown shapes for that classic look. It’s like giving your ears a cozy little blanket.
3. Glue the Pieces Together: Take the black ear pieces and glue them onto the center of the brown ear shapes. Once they’re securely stuck, let your creative juices flow—trim them to add some character while ensuring they maintain their ear-like shape.
4. Attach Ears to the Headband: Take your glue gun and attach each ear to the headband. If you’re using wire for added support, cut two pieces of wire to match the height of the ears, then wrap it securely around the bottom of each ear before gluing to the headband. This makes your Slinky Dog ears a tad sturdier.
Just be careful with that wire—it’s tricky and can poke.
5. Secure Everything: Press and hold the ears against the headband for a few seconds until the glue sets. You want to make sure they stand tall and proud, so that much like Slinky Dog, they’ve got a bit of bounce in their step.
6. Final Touches: Once everything has dried, take a moment to inspect your work. If you feel fancy, you can add some embellishments like ribbons or subtle glitter around the edges of the ears for a snazzy finish. Adding some flair never hurt anybody, right?
Optional Add-ons/Variations:
- Mix and Match Fabrics: If you’re feeling adventurous, why not use different textures? Soft faux fur or shiny satin could make those ears really pop. Plus, you can go wild with colors—think vibrant hues or patterns. A polka-dot twist might be your ticket to a unique look.
- Light-Up Option: For a magical touch, incorporate some battery-operated LED strips inside the ear edges. An enchanting glow is sure to be a hit at any costume party. Just make sure the lights are securely placed so they don’t hang out too much, it’s not a ‘spooky’ costume after all.
Pro Tip:
When applying glue, remember to work in small sections to avoid a glue disaster. Those hot glue burns are no joke.
But if you happen to make a mess (I mean who hasn’t?), don’t fret—let it cool, peel off, and try again. And always double-check that there’s no glue on the headband’s inside before wearing it; nobody wants to get stuck in a sticky situation, right?
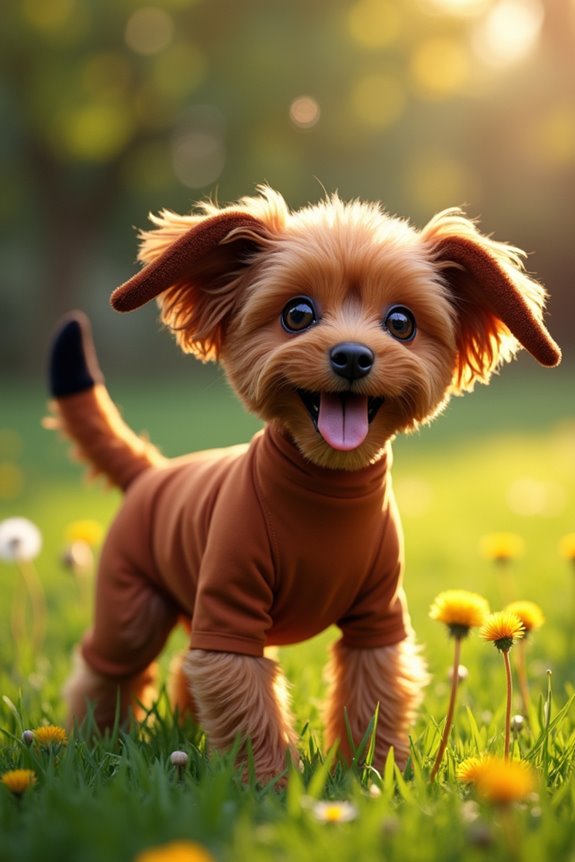
3. Slinky Dog Body Suit

If you’re dreaming of transforming yourself or your little furry friend into Slinky Dog, a DIY body suit is where the magic happens. Not only does this playful project step up the cuteness factor for any dress-up occasion, but it also saves you from forking over big bucks for store-bought costumes. Be sure to check out our luxury dog collar kit to complete the look for your pup!
Just imagine how cozy and comfortable it’ll feel, all while showcasing your nifty crafting skills. Ready to plunge in? Let’s get started!
Materials Needed:
- Brown fleece fabric (for comfort)
- Black felt or fabric scraps (for accents)
- Scissors or a rotary cutter
- A sewing machine (or needle and thread for hand-sewing)
- Measuring tape
- Crafting pins
- Optional: Fabric paint (for fun designs)
Step-by-Step Instructions:
1. Take Your Measurements: Measure your torso length from shoulders to waist, and the circumference around your chest and hips. It’s kind of like measuring for a new pair of shoes, but let’s be honest, a body suit is way cooler.
2. Cut Out the Body Suit Fabric: Using your measurements, cut out two mirrored pieces of brown fleece that mirror your torso length and width. Think of it like crafting a gigantic cozy blanket that just happens to be body-shaped.
3. Sew the Sides Together: With right sides facing each other, pin the edges of your fabric together along the sides. Sew a straight stitch from the bottom of your fabric to the armhole (if included) to create what’ll look like a giant Slinky Dog’s body.
Channel your inner designer here—this is your moment.
4. Create Arm and Leg Openings: At the top of your fabric, leave ample space for your head to fit through. You can trim away some fabric later if needed, but it’s better to start a little more generous.
For arm and leg holes, just cut out circular openings about 5 inches in diameter for comfort.
5. Add the Details: Time to jazz up your Slinky Dog body suit. From those black felt scraps, cut out a tail and some spots to give it character. Attach these pieces with your sewing machine or some fabric glue if you’re feeling rebellious.
6. Put It On: Once you’ve nailed down the details, wiggle into your masterpiece. It’s the moment of truth—do you feel like a beloved Pixar character?
If it’s a tad snug, no worries. Just fold the edges inward at the openings to give it a neater finish.
Optional Add-ons/Variations:
- Color It Up: If brown isn’t your jam, try using a different color fleece that reflects your personality—maybe a vibrant orange or even patterns like polka dots.
- Dazzling Designs: Get crafty with fabric paint! Add stripes, swirls, or even your pup’s name to that suit and let it stand out at every party.
Pro Tip:
Be sure to pre-wash your fabric before you start. It’s a real bummer when your costume shrinks after the first wash.
Plus, washing helps to avoid any potential funky smells—yikes!
4. Slinky Dog Paws Gloves
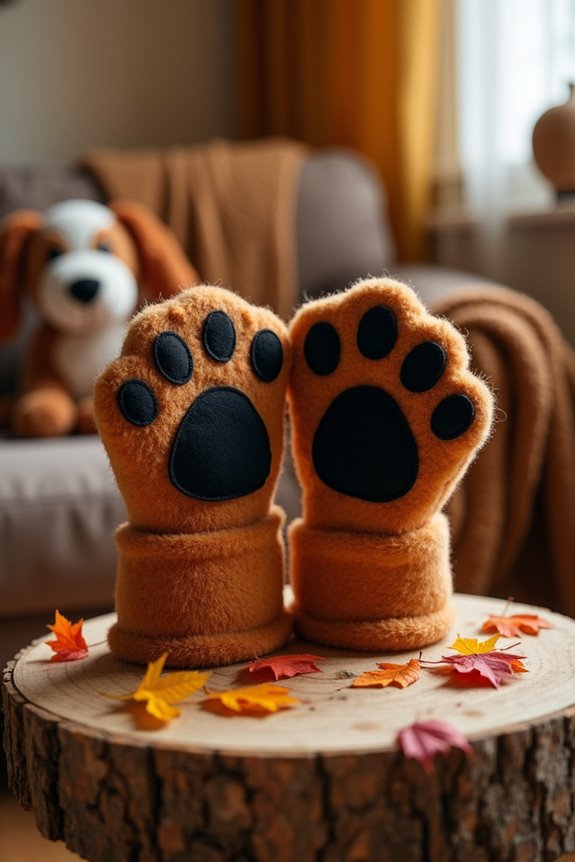
If you’re already on the path to creating the ultimate Slinky Dog costume, why stop there? Completing the look with a set of Slinky Dog paws gloves will tie it all together, adding that extra touch of authenticity. Not to mention, these gloves also keep your hands cozy during chilly trick-or-treating or costume parties. So, let’s roll up those sleeves and plunge into this fur-tastic project! Plus, making these gloves can enhance your overall costume aesthetic and ensure you’re as stylish as your premium bernedoodle feeding station looks next to you!
Materials Needed:
- Brown fleece fabric (for a fluffy look)
- Black felt (for paw pads)
- Scissors
- Sewing machine or needle and thread (whichever you’re more comfortable with)
- Measuring tape
- Crafting pins
- Optional: Elastic bands (for better fit around your wrists)
Step-by-Step Instructions:
- Measure Your Hands: Start by measuring the width of your palm and the length from your wrist to your fingertips. It’s super important to get these right because we don’t want oversized paws, do we?
- Cut Out Fabric Pieces: From the brown fleece, cut four pieces in the shape of paw gloves. Aim for an elongated shape that’s wider at the palm and tapers off at the fingers. Don’t stress about perfection—after all, Slinky Dog isn’t worried about hand model status.
- Sew the Gloves Together: With the right sides facing, pin two pieces together for each hand and sew along the sides and top, leaving the bottom open for your wrist and fingers. You’re basically crafting a cozy little pocket for your hands—who wouldn’t want that?
- Create Finger Openings: At the top of the glove, cut small openings for your fingers. Make sure they’re spacious enough for your fingers to get in and out easily. This part can be tricky, so take your time. Besides, who doesn’t enjoy a little precision work occasionally?
- Add Paw Pads: Cut out small paw pad shapes from the black felt and sew (or glue) them onto the fingertips of the gloves. These can be any size or shape you want—think of it as your chance to harness your inner artist. Want to make those pads heart-shaped? Go for it!
- Finish the Edges (Optional): For a snugger fit, you can attach elastic bands at the wrist opening, creating a better seal. Just remember not to make them too tight. We want comfort, not a fashion crisis!
- Put Them On and Strut: Once everything is sewn up and you’ve added those cute paw pads, slip your new gloves on. Looks pawsitively adorable, right? You’re ready to complete your Slinky Dog look!
Optional Add-ons/Variations:
- Festive Colors: If the traditional brown isn’t your style, consider using a fun pattern or color that matches the rest of your costume or adds a splash of personality. Maybe go for a sparkly fabric – because why not?
- Add Accessories: Embellishing your gloves with little detachable accessories, like mini collars or bows, can make them even more lovable. Just imagine the delightful conversations you’ll spark at the next costume event.
Pro Tip:
Before plunging into the sewing process, do a little test run with fabric scraps to nail down your glove design and fit. This will save you fabric and help you avoid any last-minute surprises. Plus, it’s kind of fun to play around—who knows, you might end up designing the next big fashion trend in dog accessories.
With your Slinky Dog paws gloves complete, you’re one step closer to becoming the most adorable (and stylish) dog on the block. Now get out there and show off those fabulous paw gloves! Your costume is already barking with potential.
5. Slinky Dog Nose Mask
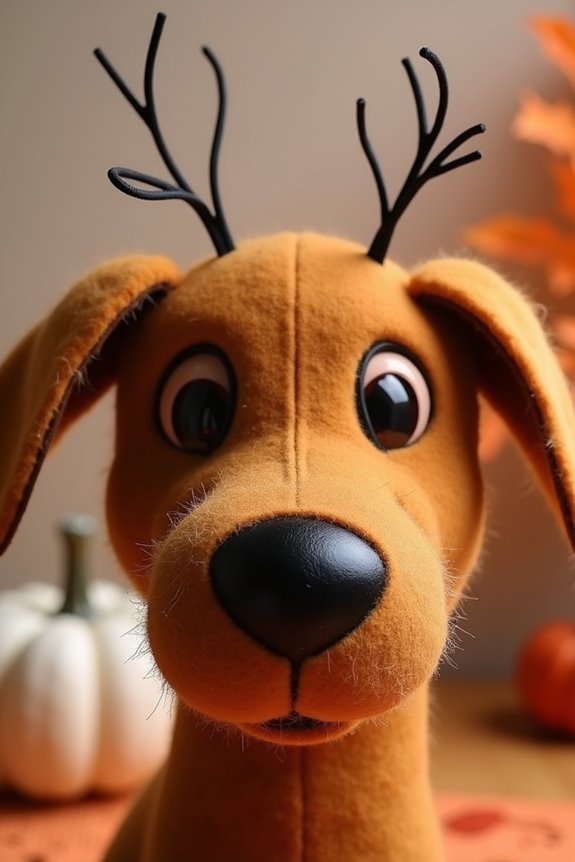
If you’ve mastered the art of Slinky Dog paws, why not take it a step further with a Slinky Dog nose mask? This DIY project isn’t only a fun way to complete your costume but also adds an extra layer of playfulness for dog lovers. Plus, who wouldn’t want an adorable, soft nose that channels all the charms of our favorite toy dog? Let’s get crafting! Additionally, you can reward your furry friend with a luxury treat dispenser while you show off your costume; luxury dog treat dispenser can enhance your pet’s experience during Halloween festivities.
Materials Needed:
- Brown felt fabric (for a soft and furry nose)
- Black felt (for the nostrils)
- Scissors
- Glue gun or fabric glue
- Elastic string or headband (to secure the mask)
- Measuring tape
- Crafting pins
Step-by-Step Instructions:
- Measure Your Face: Start by measuring the width of your nose and the distance from your nose to your ears. This helps ascertain your mask fits comfortably and doesn’t resemble a bizarrely oversized nose.
- Cut the Nose Shape: Cut out a large oval (think of it as a cartoonish version of your own nose) from the brown felt. This will be the main body of your mask. Don’t stress about getting it perfect—charm is all in the details, right?
- Add the Nostrils: From the black felt, cut out two small oval shapes to create the nostrils. Glue these onto the brown felt nose in a way that reflects your own nose—just be sure not to overthink this. We all have our quirks.
- Attach the Elastic: Cut a piece of elastic string long enough to go around your head comfortably. Using glue, attach each end of the elastic to the sides of the brown felt nose. This will help keep your nose snug while you’re out and about. Make certain the elastic isn’t too tight; we don’t want anyone fainting from a nasally mishap.
- Let it Dry: Allow your glue to dry completely before trying on your new Slinky Dog nose mask. Patience, my friend; good things come to those who wait.
- Try it On: Once it’s set, slip it on and admire your work in the mirror. How cute does it look? It might even inspire some dog-like behavior. Beware of barking—it’s contagious.
Optional Add-ons/Variations:
- Different Colors: Feeling adventurous? Try using a mix of fleece colors for your nose mask, perhaps a lighter shade of brown or even a playful pattern! Stripes, polka dots, the choice is yours.
- Add Whiskers: Use some thin black craft wire to add whiskers to your mask. Just cut them to your desired length and glue them in place for that extra touch.
Pro Tip:
When gluing, always verify your workspace is protected with newspapers or an old cloth—you don’t want to end up with a permanent nose print on your table or a gluey mess.
And remember, using a low-temperature glue gun can help prevent any accidental burns when you’re comfortably crafting away.
Now, you’re all set to look pawsitively adorable. Time to blend in with your Slinky Dog costume and steal the show at any event!
6. Slinky Dog Collar Accessory
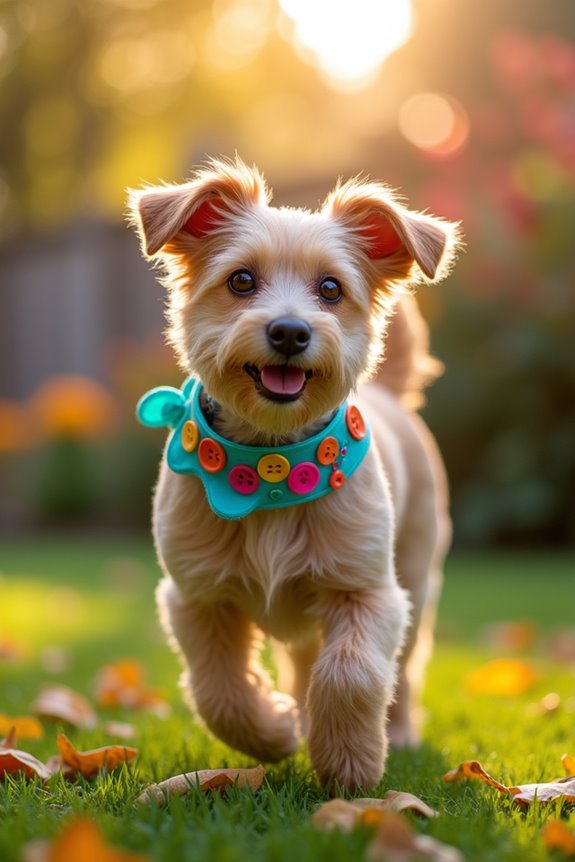
Every Slinky Dog needs a stylish collar, don’t you think? This DIY project is an easy and fun way to add a cheeky touch to your furry friend’s wardrobe while letting their personality shine through. Plus, making your own collar accessory can save you money while ensuring it’s perfectly tailored for your pup’s size and style.
Materials Needed:
- Colorful felt fabric (choose shades that match your Slinky Dog costume!)
- Scissors
- Ribbon or twine (for attaching)
- Glue gun or fabric glue
- Decorative buttons or beads (for added flair)
- Measuring tape
- Elastic or sturdy string (optional, for secure attachment)
Step-by-Step Instructions:
- Measure Your Dog’s Neck: Use a measuring tape to determine the girth of your dog’s neck. This will help you create a comfortable collar that isn’t too tight or too loose. Remember, we’re going for style, not a chokehold—yikes!
- Cut the Felt: From the felt, cut a long strip that’s about 2 inches wide and long enough to fit comfortably around your dog’s neck. You can adjust the length depending on how loose or snug you want it to fit.
- Decorate: Now the fun part—decorating! Use glue to attach the buttons or beads along the felt strip in a pattern you love. Go wild with colors and shapes; think of it as a mini art project. Who said collars have to be boring?
- Create the Closure: For a simple closure, cut two small pieces of ribbon or twine. Glue one end of each ribbon to either side of the felt strip—this way, you can tie it around your dog’s neck. If you prefer something more secure, use elastic or sturdy string for an adjustable fit.
- Let it Dry: Allow your collar accessory to dry completely before putting it on your dog. You wouldn’t want to irritate your pet because you were too hasty. Let’s be kind to our furry friends.
- Try it On: Voila! Slip it onto your dog and watch them strut their stuff. If your pup looks like they’ve just stepped off a runway, you might want to grab your phone for a quick photo op.
Optional Add-ons/Variations:
- Personalized Tags: Consider adding a name tag with your dog’s name or a fun phrase. You can simply cut out small felt shapes and write with a fabric marker—easy peasy!
- Seasonal Themes: Change the colors and decorations depending on the season or holidays—how about red and green for Christmas, or pastels for spring?
Pro Tip:
When cutting the felt, go for a slightly larger size initially; you can always trim it down for a perfect fit. It’s way better than making it too small and realizing you’ve just crafted a fancy dog bracelet instead of a collar. Who knew designing accessories for our four-legged companions could be so tricky? Just remember, they’re judging us more than we’d like to admit.
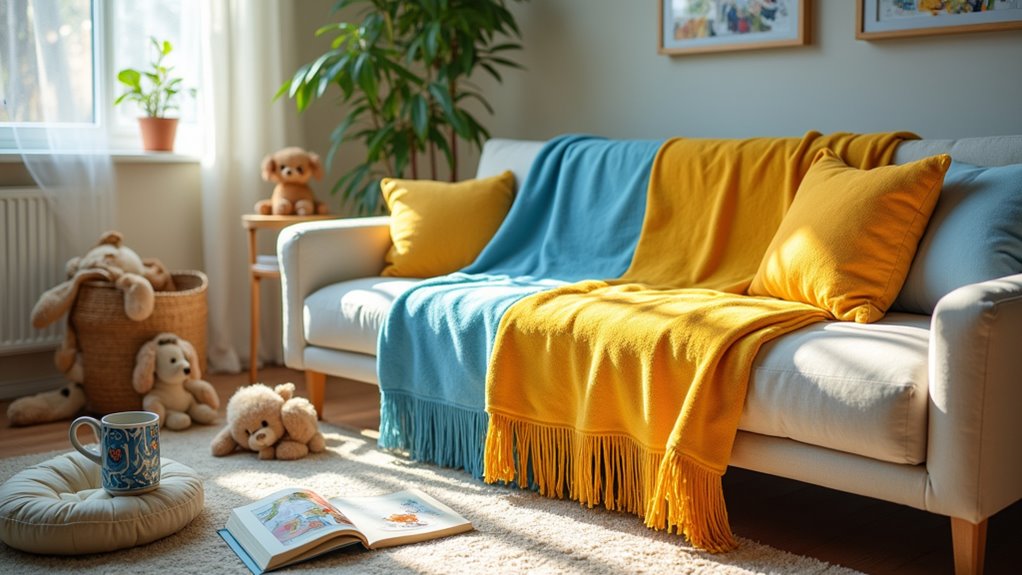
7. Slinky Dog Fringed Blanket
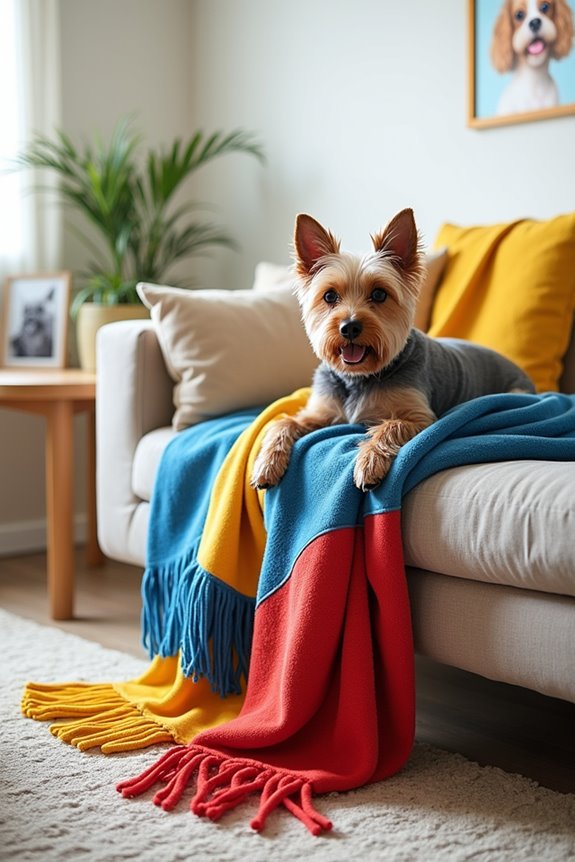
Are you looking for a cozy way to add a touch of whimsy to your home while providing comfort for your furry friend? The Slinky Dog fringed blanket is the perfect solution. This DIY project not only saves you money compared to store-bought options, but it also allows you to customize it to your exact taste. Plus, it’s a delightful way to showcase your love for your pup and their favorite toy!
Materials Needed:
- Soft fleece fabric (in colors that match your Slinky Dog theme)
- Scissors
- Measuring tape
- Fabric marker (optional for designs)
- Sewing machine or needle and thread (if you’re feeling ambitious)
- Ruler
Step-by-Step Instructions:
- Choose Your Fabric: Start by selecting a fleece fabric that speaks to you. Something playful and colorful is ideal, but, of course, pick whatever makes your heart (and your dog’s) sing.
- Cut to Size: Measure out a rectangle that’s about 28 inches by 40 inches, or whatever size best fits your sofa or pet area. Using scissors, carefully cut the fleece to this size. Don’t worry if it’s a bit wonky; that’s the beauty of DIY.
- Create the Fringes: Now, it’s time for the fun part. On each short side of the rectangle, cut 1-inch wide strips that are about 6 inches deep. Feel free to pretend you’re a fancy chef chopping herbs as you go. You can even hum a little tune to make it more enjoyable.
- Tie it Up: Once you’ve created all the fringes, take a fringe from one side and tie it to a fringe from the opposite side. Make a double knot to guarantee it stays snug and secure. Continue this on both short ends until they’re all tied up and looking fabulous!
- Optional Sewing: If you want your blanket to be more durable, consider sewing around the edges. It’s a little extra step, but it can help prevent fraying. If sewing isn’t your thing, don’t sweat it—this blanket will still look cute without it.
- Admire Your Work: Once everything is tied and any additional sewing is complete, spread your beautiful Slinky Dog blanket wherever your pup loves to lounge. Bonus points if you drape it over your couch for a cozy movie night.
Optional Add-ons/Variations:
- Personalized Touches: Use a fabric marker to draw cute Slinky Dog motifs or paw prints on your blanket. It’s a simple way to make it uniquely yours.
- Seasonal Themes: Make a few different blankets in various colors or patterns. Think florals for spring or warm hues for fall. Swap them out to keep things fresh and exciting.
Pro Tip:
When cutting the fabric for the fringes, take your time. If you measure twice and cut once, you’ll end up with a far better-looking blanket. Plus, a little patience means your edges will be less frayed, making for a neater finish—your future self will thank you.
There you have it, a delightful Slinky Dog fringed blanket project that combines style and comfort, perfect for any dog-loving home. So grab your materials and start crafting; your furry friend is waiting on their new favorite spot to curl up.
Extra Tips & Ideas
Creating a Slinky Dog costume is an adventure, and it might just bring out your inner kid. Don’t forget the details; they make all the difference. Use a bright yellow shirt as the base, and add some brown felt for that iconic floppy ear. You could even glue on some googly eyes for a playful touch. Who doesn’t love googly eyes, right?
For a snack while you craft, grab some popcorn—it’s the perfect munching fuel.
When you’re ready to make your tail, wire and fabric work best. If you misjudge the length, just roll with it. A little humor goes a long way in costume-making.
Finally, wear it with confidence. You’ll be the Slinky superstar you were destined to be.
Frequently Asked Questions
What Materials Do I Need for a Slinky Dog Costume?
You’ll need a long, flexible slinky, cardboard for structure, fabric for the dog’s body, paint for details, and accessories like ears and a tail. Don’t forget glue and scissors for assembly!
How Long Does the Costume Take to Make?
It typically takes you a few hours to make the costume, depending on your skill level and the materials you choose. Budget extra time for adjustments and fitting to guarantee it looks just right.
Are There Age Restrictions for Wearing This Costume?
There aren’t strict age restrictions for wearing this costume; it’s all about the spirit of fun! You can embrace your inner child, just like Buzz Lightyear or Woody, and enjoy creating those joyful memories.
Can I Customize the Costume for Different Sizes?
You can definitely customize the costume for different sizes! Just adjust the measurements of each part accordingly, ensuring the materials fit comfortably. Adding fun personal touches will make the costume unique and expressive for anyone wearing it.
Where Can I Find Inspiration for My Design?
Look to the world around you—craft stores, Pinterest, or even your favorite movies can spark inspiration. Immerse yourself in ideas from fellow crafters online, and don’t hesitate to mix styles that resonate with you!
Conclusion
There you have it—you’re all set to rock that Slinky Dog costume. With a fluffy tail, floppy ears, and a cozy body suit, you’ll be the star of any event. Don’t forget those googly eyes and a colorful collar to really tie the look together. So, grab your materials, set free your creativity, and get ready for some tail-wagging fun. After all, who wouldn’t want to show off their own unique spin on this beloved character?