Ever thought about whipping up some tasty snacks for your four-legged buddy? Making dog cookies at home isn’t just easy; it’s a fun way to show your pet some love. Picture the wagging tails and happy barks as they enjoy freshly baked treats tailored just for them. From peanut butter delights to pumpkin spice goodness, there’s a recipe for every pup’s taste. Ready to bake some tail-waggers? Let’s plunge into the recipes that’ll have your furry friend begging for more.
Why Homemade?
When you think about whipping up a batch of dog cookies at home, you might wonder, why go homemade? Sure, you could just grab a box from the store, but that doesn’t offer the same personal touch.
Why settle for store-bought when you can create personal, wholesome dog cookies at home?
Imagine seeing your pup wagging their tail in excitement, as if you’re serving them a five-star meal. With a dog cookies recipe, you can control every ingredient—no mystery additives here, just wholesome goodness that’ll make their tails wag.
Plus, making your own means experimenting. Want to add peanut butter? Go for it! How about some pumpkin for fiber? You bet! It’s like being a gourmet chef for your furry friend.
And let’s be honest, the pride you feel when your dog begs for more is just unbeatable. So, why not give it a shot? Your pup’s happiness is worth every flour-covered moment.
Dog Cookie Recipes Collection
Let’s whip up some tasty treats your furry friend will love.
Whether it’s the Peanut Butter Delight to satisfy their peanut fixation or the Pumpkin Spice Treat for that autumn vibe, you’ve got options galore.
And hey, who couldn’t resist a batch of Sweet Potato Chewies or some Carrot and Oat Crunchies?
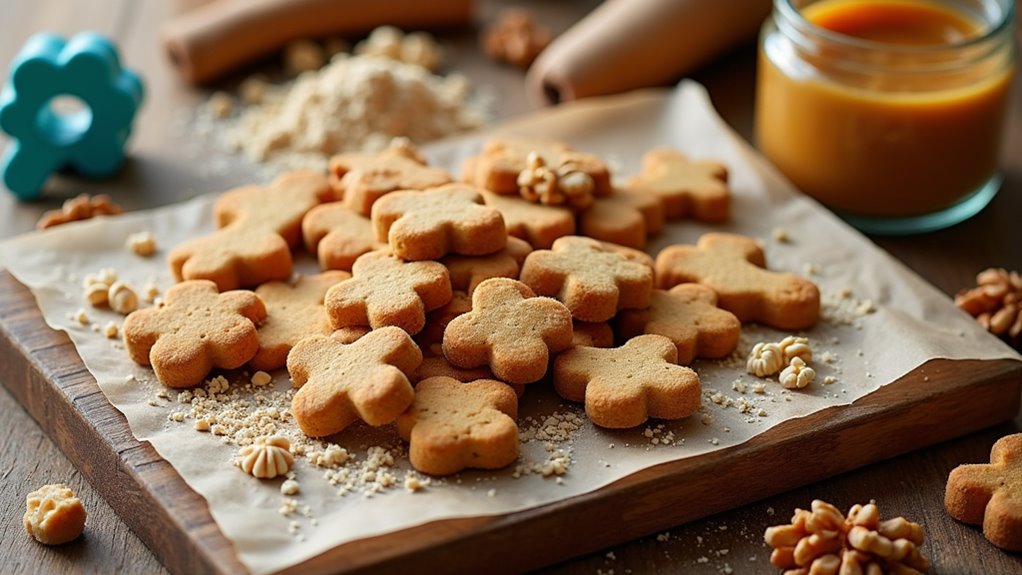
1. Peanut Butter Delight Recipe
Ready to whip up something special for your furry friend? Let’s talk about the Peanut Butter Delight recipe, where you only need a few simple ingredients to get started. I’ll walk you through the easy steps, and if you’re feeling adventurous, I’ve got some fun optional add-ons for you to ponder.
Ingredients
When it comes to treating your furry friend, there’s nothing quite like a homemade dog cookie.
It’s like baking, but for those lovable little furballs. Using good, wholesome ingredients is key—not only will your pup enjoy them, but you’ll also have peace of mind knowing they’re munching on something safe.
So, let’s plunge into the delightful world of dog-friendly ingredients for your Peanut Butter Delight cookies. Here’s what you’ll need:
- 1 cup of whole wheat flour
- 1/2 cup of rolled oats
- 1/2 cup of peanut butter (make sure it’s xylitol-free)
- 1/4 cup of unsweetened applesauce
- 1/4 cup of water
- 1/2 teaspoon of cinnamon (optional, but tasty)
That’s it! Simple, right?
Just a few easy-to-find ingredients that you can grab during your next trip to the store. Soon enough, your pup will be begging for more as those delicious aromas fill your kitchen.
Happy baking!
Step by Step Instructions
Making homemade dog cookies, like these Peanut Butter Delights, is a fun way to show your furry friend some love.
Plus, it’s a delightful activity to fill your kitchen with yummy smells. Follow these simple steps to whip up a batch of treats your pup will truly enjoy.
1. Preheat your oven to 350°F (175°C) so it’s nice and hot when the cookies are ready to bake.
2. In a large mixing bowl, combine 1 cup of peanut butter and 1 cup of pumpkin puree. Mix well until smooth and creamy.
3. Add 2 cups of whole wheat flour and 2 eggs to the bowl. Stir everything together until a dough starts to form.
(Don’t be surprised if it gets a bit sticky.)
4. Knead the dough with your hands for a few minutes. If it’s too sticky, sprinkle in a bit more flour until it reaches a workable consistency.
5. Roll out the dough on a floured surface to about ½ inch thick.
(Don’t worry if it’s not perfectly uniform—your dog won’t judge.)
6. Use cookie cutters to cut out shapes and place them on a baking sheet lined with parchment paper.
7. Bake the cookies in the preheated oven for 25–30 minutes, or until they turn golden brown.
(Your kitchen will smell amazing by now.)
8. Remove the cookies from the oven and let them cool on a wire rack.
(Patience is a virtue, even for our furry pals.)
9. Cool completely before serving to your dog. They’ll be drooling for one, trust me.
Optional Add-ons
There’s always room for a little creativity in your dog cookie adventures.
Why not add some mashed bananas, grated carrots, or even a sprinkle of cinnamon to your Peanut Butter Delight cookies? They’ll appreciate the twist, and you might enjoy watching their happy dance around the kitchen.
Just remember, too much of a good thing might lead to one gassy pup.
2. Pumpkin Spice Treat Recipe
Let’s whip up some pumpkin spice treats that your pup will adore. You’ll need just a few simple ingredients, and I promise, it’s easier than you might think. Plus, I’ll share some optional add-ons that’ll take these cookies to the next level, but really, your dog won’t care as long as they get a taste. Remember, using premium puppy food can provide your dog with the essential nutrients they need while enjoying these tasty treats.
Ingredients
Ah, who doesn’t love the warm, cozy scents of pumpkin spice wafting through the house? Your furry friend is going to adore these pumpkin spice dog cookies as much as you love baking them! And trust me, it’s incredibly easy to whip up a batch that will have your pup’s tail wagging in no time. So, let’s gather our ingredients, and you’ll be just a few steps away from creating a delightful treat for your beloved pooch.
- 1 cup canned pumpkin (make sure it’s pure pumpkin, not the spiced stuff)
- 2 ½ cups whole wheat flour
- 1 teaspoon cinnamon
- ½ teaspoon ginger
- 1/4 cup peanut butter (no added sugar or xylitol, please)
- 2 eggs
- ½ cup chicken broth (low-sodium is best)
Step by Step Instructions
Grab your apron, and let’s whip up some tasty pumpkin spice dog cookies. Your furry friend is going to love these, and trust me—making them is a lot easier than it sounds. Follow these steps, and you’ll have those tail wags in no time.
- Preheat your oven to 350°F (175°C). This will get it nice and toasty for baking.
- In a mixing bowl, combine 1 cup of pumpkin puree and 2 eggs. Whisk them together until smooth—no lumps allowed here.
- Stir in 1/4 cup of peanut butter (make sure it’s xylitol-free, of course). Mix well until you see no streaks of peanut butter.
- In a separate bowl, combine 2 1/2 cups of whole wheat flour, 1 teaspoon of cinnamon, and a pinch of salt. Whisk together to make sure those dry ingredients are evenly mixed.
- Gradually add the dry mixture to the pumpkin mixture, stirring as you go. You want it to come together as a dough—don’t overmix it; we’re not making bread here.
- Lightly flour your countertop and roll out the dough to about 1/4-inch thick. Grab your favorite cookie cutter and cut out fun shapes. (Dogs won’t care, but you will!)
- Place the cookies on a baking sheet lined with parchment paper. Leave a little space between each cookie—hey, they need their room.
- Bake in the preheated oven for 25–30 minutes. Keep an eye on them; they should turn golden brown when they’re ready.
- Remove the cookies from the oven and let them cool on a wire rack. It’s tough to wait, but trust me, burnt tongues are no fun.
- Cool completely before serving to your dog. (Unless you want to be the one cleaning up the casualties of a cookie heist.)
Now, you’ve got homemade dog cookies with a delightful twist of pumpkin spice. Enjoy the puppy love that comes your way!
Optional Add-ons
While your furry buddy might go wild for those pumpkin spice cookies, there’s no harm in switching things up a bit.
Consider adding a sprinkle of bacon bits for a savory twist, or maybe a touch of peanut butter for that extra yum. Your pup won’t know what hit them. Experiment a bit—who knows? You might discover a new favorite together.
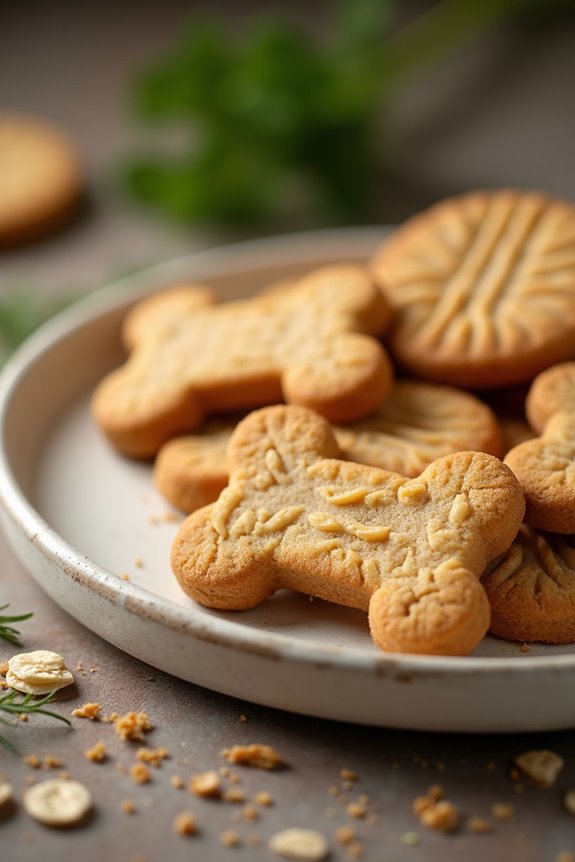
3. Sweet Potato Chewies Recipe
Ready to whip up some tasty Sweet Potato Chewies for your pup? You’ll need a few simple ingredients, but don’t worry if you’re missing something; I’ve got optional add-ons to jazz things up. Let’s get into those easy step-by-step instructions that’ll have you and your furry friend drooling.
Ingredients
Ready to whip up some tasty treats for your pup? These Sweet Potato Chewies aren’t just easy to make; they’ll make your dog’s tail wag with joy. Plus, they’re a great way to sneak in some healthy ingredients.
Let’s get shopping for our four-legged friend, shall we? Here’s what you’ll need to gather:
- 1 cup of mashed sweet potato (make sure it’s cooked and cooled)
- 2 cups of whole wheat flour (if your pup is gluten-sensitive, you can use oat flour instead)
- 1/4 cup of rolled oats (for that nice chewy texture)
- 1/4 cup of peanut butter (make sure it’s Xylitol-free, we don’t want to play with danger)
- 1/4 cup of vegetable or chicken broth (low-sodium is best if possible)
- 1 egg (to bind everything together—good luck not getting eggshells in there, right?)
- 1 teaspoon of cinnamon (a little sprinkle for flavor, but why do we keep it simple?)
With these straightforward ingredients, you’re one step closer to making the day a little brighter for your furry friend.
Just imagine the joy on their face when they see what you’ve been up to. It’s a win-win! Happy baking!
Step by Step Instructions
1. Preheat your oven to 350°F (175°C). This gets things nice and toasty for our furry friends.
2. Grab a small pot and peel your sweet potatoes. Cut them into chunks and place them in the pot. Cover with water and bring to a boil.
Boil for about 20 minutes, or until they’re fork-tender. (You can take a quick snack break while you wait, right?)
3. Drain the sweet potatoes and mash them in a bowl until smooth. Make sure there are no lumps—unless your dog thinks lumps are fun, then maybe leave a few.
4. In a separate mixing bowl, combine 2 cups of whole wheat flour and ½ cup of rolled oats. Whisk them together until well-blended.
5. Add the mashed sweet potatoes to the flour mixture. Mix them together until combined. (Don’t worry if it feels a little sticky; that’s normal.)
6. Pour in 1 egg and ¼ cup of peanut butter, stirring until everything comes together into a dough. (Pro tip: If the dough seems too dry, add a splash of water.)
7. Dust your countertop with a little extra flour. Roll out the dough to about ½ inch thick. If it sticks, add more flour.
8. Use cookie cutters to shape the dough into fun designs. Or, if you’re feeling lazy, just cut them into squares with a knife.
9. Place the cookie shapes on a parchment-lined baking sheet. Make sure there’s a little space between them for the magic to happen.
10. Bake for 25–30 minutes, or until they’re golden brown and slightly hard. (Time for a dance break while you wait!)
11. Let the cookies cool on the baking sheet for a few minutes before transferring them to a wire rack.
12. Cool completely before serving to your dog. Trust me, they’ll be much happier with treats that won’t burn their tongues.
Optional Add-ons
If your pup’s been giving you those irresistible sad eyes every time you whip up a batch of treats, it might be time to spice things up a bit.
Consider adding ingredients like peanut butter, oats, or even a splash of chicken broth. These little extras can turn good treats into great ones.
Trust me, your furry friend will thank you.
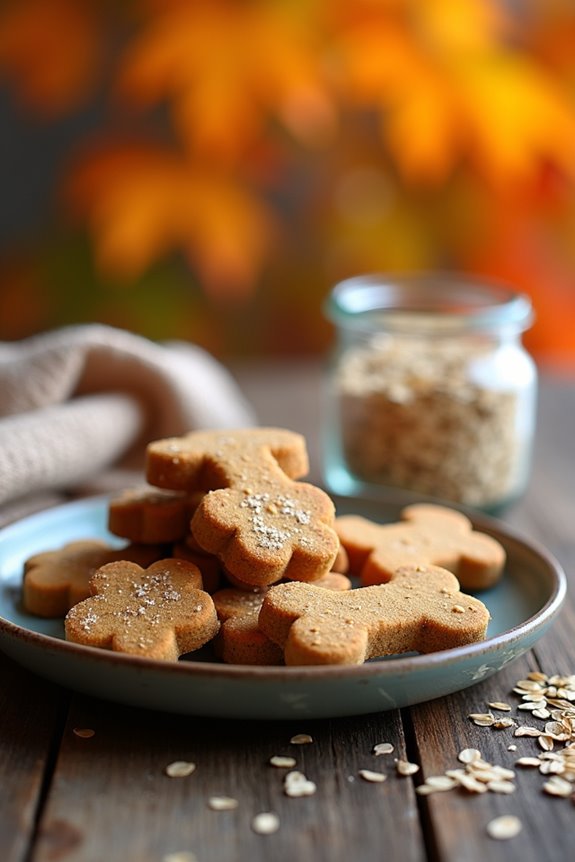
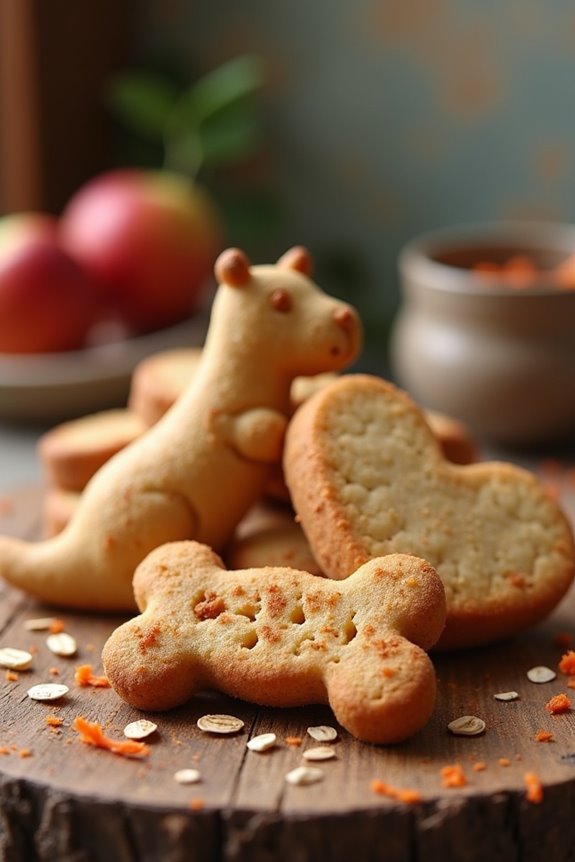
4. Carrot and Oat Crunchies

Ready to whip up some Carrot and Oat Crunchies for your furry friend? You’ll love how simple it is, especially when you gather the right ingredients and follow some easy steps. Don’t worry, if you’re feeling adventurous, there are even a few optional add-ons to amp up the flavor!
Ingredients
When it comes to making tasty treats for your pup, Carrot and Oat Crunchies are a fantastic choice. They’re super easy to whip up, and your dog will love them. Plus, you probably already have many of these ingredients in your kitchen. So grab your apron, and let’s get baking!
- 1 cup rolled oats
- 1 cup shredded carrots (about 1 medium carrot)
- 1/2 cup whole wheat flour (or a gluten-free alternative, if needed)
- 1/4 cup unsweetened applesauce
- 1 tablespoon honey (optional; it adds a touch of sweetness)
- 1/2 teaspoon cinnamon (dogs love the smell, and it’s good for them too)
These simple ingredients will come together to create a crunchy delight your furball won’t be able to resist. Just make sure to measure out your oats and carrots—no one wants a lumpy cookie, right? Now, let’s get cooking and fill that cookie jar with some tail-wagging goodness!
Step by Step Instructions
- Preheat your oven to 350°F (175°C). A hot oven is key for that perfect crunch.
- In a large bowl, mix together 2 cups of whole wheat flour, 1 cup of rolled oats, and 1 teaspoon of baking powder. Just remember, no one likes a flat cookie.
- In another bowl, whisk together 1 cup of grated carrots, ½ cup of applesauce, and 1 egg until it’s well combined. It should look like a colorful, healthy smoothie—just no sipping.
- Fold the wet ingredients into the dry ingredients. Go gently here; we want a good mix, but it doesn’t need to be a workout.
- Add ¼ cup of peanut butter (make sure it’s xylitol-free) and combine well. The dough will start to come together, and it might get a tad sticky—that’s okay.
- Dust your work surface with a little flour and roll out the dough to about ½ inch thick. Don’t stress about perfection; rustic is charming.
- Use fun cookie cutters to shape the cookies. I mean, who doesn’t want a dinosaur-shaped treat?
- Place the cookies on a baking sheet lined with parchment paper. Leave a little space in between; these treats can spread a bit.
- Bake for 25–30 minutes, or until they’re golden brown. It’s like magic—watch them transform!
- Let the cookies cool on a wire rack. Patience is a virtue, especially when sniffing those freshly baked goodies.
- Cool completely before serving to your dog. Seriously, you don’t want a canine bake-off just yet.
Optional Add-ons
If you think your pup might need a little something extra to elevate those carrot and oat crunchies, you’re in for a treat—literally.
Consider adding peanut butter for a nutty twist or some pumpkin puree for extra moisture and flavor.
Don’t forget to sprinkle in chopped apples or blueberries for a fruity surprise.
Your furry friend deserves these tasty upgrades, trust me.
5. Apple Cinnamon Biscuits
Let’s whip up some delicious Apple Cinnamon Biscuits for your furry friend. You’ll need a few simple ingredients, and I promise they’ll have their tails wagging in no time. Follow me for step-by-step instructions, plus a few optional add-ons to jazz things up a bit! Additionally, these treats can be made healthier by incorporating premium dog food ingredients that are great for your Goldendoodle’s diet.
Ingredients
When it comes to showing our furry friends just how much we love them, baking homemade dog cookies is a delightful way to do that. Plus, the aroma of apple and cinnamon wafting through the kitchen? Pure magic.
It’s a fun little project that even the most novice baker can tackle without a hitch. So let’s get to the yummy goodness your pup will adore. Here’s what you’ll need:
- 1 cup of whole wheat flour
- 1/2 cup of unsweetened applesauce
- 1/4 cup of rolled oats
- 1/2 teaspoon of cinnamon
- 1 tablespoon of honey (optional, but your dog may thank you)
- 1/4 cup of water (adjust as needed to get the right dough consistency)
That’s it! Easy peasy, right? With such simple ingredients, you can whip these treats up in no time, and your dog will think you’re the next big thing in gourmet cuisine.
Just remember, the key is to avoid any ingredients that could make your pup sick – and trust me, nothing brightens a dog’s day quite like a homemade snack (except maybe a belly rub).
Happy baking!
Step by Step Instructions
- Preheat your oven to 350°F (175°C) to get it nice and toasty for your dog cookies.
- In a large mixing bowl, combine 1 cup of whole wheat flour, 1 cup of oats, and a generous sprinkle of cinnamon. This is where the magic starts.
- In another bowl, whisk together 1/2 cup of unsweetened applesauce and 1/4 cup of water until well mixed. You’re creating a delicious potion here.
- Gradually fold the wet mixture into the dry ingredients. Don’t overmix; a few lumps are perfectly fine—just like your dog when they’re getting into mischief.
- Roll the dough out on a lightly floured surface to about 1/4 inch thick. Get creative with your cookie cutters—bones, hearts, or whatever shape makes you smile.
- Cut the dough into desired shapes and place them on a baking sheet lined with parchment paper. Give them a little room; they aren’t gonna expand like your dog does after a big meal.
- Bake for 25–30 minutes until the biscuits are golden brown and your kitchen smells delightful. Keep an eye on them; no one likes burnt cookies, not even your pup.
- Allow the cookies to cool completely on a wire rack. Patience is key here—their tails will thank you when they don’t burn their tongues.
- Serve to your dog and watch those happy tail wags.
(Just a friendly reminder: moderation is key, even with treats made with love.)
Optional Add-ons
If you want to take your homemade dog cookies to the next level, adding a few special ingredients can make all the difference.
Think about tossing in some peanut butter or mashed banana for extra flavor. You could even sprinkle in some oats for texture.
Just picture your pup’s tail wagging with excitement—now that’s a sign you’ve nailed it!
Don’t forget to enjoy the process too.
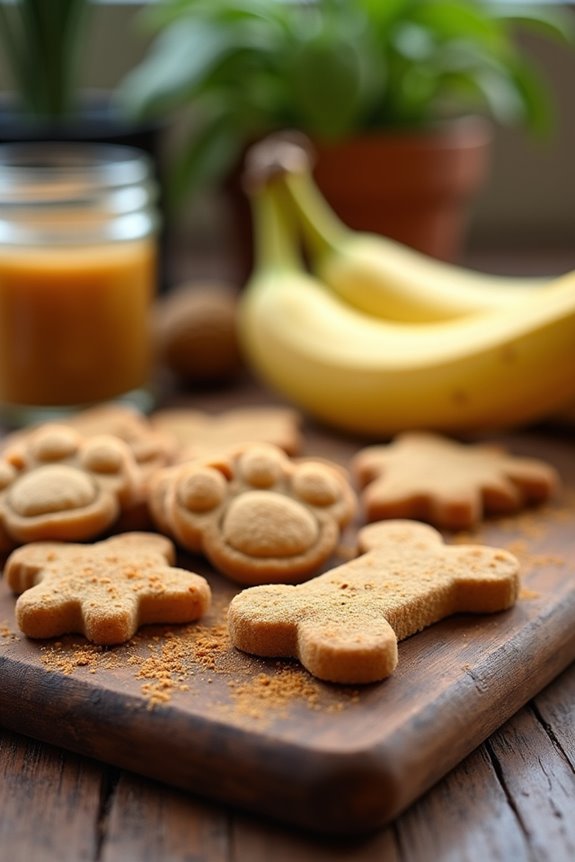
6. Peanut Butter Banana Bites
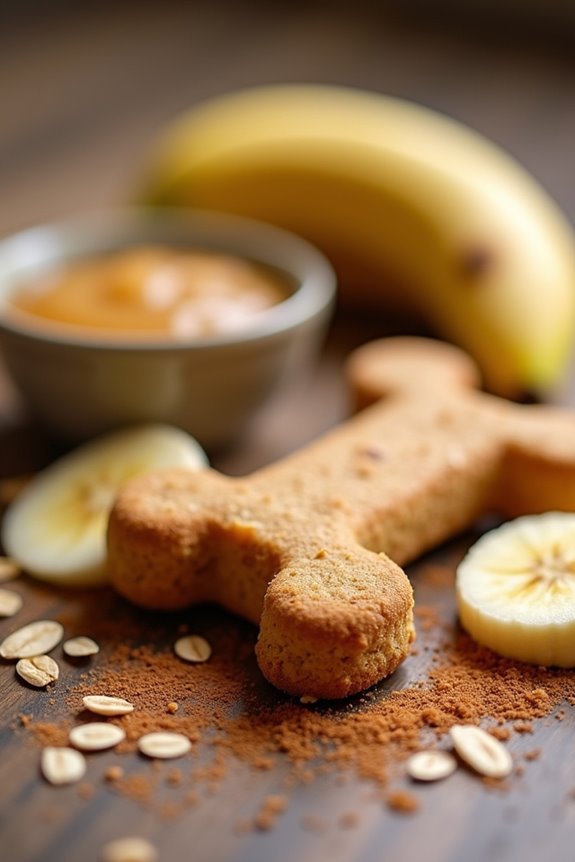
Ready to whip up some delicious Peanut Butter Banana Bites for your pup? You’ll need just a few simple ingredients, and I promise, the step-by-step instructions are a breeze—no culinary degree required here. Plus, I’ll share some optional add-ons to make these treats even more paw-some.
Ingredients
When it comes to making your pup some tasty treats, you can’t go wrong with peanut butter banana bites. Not only do these ingredients come together in no time, but they also whip up a wonderful smell that’s sure to have your furry friend wagging their tail in excitement.
Just a few simple ingredients, and you’re ready to bake some tail-wagging deliciousness.
- 1 ripe banana, mashed (the riper, the better; dogs love that sweetness)
- 1 cup creamy or chunky peanut butter (make sure it’s xylitol-free for your pup’s safety)
- 2 cups whole wheat flour (a little extra fiber is always nice)
- 1/4 cup rolled oats (what’s not to love about that chewy texture?)
- 1/4 cup water (just enough to help everything come together)
- 1/4 cup unsweetened applesauce (a tasty way to add moisture and a touch of sweetness)
With these ingredients, you’ve got a recipe that’s just as fun to make as it’s to share with your dog.
I mean, who wouldn’t want to bake for their four-legged best friend?
Get ready to see those puppy eyes light up when they catch a whiff of the yummy treats baking in the oven.
Step by Step Instructions
1. Preheat your oven to 350°F (175°C) so it’s nice and toasty when your cookies are ready to bake.
2. In a large mixing bowl, mash 1 ripe banana until it’s smooth, like a delightful little banana puree.
3. Add 1 cup of natural peanut butter to the mashed banana. (Make sure it’s the kind without added sugars or salt — your pup deserves the best!)
4. Mix the banana and peanut butter together until they’re fully combined. No lumps allowed here; we’re going for a smooth and creamy texture.
5. Gradually fold in 2 cups of whole wheat flour, stirring gently until the mixture comes together into a dough.
(Don’t worry if it looks a little sticky; that’s part of the charm!)
6. If your dough is too thick, add a splash of water, one tablespoon at a time, until it’s easy to handle.
7. Dust your work surface with a little bit of flour, then roll out the dough to about 1/2 inch thick.
8. Use your favorite cookie cutter (bone-shaped, of course) to cut out cookie shapes and place them on a parchment-lined baking sheet.
9. Bake in the preheated oven for 25–30 minutes or until they turn golden brown.
(Keep an eye on them; nobody likes burnt cookies, not even a dog.)
10. Once baked, remove the tray from the oven and let the cookies cool on a wire rack.
11. Cool completely before serving to your dog, unless you want them to have a mouthful of hot cookies (not recommended).
Try not to eat them yourself while they cool — trust me, it’s a real temptation!
Optional Add-ons
You might think dog cookies are just about the basics, but let me tell you, there’s a whole world of optional add-ons that can take your Peanut Butter Banana Bites to the next level.
Consider mixing in some oats for texture, or a dash of cinnamon for flavor. You can even sprinkle shredded carrots in there—bonus vitamins for your pup.
It’s all about being creative, right?
7. Peanut Butter and Honey Bars
Now that you’ve made those tasty Peanut Butter Banana Bites, let’s whip up some Peanut Butter and Honey Bars for your furry friend.
You’ll need just a few simple ingredients, and I promise, it’s easier than you might think. Plus, I’ll throw in some optional add-ons to make these bars even more irresistible—who can resist a little extra tail wag?
Ingredients
When it comes to making delicious dog cookies, simplicity is key. You want your furry friend to enjoy every bite without any mystery ingredients. Here’s what you need to whip up these tasty Peanut Butter and Honey Bars that will have your pup’s tail wagging in no time.
Let’s dive right into the ingredients you’ll need for this paw-some treat:
- 1 cup of whole wheat flour (you can also substitute with oat flour if your dog needs a gluten-free option)
- ½ cup of creamy peanut butter (make sure it’s free of xylitol, which is toxic to dogs)
- ¼ cup of honey (the natural sweetness is what makes these bars so special)
- 1 egg (to help bind everything together)
- ½ cup of rolled oats (for some extra texture and chew)
- ½ cup of water (adjust as needed for consistency)
There you go! Just a handful of straightforward ingredients that you can easily grab at any grocery store.
Just imagine the joy on your dog’s face when you treat them to these homemade goodies. If only we could have treats like this, right? Well, our pups have impeccable taste, so let’s get baking!
Step by Step Instructions
- Preheat your oven to 350°F (175°C) to get it nice and cozy for those cookies.
- Gather a large mixing bowl, then combine 1 cup of creamy peanut butter and 1/2 cup of honey. Grab a whisk—trust me, your arm might get a workout.
- Next, add 2 cups of whole wheat flour and 1/4 cup of water to the bowl. Mix it up until it forms a dough (just until combined, don’t be like me and overmix—nobody likes tough cookies).
- Lightly flour your countertop, then turn the dough out and roll it out to about 1/2 inch thick.
- Use cookie cutters to cut out your desired shapes. Think of how cute your pup will look with their very own treats—priceless, right?
- Place the cutouts on a baking sheet lined with parchment paper, leaving a bit of space between each cookie.
- Bake in the preheated oven for about 25–30 minutes, or until the edges are golden brown.
- (You might want to keep an eye on them; burnt treats aren’t part of the plan).
- Once baked, let the cookies cool on the baking sheet for a few minutes before transferring them to a wire rack.
- Allow them to cool completely before serving to your dog. Trust me, they’ll appreciate the wait.
Optional Add-ons
If your pup loves the taste of peanut butter and honey, why not take their treat game up a notch with some fun add-ons?
Think of mashed ripe bananas for sweetness, or maybe some shredded carrots for crunch. You could even sprinkle a bit of cinnamon or oats on top.
Trust me, your dog won’t complain about a little extra love in their snacks.
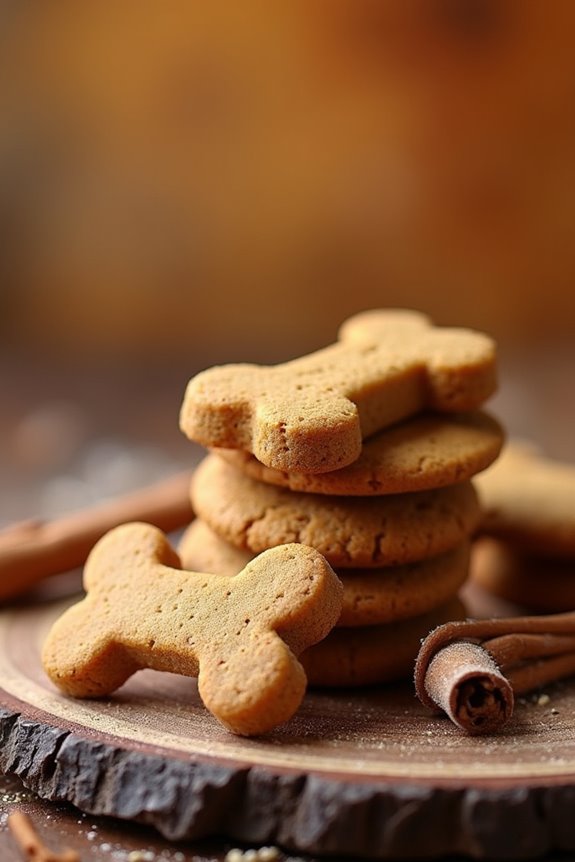
Bake Until Golden Brown
As you pop those tasty dog cookies into the oven, brace yourself for the delightful aroma that’s about to fill your kitchen. The magic happens at around 20 to 30 minutes, depending on your oven.
You’ll want to watch closely, because nobody wants to bite into a burnt cookie (trust me, I’ve been there). As the time ticks down, sneak a peek every now and then—look for that perfect golden brown color.
Once you see that golden hue, it’s time to take them out. But wait, there’s a trick: let them cool on a wire rack. This step’s essential, as it helps them firm up. Additionally, using the right dog treat making equipment will ensure consistent results every time.
As soon as you spot that golden hue, remember to cool them on a wire rack for the perfect crunch!
And let’s face it, no one wants a mushy cookie, right? As they cool, your pup can sniff and drool, keenly anticipating the crunchy bites. It’s hard to resist sneaking one for yourself—just don’t tell your furry friend.
Frequently Asked Questions
Can I Use Gluten-Free Flour for Dog Cookies?
Yes, you can use gluten-free flour for dog cookies. Many dogs digest it better, and it can still produce tasty treats. Just make certain you choose a safe gluten-free option, like almond or coconut flour.
How Can I Store Homemade Dog Cookies?
You can store homemade dog cookies in an airtight container at room temperature for up to a week. For longer storage, pop them in the freezer, where they’ll stay fresh for several months. Enjoy your treats!
Are There Any Ingredients Dogs Should Avoid?
Yes, dogs should avoid chocolate, grapes, raisins, onions, garlic, avocados, and certain nuts. Always check ingredient labels and consult your vet if you’re unsure about any ingredient before giving your dog a treat.
How Long Do Homemade Dog Cookies Last?
Homemade dog cookies typically last about one week at room temperature. If you store them in the refrigerator, they’ll stay fresh for two to three weeks. Freezing extends their shelf life to two to three months.
Can I Customize Cookie Shapes for My Dog?
You can customize cookie shapes for your dog using cookie cutters. Choose fun shapes that reflect your dog’s personality or interests, and they’ll love both the treats and the special shapes you create.