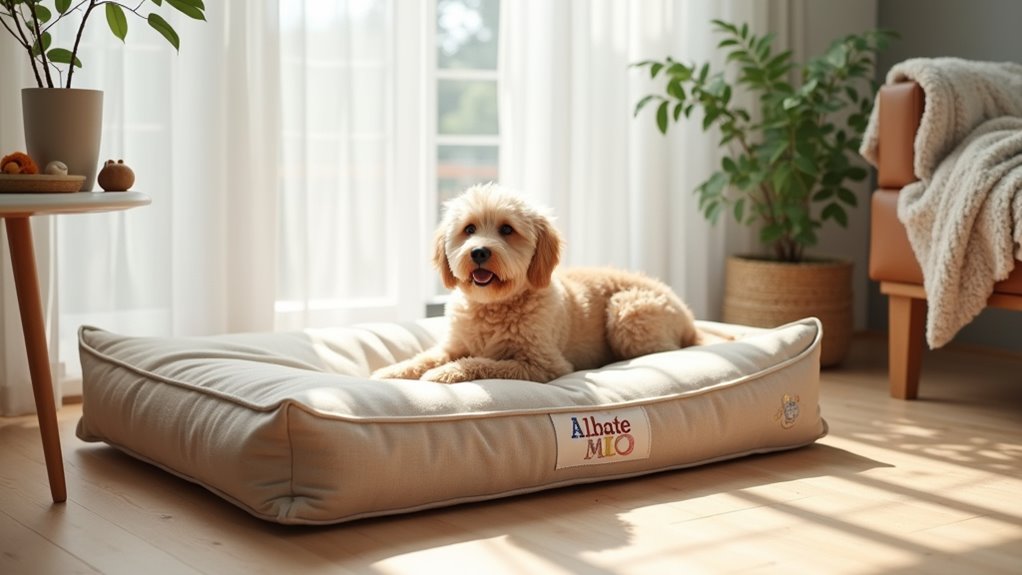
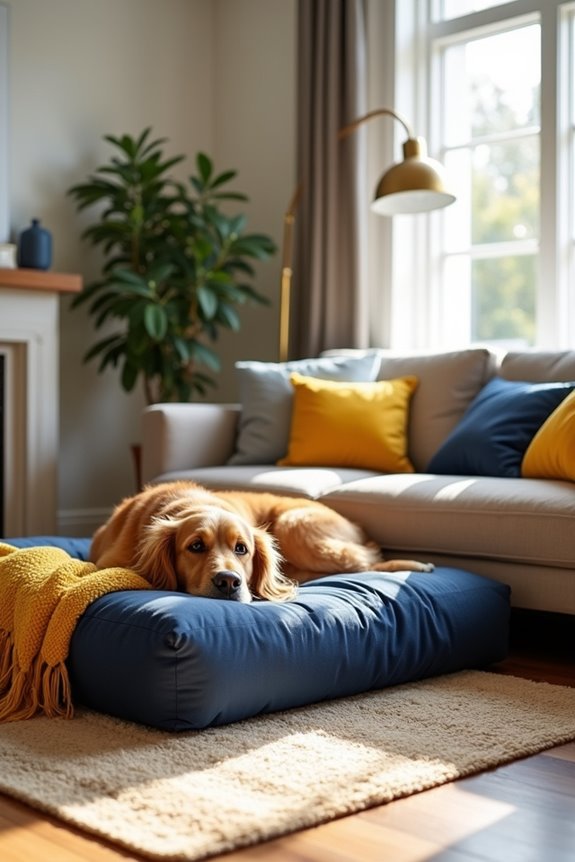
So, you’ve got a big dog who deserves a cozy spot to snooze, right? You could splurge on a store-bought bed, but where’s the fun in that? Making your own DIY dog bed is not only a way to save a few bucks, but it lets you customize it just the way your pup likes it. Think catchy patterns and plush memory foam, sounds great, doesn’t it? But where do we even start? Let’s plunge into the essentials.
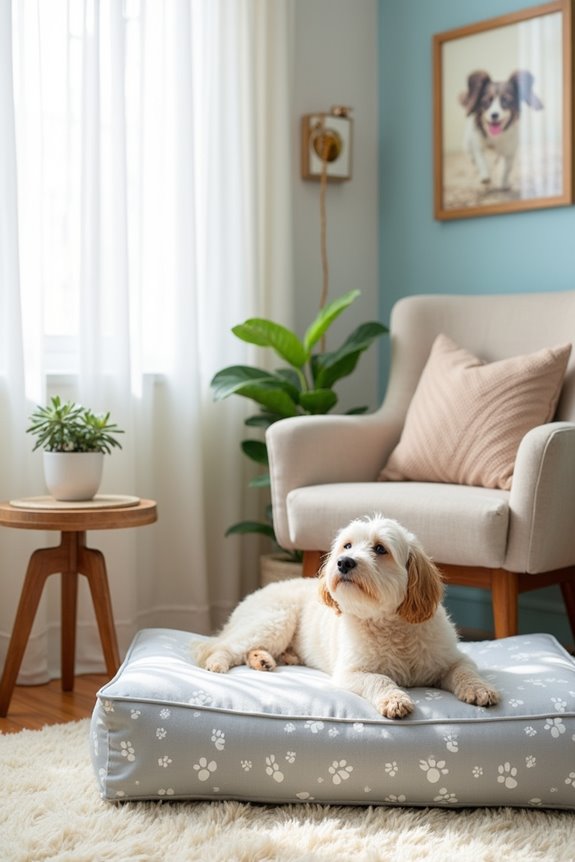
Cozy, Durable Fabrics Needed
When it comes to making a cozy dog bed for your giant furry friend, choosing the right fabrics is key.
You’ll want to look for durable fabric types like canvas or heavy denim; these can withstand your pup’s playful antics. Not to mention, they’re easy to clean! Imagine a bed that stays fresh, even after your dog’s muddy adventures.
Think about using removable covers for hassle-free maintenance. Trust me, you’ll thank yourself during those lazy days when you can just toss it in the wash instead of scrubbing it down.
Consider adding a soft fleece lining for that extra touch of comfort, too. Your giant buddy deserves the best, doesn’t he?
Our Collection
When you’re crafting a dog bed for your large pup, you need the right ingredients, right?
In our collection, you’ll find water-resistant outdoor fabric, comfy memory foam cushions, and reinforced stitching that can handle all that enthusiastic paw action.
Plus, you can customize the size to fit every furry friend’s needs—because let’s face it, no dog wants to squeeze into a bed that feels like a cozy shoe!
1. Water-Resistant Outdoor Fabric
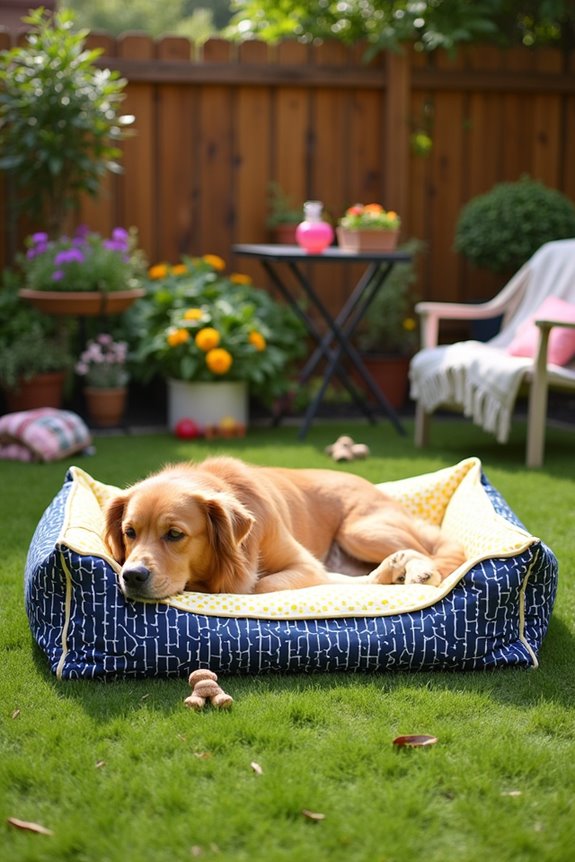
Are you tired of watching your furry friend try to squeeze into that tiny bed? Or maybe you’re just ready to give your yard a little pizzazz with a stylish and comfy spot for your pup. This DIY dog bed project is perfect for large dogs who love lounging outside, and the water-resistant fabric means it can handle whatever Mother Nature throws at it. Additionally, using a sewing machine dog clothing allows for the creation of various pet accessories, making your DIY experience even more enjoyable.
Not only will you save money by making your own, but you’ll also create a cozy retreat for your best buddy. Let’s get started!
Materials Needed
- 1.5 yards of water-resistant outdoor fabric (choose a fun pattern or color)
- 1 large piece of foam (2-4 inches thick, depending on preference)
- Heavy-duty sewing machine or needle and thread
- Scissors
- Measuring tape
- Fabric pins
- Optional: zipper (for removable cover)
Step-by-Step Instructions
- Measure Your Pup: Start by measuring your dog from nose to tail and from paw to paw. This will help you determine how large your bed should be. A good rule of thumb is to add 6-12 inches to the length and width for a comfy fit.
- Cut the Fabric: Cut your fabric into two rectangles — one for the bottom and one for the top. Make these rectangles according to your dog’s measurements. If you’re feeling fancy, you can round the corners for a softer look.
- Sew the Sides: With the fabric turned inside out (the pretty side facing in), pin the two pieces of fabric together. Sew around the edges, leaving a gap (about 12 inches) on one side for inserting the foam. If you’re using a zipper, sew it into that gap instead.
- Insert the Foam: Carefully flip the fabric right side out. Now it’s time to slide the foam into the opening you left. Give it a little shake to make sure it fits snugly, without too much jiggling around.
- Close the Gap: If you left a gap, carefully sew it shut by hand or machine. If using a zipper, just zip it closed – easy peasy.
- Add a Personal Touch: This is your chance to make it uniquely yours. Consider adding a personalized dog tag or even some decorative stitching along the edges.
- Place it Outside: Find a sunny spot or any cozy corner in your yard where your pup can kick back and relax. Confirm it’s in a shaded area to keep your dog cool on warm days.
Optional Add-ons/Variations
- Mix and Match: Use different fabric patterns on each side, making it a reversible bed. Think stripes on one side and polka dots on the other – so stylish!
- Extra Cushy: Instead of foam, use an old couch cushion or some soft blankets for a more plush comfort factor. Just make sure they’re also water-resistant!
Pro Tip
Remember to choose a fabric that’s durable and easy to clean. Look for stains and spills on those outdoor adventures, and don’t stress. Most outdoor fabrics can be wiped clean with a damp cloth.
Add a little fabric spray or a gentle dog-safe cleaning solution, and your pup’s bed will stay fresh as a daisy.
Now you can sit back, watch your dog enjoy their new throne, and feel proud of your crafty creation. Plus, when your friends come over, they’ll totally think you got it from a fancy boutique. Who knew you were so talented?
2. Memory Foam Cushions
Does your beloved canine deserve nothing but the coziest nap times? Memory foam cushions are the perfect upgrade for your DIY dog bed. They provide unparalleled comfort and support for those achy joints while preventing an unsightly sag over time. Give your furry friend the luxury of an orthopedic experience without breaking the bank. Let’s explore how to create a comfy memory foam bed that your dog will adore. Additionally, consider enhancing your dog’s sleeping experience with high end kitchen appliances that can elevate both comfort and functionality in your home.
Materials Needed
- 1 large piece of memory foam (2-4 inches thick)
- 1.5 yards of fabric (to cover the foam)
- Heavy-duty sewing machine or needle and thread
- Scissors
- Measuring tape
- Fabric pins
- Optional: non-slip material for the bottom
Step-by-Step Instructions
- Measure Your Special Pup: Just like before, measure your dog from nose to tail and from paw to paw. A well-fitted bed guarantees your pup has the space to sprawl out without feeling cramped. Add 6-12 inches to their measurements.
- Cut the Foam: Using your measurements, cut your memory foam into a rectangle or an oval – whichever shape suits your decor. Just try not to let your pup use this time as a chance to “help” (they may think the foam is a chew toy).
- Prepare the Cover Fabric: Cut your fabric pieces to create a cover for the foam. You’ll need two rectangles if you’re making it simple or one large piece if you’re wrapping it like a present. Remember to cut a little extra for seam allowances.
- Sew the Cover: With the fabric inside out, pin the edges together. Sew all around, but be sure to leave an opening (about 12 inches) on one side. This will let you slip in the foam later and is an excellent opportunity to practice your sewing skills—so don’t worry if it’s not perfect; it’s just for your pup, after all.
- Insert the Foam: Flip the fabric right side out and slide in the memory foam. If it’s a snug fit, give it a gentle push (but don’t lose your cool; this is a zen moment, remember?).
- Close the Gap: Sew the opening closed by hand or machine. If you’ve got fabric magic in you, consider adding a zipper for easy washes in the future. After all, we all know sometimes fun can get a bit messy.
- Set Up the Sleep Zone: Find a quiet, comfy corner for your dog to lounge around in, making sure it’s away from any playful hazards like sprinklers or “mischievous” squirrels that might entice them into a turf war.
Optional Add-ons/Variations
- Design with Personality: Pick fabric in your dog’s favorite colors or patterns. Think about fun prints reflecting your dog’s fun personality, like paw prints or bones. A cozy-themed bed can be both functional and fashionable.
- Non-Slip Bottom: Add non-slip material to the bottom of the cushion to keep it in place. No one wants a dog bed doing the cha-cha across the living room!
Pro Tip
To keep your memory foam cushion fresh and clean, consider using a protective cover underneath your fabric. It can help repel fur and moisture, allowing your pup to have the ultimate comfort zone without adding too much on laundry day!
Plus, it might just save you a few bucks in the long run by making sure your memory foam lasts longer.
With this simple DIY project, your pup will have a stylish and comfortable oasis for all their snoozing needs. Who would’ve thought dog fashion could be so easy and enjoyable?
3. Reinforced Stitching for Durability
Do you want your dog’s bed to stand the test of time? This DIY project focuses on reinforcing the stitching of your dog bed, ensuring that it can handle even the most enthusiastic tail wags and playful pups. Plus, it saves you money on replacing worn-out beds and gives your furry friend a cozy spot they’ll love for years to come.
Materials Needed
- Heavy-duty fabric (for the dog bed cover)
- Extra thread (in a color that matches your fabric)
- Sewing machine (or a needle and thread for hand sewing)
- Scissors
- Fabric pins
- Measuring tape
- Iron (optional, for smoothing fabric)
- A sturdy dog bed base (like plywood or a mattress)
Step-by-Step Instructions
- Measure and Cut Your Fabric: Start by measuring the dimensions of your dog bed base. Cut your heavy-duty fabric into two pieces, allowing for an additional inch for seam allowance on all sides. This way, your pup won’t be sleeping on loose threads.
- Pin the Pieces Together: With right sides facing each other, align the fabric pieces. Use fabric pins to hold them securely in place. No one likes a runaway fabric situation, especially when fabric is involved.
- Sew the First Layer: Start sewing around the edges, about half an inch from the edge. Remember to reverse stitch at the beginning and end to lock the seams. That little bit of effort will go a long way in keeping everything intact when your dog decides to do a celebratory roll.
- Reinforce the Edges: Now here’s where the magic happens. You want to sew a second stitch about a quarter of an inch from the original seam. This double-layer sewing technique will boost the durability of the bed and prevent any unexpected blowouts—trust me, you don’t want that.
- Trim the Corners: Before turning the fabric right side out, carefully cut the corners at an angle to reduce bulk. When it’s time to flip it, those corners will pop out nicely, giving you a sharp look.
- Turn and Iron: Flip your fabric right side out and poke the corners out for crisp edges. If you fancy a neat look, give it a quick press with an iron. Just be careful—you don’t want to scorch your new dog bed with a naughty iron.
- Insert the Base and Close: Insert your dog bed base into the cover. Fold the raw edges of the opening inward, pin it closed, and stitch along the edge. Don’t forget to reinforce this seam as well. Now your pup’s bed is sturdy and stylish!
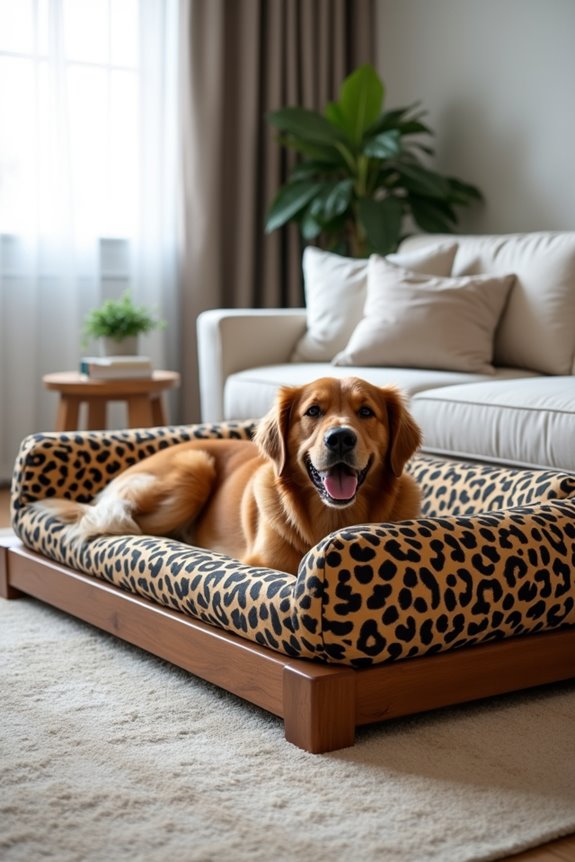
Optional Add-ons/Variations
- Get Creative with Colors: Use different fabric patterns that align with your home decor—a cheetah print for a touch of wild, or calming blue for those zen vibes.
- Add a Personal Touch: Consider embroidering your dog’s name or paw print on the cover. Nothing says, “This is MY bed” more than a personalized touch.
Pro Tip
If you’re worried about your pup being too rough on their bed, consider using weather-resistant fabric. It’s not just durable; it’s also easy to wipe clean.
Think of it as a bonus for those occasional muddy paws. And, just in case, a little extra reinforcement never hurt—so don’t shy away from sewing those seams a bit tighter.
4. Orthopedic Support for Comfort
Creating a cozy, orthopedic dog bed for your furry friend can greatly enhance their comfort, especially for older dogs or those with joint issues. This DIY project not only provides extra support for their sleepy heads, but it’s also a cost-effective way to guarantee your pet has a warm and inviting place to rest after a day full of tail-wagging adventures. Adding an orthopedic elevated dog bed can further improve your dog’s well-being and support.
Let’s plunge in and make a space where your pup feels secure and cared for.
Materials Needed
- High-density foam (for orthopedic support)
- Heavy-duty fabric (for the bed cover)
- Extra thread (matching color)
- Sewing machine (or needle and thread if you prefer hand sewing)
- Scissors
- Fabric pins
- Measuring tape
- Iron (optional, for those with a flair for neatness)
Step-by-Step Instructions
- Measure the Foam: Start by measuring the size of your dog. Add a few extra inches for the desired cushioning effect (think cloud-like comfort). Cut the high-density foam to the correct dimensions based on your dog’s size. Remember, a plush bed is a happy bed.
- Cut the Fabric: Next, cut your heavy-duty fabric into two pieces mirroring the foam’s dimensions, leaving an extra inch around all sides for seam allowance. This way, your pup won’t be sleeping on rough edges.
- Pin it Down: Place the fabric pieces right sides together and pin them securely. This keeps everything in place, preventing a fabric escape act while you sew.
- Sew the Edges: Sew around the edges about half an inch from the edge. Don’t forget to reverse stitch at both ends. It’s like giving your stitches a solid handshake—strong and secure.
- Reinforcing Magic: Go ahead and sew another stitch about a quarter inch from the first one. This is your secret weapon for durability and will keep the bed intact even during vigorous snoozing sessions.
- Get those Corners Right: Before you flip your fabric, trim the corners at an angle so they don’t sit bulky when turned. Nobody needs a bed that’s all lumped up in the corners—that’s just confusing.
- Turn and Insert: Flip the fabric right side out, poking the corners for a clean look. It’s like giving the bed a nice outfit. Insert your foam square and fold in the edges of the opening, pinning it closed. A quick seam will seal the deal—add extra stitches if your dog is a chewer.
Optional Add-ons/Variations
Feeling extra crafty? Try using a vibrant patterned fabric that complements your home décor, or experiment with different foam types to tailor the bed’s firmness to your pup’s liking. Maybe a luxurious faux fur top for added warmth or a calming lavender fabric to help soothe anxious pets.
Pro Tip
For extra comfort, consider adding a layer of batting or quilted fabric between the foam and the outer layer. It’s like giving your dog an inner cushion of softness.
And, as always, keep an eye on your pup’s preferences—sometimes they’ll surprise you with their own quirks about what feels just right.
Now, you’re all set to get crafting and create an orthopedically friendly oasis that your dog will love. Let the snuggles commence.
5. Customizable Size Options
Making a dog bed that perfectly suits your dog’s size and personality can be incredibly rewarding and a fun way to show your furry friend just how much you care. Customizable size options allow you to create a bed that fits your space and matches your home’s decor without breaking the bank. Plus, consider adding a homemade treat or a cake to really pamper them on their special day with dog cake baking supplies.
So let’s get to it and whip up a cozy resting spot that will have your dog snoozing like a champion.
Materials Needed
- High-density foam (for orthopedic comfort)
- Heavy-duty fabric (for the bed cover)
- Measuring tape
- Scissors
- Sewing machine (or needle and thread for hand sewing)
- Extra thread (in a matching color)
- Fabric pins
- Iron (optional but great for neat seams)
Step-by-Step Instructions
- Measure Your Dog: Use that trusty measuring tape to figure out how much space your pup needs. Keep in mind that larger breeds like Great Danes or Labs need more room to sprawl out comfortably. Jot down the dimensions. A happy dog = a happy home.
- Cut the Foam: Based on your measurements, cut the high-density foam to the desired size. Make sure it’s thick enough to provide support, especially for those older pups needing a little extra love. If you measure twice and cut once, you’re already ahead of the game.
- Prepare the Fabric: Cut two pieces of heavy-duty fabric using the foam dimensions with an extra inch around each side for seam allowance. Choose a fabric that matches your style—go wild with patterns or stick to solid colors.
- Pin and Sew It Together: Place the fabric pieces right sides together and pin them. Then, sew around the edges about half an inch from the edge. Don’t forget to backstitch at the start and end to give your seams some oomph.
- Extra Fortification: Now, sew a second seam about a quarter inch from the first. Trust me, this little step will pay off—especially when your pup enthusiastically burrows into their new bed or has a sudden urge to chew.
- Trim Those Corners: Snip the corners at an angle to reduce bulk. Nobody likes a corner that’s puffed up like a balloon. You want your bed to look smooth and chic, not like it just went through a wind tunnel.
- Flip, Insert, and Close Up: Turn the fabric right-side out and pop in your foam. Fold in the edges of the opening, pin it shut, and sew along the edge. For extra insurance, sew a few more stitches if your dog has a tendency to chew through things.
Optional Add-ons/Variations
Feeling creative? Why not use fabric in your dog’s favorite colors or patterns? You could even pick a reversible design, offering two fabulous looks in one bed.
Imagine switching it up based on your mood or seasonal decor, how fun is that?
Pro Tip
Always double-check your seam strength, especially if your dog has a penchant for digging before curling up.
Reinforce the seams for longevity—it’s a small step that can save you from future headaches (and from having to sew another bed if they go rogue).
With a little effort and some personal flair, you can craft a fabulous, custom-sized dog bed that won’t just fit your dog—it’ll fit your home too.
Plus, you’ll have the satisfaction of knowing you made it yourself. Just be prepared for lots of tail-wagging appreciation in return.
6. Reversible Designs for Versatility
Creating a reversible dog bed is like hitting the jackpot for dog owners. Not only does it provide your pup with a fresh place to lounge, but it also doubles your design options. Imagine giving your dog’s space a quick makeover with just a flip of the mattress. Plus, you’re saving money by not having to buy multiple beds—or at least that’s what I tell myself when I see my favorite fabric patterns. It’s a great way to complement their essential accessories for a more comfortable experience.
Materials Needed
- Two types of heavy-duty fabric (to give each side a unique style)
- High-density foam (for comfort)
- Measuring tape
- Scissors
- Sewing machine (or needle and thread for hand sewing)
- Extra thread (in matching colors)
- Fabric pins
- Iron (optional, but helps with those neat edges)
Step-by-Step Instructions
- Measure and Cut Foam: Start by measuring your dog, just like before. Once you’ve got those dimensions, cut the foam accordingly. Remember, it should be thick enough so your older furry friend doesn’t end up feeling every bump on the floor. Just make sure you measure twice… unless you want to risk a foam nightmare.
- Prepare Your Two Fabric Pieces: For each fabric type, cut two pieces that match the foam size plus an inch for seams—the more, the merrier, right? One side could have a vibrant pattern while the other is a cozy solid. Let your imagination go wild but choose wisely; that fabric will be the accent of your living room.
- Pin Two Fabrics Together: Grab your fabric pieces and place them right sides together. Pin those babies securely so they don’t run away while you sew. Remember, you want to keep it stable, but your dog might see this process as a perfect chance to sneak in some cuddles.
- Sew the Edges: Using the sewing machine (or your hand-sewing prowess), sew around the edges about half an inch from the side, just like before, with a backstitch at the start and end. You’ve got this—think of it like writing a love letter, but the recipient just happens to be a pooch.
- Extra Layer of Security: Sew that second seam about a quarter-inch from the first seam. You’ll want it sturdier, especially since your dog may consider it a mission impossible to de-stuff the bed.
- Snip, Snip, Snip: Carefully cut the corners at an angle to reduce bulk. Just a little trim here and there makes a world of difference—nobody wants a bed that looks like it’s been through a wrestling match.
- Turn It, Fill It, and Finish It Up: Flip the fabric right-side out and pop in that foam. Fold the open edges in, pin it, then sew along the edge. This is your chance to get it just right, especially if your dog has a knack for chewing (or “helping” you with your projects).
Optional Add-ons/Variations
- Use fun patterns on one side and a cozy solid on the other. Your dog can lounge in style while also coordinating with your home decor.
- Embroider your dog’s name or a cute saying on one side for that extra personal touch. It adds a you-have-to-see-this effect to guests who come over, trust me.
Pro Tip
Before you plunge into this project, consider washing your fabric first. It helps reduce shrinkage if you throw it in the wash later—plus, many dogs love the smell of fresh fabric, which makes for happy snuggles.
And don’t skip on the high-density foam; it’s like a little cloud for your dog’s tired bones, and we all want our pups to feel like royalty when they rest.
There you have it—a reversible dog bed that’s both fun and functional. Now, if only I could make a bed that would magically clean itself after my dog’s muddy adventures. One step at a time, right?
7. Breathable Mesh for Ventilation

If your dog is all about lounging but you’re worried about their comfort on warm days, then creating a breathable mesh dog bed is the perfect DIY project. Not only does it keep your furry friend cool, but it’s also an affordable way to give your home some designer flair. Don’t worry if you’re not a crafting expert; this project is easy to pull off, and your dog will thank you for it.
Materials Needed
- Breathable mesh fabric (like canvas or polyester)
- High-density foam (to create that comfy base)
- Measuring tape
- Scissors
- Sewing machine (or a needle and thread, for those who like to do things the old-school way)
- Fabric pins
- Iron (to make those edges look sharp)
- Optional: zipper or Velcro strips (for easy removal and washing)
Step-by-Step Instructions
- Measure Your Dog: Start by measuring your dog’s length and width while they’re lounging—this is a good time for a little cuddle. Once you have that, decide how thick you want the foam to be and cut it to fit. Aim for about 2-4 inches, depending on your dog’s comfort needs.
- Cut Your Mesh Fabric: Use the same measurements to cut two pieces of mesh fabric. Make sure to add an inch around for seams. This breathable fabric will allow air circulation, keeping your dog cool and comfy during those hot summer days.
- Pin the Fabrics: Place the two fabric pieces right sides together and pin them down, keeping all edges aligned. You’re creating a cozy shell, so pin neatly—unless you want a surprise space for air to escape, which isn’t quite the goal here.
- Sew Around the Edges: With your sewing machine (or needle and thread), sew along the edges about half an inch in, backstitching to reinforce the beginning and end. It’s like making a sandwich—secure those flavors (or in this case, fabric)!
- Flip and Fill: Carefully turn the fabric right-side out. It might feel like wrestling with a stubborn burrito, but you’ve got this. Once it’s flipped, place the foam inside, centering it well. If you added zippers or Velcro, get those attached now for easy cleaning later on.
- Finish the Open Edge: If you haven’t used zippers, you’ll need to sew up the last edge. Make sure to backstitch again, so it’s strong enough to withstand some serious dog naps.
- Iron for a Flawless Finish: Finally, if you’re feeling fancy, give a quick iron to smooth out any wrinkles. A crisp finish is nice, though your dog probably won’t care as long as they catch some sun on that new bed.
Optional Add-ons/Variations
- Color Coordination: Choose fabrics that match your home decor. Want a pop of color? Go bright with patterns that stand out, or create a calm aesthetic with neutral tones that blend in.
- Personalize with Patches: Consider adding a patch with your dog’s name for an extra special touch. This also gives you an excuse to indulge in a fun fabric shopping trip.
Pro Tip
Always pre-wash your fabrics before sewing. It helps avoid shrinkage later—because the last thing you want is to see your dog’s bed shrinking faster than your dog can chew a toy. Plus, it gets rid of any fabric chemicals that might annoy your pooch’s sensitive nose.
There you have it; a simple and stylish way to make a breathable mesh dog bed that both you and your furry friend will love. Get started and enjoy the journey of creating a cozy corner for your four-legged family member!
Extra Tips & Ideas
While you’re immersing yourself in the world of DIY dog beds for your large furry friend, there are a few extra tips and ideas that can make the process smoother and even more enjoyable.
First, consider your dog’s personality—does he like to lounge or curl up? Choosing the right dog bed designs can help meet those preferences.
And hey, don’t forget about pet safety; using non-toxic materials is essential.
Also, think about adding a washable cover—trust me, you’ll thank yourself later.
If you want to make it extra cozy, throw in some pillows or even a furry blanket.
Remember, your pooch deserves the best.
And who doesn’t love a little extra snuggle time.
Frequently Asked Questions
What Is the Best Size for a Large Dog Bed?
The best size for a large dog bed typically ranges from 36 to 48 inches in length, ensuring your dog’s comfort. Always consider your dog’s dimensions to choose the perfect bed dimensions for their size.
How Much Does It Cost to DIY a Large Dog Bed?
DIYing a large dog bed typically costs between $30 to $100, depending on the affordable materials you choose and the complexity of your dog bed design. You can create a comfortable space without breaking the bank.
Are There Specific Tools Required for Building a Dog Bed?
Building a dog bed’s no Herculean task! You’ll need basic tools like a saw, drill, and screwdriver. Combine those with various design options and suitable building materials, and you’re ready to create a cozy masterpiece!
Can I Machine Wash the Dog Bed Materials?
Yes, you can machine wash the dog bed materials. Just check the washing guidelines for specific fabrics. Generally, it’s best to use cold water and a gentle cycle to maintain their quality and durability.
How Long Will a DIY Dog Bed Last?
A DIY dog bed could last forever—or just a week! It really depends on durability factors like material quality. If you choose sturdy fabrics and reinforce seams, you’re setting your furry friend up for long-lasting comfort.
Conclusion
So, you’re all set to create that cozy, customized retreat for your big buddy. With durable fabrics and fun features, your DIY dog bed will be both comfy and cute, a perfect pit stop for playtime and nap time. Just think about it—your furry friend, flopped happily, surrounded by love and laughter. You’ll feel like a crafty champion, and trust me, your dog will think it’s the best bed in the world. Ready to roll up your sleeves?