
Like a chef creating the perfect recipe, crafting a dog fence can feel a bit overwhelming. But don’t worry, it’s simpler than you think. Ever found yourself staring at your backyard, wondering how to keep your pup safe and happy without spending your life savings? You’re not alone! Let’s explore some budget-friendly DIY options that’ll make you feel like a fencing pro—and your dog will thank you. Curious about what’s cooking?
Easy PVC Fence Ideas
When it comes to keeping your furry friend safe and sound, a DIY PVC fence can be a game changer. You’ll love how easy and cheap it’s to create a dog-friendly outdoor space.
First, grab some PVC pipes from your local hardware store—easy to handle and quick to cut. You can design a simple rectangle for your yard; just use T-connectors to create corners. Be sure to bury the base a bit for extra stability.
What’s fantastic is you can customize the height to keep your pup from doing any Olympic-level jumping. Plus, it looks sleek and modern.
Our Collection
Now that you’ve got some easy PVC fence ideas in mind, let’s check out our collection of creative options.
From wood pallet designs that scream rustic charm to wire mesh and chicken wire solutions, there’s something here for every style.
Don’t worry, even if you feel like a fencing novice, these ideas are straightforward enough to have you feeling like a DIY expert in no time.
1. Wood Pallet Fence Design
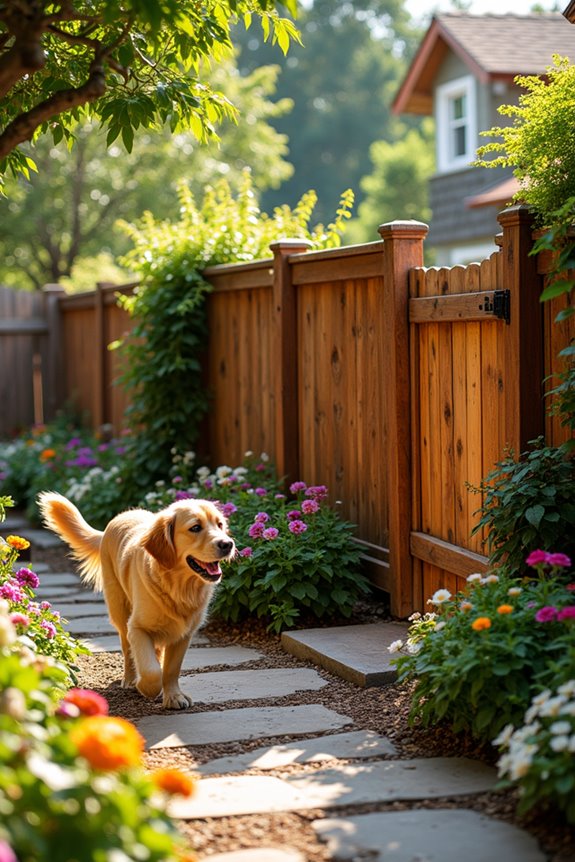
Creating a wood pallet fence is a fantastic DIY project for dog owners looking to keep their furry friends safe and comfortable in their own backyard. Not only does it provide a sturdy barrier, but it also offers a rustic charm that can enhance the aesthetic of your home. Plus, constructing it from pallets is super budget-friendly. Who doesn’t love saving a little cash while making the world’s best doggo feel right at home? Additionally, pairing the fence with premium dog gear can ensure a well-rounded outdoor experience for your pup.
Materials Needed:
- Wooden pallets (the number will depend on the size of your yard)
- Nails or screws
- Hammer or drill
- Saw (for cutting pallets if needed)
- Measuring tape
- Level (to verify it sits straight)
- Sandpaper (to smooth any rough edges)
- Weatherproof wood stain or paint (optional)
- Outdoor sealant (optional)
- Safety gloves and goggles
Step-by-Step Instructions:
1. Measure Your Space: First things first, grab your measuring tape and outline the area where you want to build the fence. Make sure to account for any gates you may want for easy access.
2. Gather Your Pallets: Next, round up your wooden pallets. You can often find these at local businesses or warehouses. Just make sure they’re clean and sturdy enough to withstand the outdoors. A little treasure hunt can be fun, I promise.
3. Prepare the Pallets: If they show signs of wear, use sandpaper to smooth out any rough spots. You don’t want your pup snagging a paw, do you?
If you’re feeling crafty, now’s a great time to apply some weatherproof wood stain or paint to protect them further and add some flair.
4. Cut the Pallets (if necessary): If your space isn’t rectangular or you need to make adjustments, use your saw to cut the pallets to the required size. Just be careful with those power tools — remember, we’re building a safe space for our puppies, not an episode of a DIY disaster show.
5. Assemble the Fence: Start stacking the pallets in your desired position and connect them using nails or screws.
Check with the level to make sure they’re standing straight, like a good fence should. If you’re feeling particularly adventurous, you might create a zig-zag pattern for a unique style.
6. Secure Your Fence: To guarantee the fence is stable, hammer the pallets into the ground or secure them with stakes if you’re facing particularly stubborn wood.
This helps prevent any sneaky pups from trying to dig their way out. Trust me, I’ve seen my dog pull off some impressive escape maneuvers.
7. Finishing Touches: Once everything is securely in place, it’s time to give your fence a final inspection. Make sure there are no gaps for your adventurous dog to squeeze through.
Then, add any accessories or decorations you desire, like hanging plants or whimsical signs.
Optional Add-ons/Variations:
Consider painting your fence in vibrant colors to match your personality or to make your yard pop. Alternatively, adding a trellis section to grow climbing plants can add a touch of nature to the structure.
You could even make it a fun family project by letting the kids help with painting — just don’t blame me for any rogue paint splatters.
Pro Tip:
Always check for any broken or sharp edges after building your fence. Safety is A1 when it comes to our pets.
You might also want to give your fence a quick check each season, guaranteeing it holds its charm and safety.
2. Wire Mesh Fence Panels
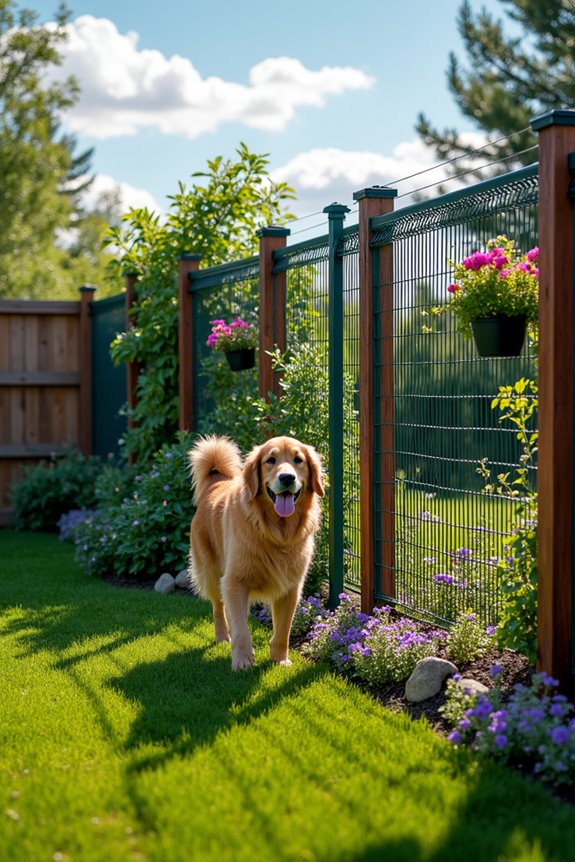
Looking for a practical yet stylish way to keep your dog safe in the yard? Wire mesh fence panels could be just the solution you need. They’re durable, easy to install, and can give your backyard a clean, modern look.
Plus, they make it almost impossible for any crafty pups to execute their escape plans. So, let’s get started on building a safe haven for your furry friend while adding value to your home. High end dog supplies can elevate your outdoor experience too!
Materials Needed:
- Wire mesh panels (size may vary based on your yard)
- Wooden posts (for support)
- Concrete mix (for securing posts)
- Fence staples or screws
- Hammer or power drill
- Wire cutters
- Measuring tape
- Level
- Safety gloves and goggles
Step-by-Step Instructions:
1. Plan Your Layout: Walk around your yard and envision where the fence will go. Use your measuring tape to figure out how much wire mesh you’ll need.
Don’t forget to think about any gates you might want for easy access – because chasing a dog through the house to get outside is just not ideal.
2. Set the Posts: Dig holes where your posts will go, ideally around every 6-8 feet. Make sure the holes are deep enough so they won’t wiggle or fall over.
Insert your posts into the holes, then mix your concrete and pour it in. Let it cure according to the package instructions. You want those posts standing tall, not like they just came back from a drag race.
3. Attach the Wire Mesh: Once the concrete has set, lay the wire mesh against the posts.
Using your fence staples or screws, attach the mesh securely to the posts. Make sure to pull it tight so there aren’t any gaps. You wouldn’t want a determined little rascal squeezing through now, would you?
4. Secure the Bottom: To prevent any munchkin dogs from digging under the fence, bury the bottom of the wire mesh in shallow trenches or use large rocks along the base.
This little detail can save you a world of worry later.
5. Add Finishing Touches****: Double-check that everything is level and secure. If you’re feeling decorative, you can paint or cover the wooden posts with outdoor-safe finishes.
A splash of color can turn that functional fence into a beautiful garden element.
Optional Add-ons/Variations:
- Vinyl Coating: Consider using vinyl-coated wire mesh for a colorful twist that not only surprises the eye but also adds an extra layer of durability.
- Plant-Friendly: Line the inside of your fence with climbing plants or flowering vines to add an inviting and vibrant look to your yard.
You could transform your dog’s playground into a floral paradise.
Pro Tip:
Before you jump into this project, check with your local regulations about fence height and materials.
It can save you time and headaches down the road — you don’t want to be in a situation where your cool new fence is suddenly a no-go because it doesn’t meet the guidelines. Trust me, I’ve had my fair share of learning experiences with home projects.
Now that you’re armed with this knowledge, it’s time to roll up those sleeves! Your dog will thank you for creating their new favorite outdoor oasis, and who knows—you might end up enjoying the fresh air just as much as they do.
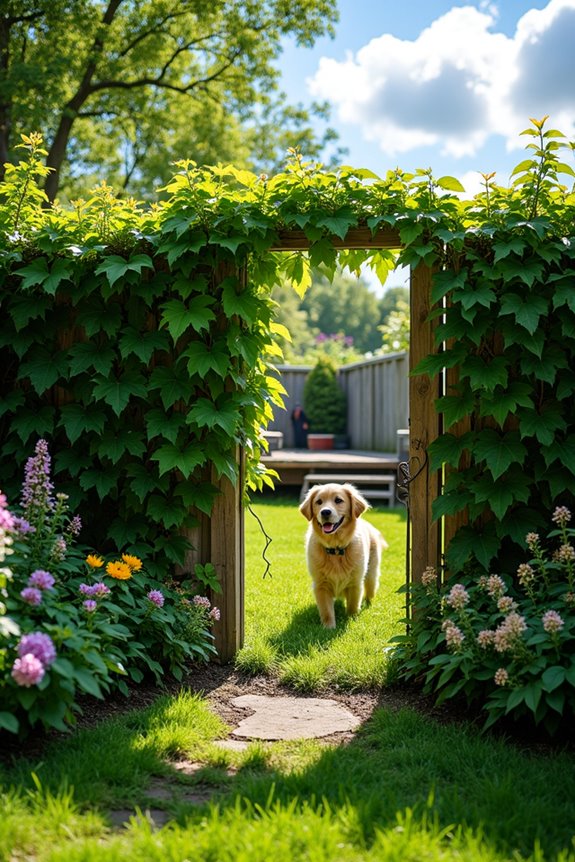
3. Repurposed Garden Trellis Fence
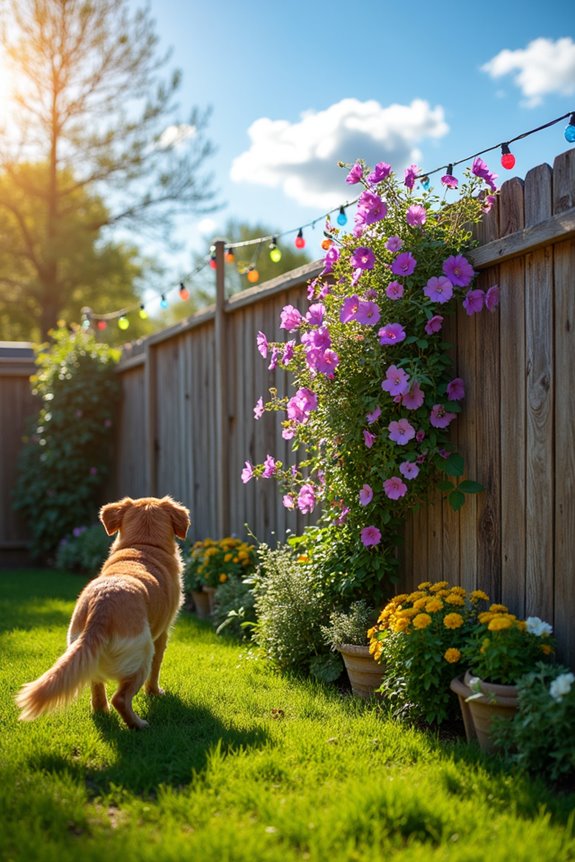
If you’re looking to give your yard a boost while keeping your furry friend safe, a repurposed garden trellis fence might be just what you need. Not only does it provide a sturdy barrier, but it also offers a touch of charm to your outdoor space. Plus, it’s a wallet-friendly option, letting you save a bit of cash while creating a lovely, functional environment for your dog to roam freely. Additionally, incorporating dog cake baking supplies into your pet party plans can be a fun way to celebrate your pup’s birthdays!
Materials Needed:
- Old garden trellises or fun, new ones
- Wooden stakes (to reinforce the fence)
- Zip ties or screws (for stronger connections)
- Hammer or power drill
- Measuring tape
- Level
- Safety gloves and goggles
- Optional: Outdoor paint or wood stain for a personal touch
Step-by-Step Instructions:
- Select Your Trellises: Grab those old trellises that have been sitting in your garage, or head to a local garden store for some stylish ones. Make sure they’re tall enough to contain your dog, but not too tall that you need a ladder to check on them.
- Plan the Layout: Visualize where the fence will go by walking the perimeter of the area. Use your measuring tape to figure out how many trellises you’ll need. Don’t forget to leave space for any gates if you need to sneak in the occasional lawn mower (or dog toys left out).
- Mark the Post Locations: With your measuring tape, mark spots for your wooden stakes where each trellis will go. A good rule of thumb is to space them about every 4-6 feet, depending on the length of your trellises.
- Drive in the Stakes: Get your hammer or power drill and secure the wooden stakes into the ground. Make sure they’re straight by using your level. You want them sturdy enough to withstand a playful pup’s playful nudges.
- Attach the Trellises: Now, it’s time to get those trellises in place. Use zip ties or screws to attach the trellises to the stakes. If you’re going for the zip tie route, try to use several ties to keep everything nice and tight. This adds that extra layer of security against escape artists.
- Add Decorative Touches: Want to jazz it up? Feel free to paint your trellises or add some outdoor-styled decorations. Maybe some climbing flowers or colorful lights. It’s a fence, sure, but that doesn’t mean it can’t bring a smile to your face.
- Check for Stability: Do a final check to make sure everything is secure and stable. Give it a gentle shake. If it holds strong, you’re good to go! Now, you and your pup can enjoy your backyard paradise in peace.
Optional Add-ons/Variations:
- Plant a Living Fence: Consider incorporating some beautiful climbing plants at the base of your trellis for additional aesthetics and privacy. Think jasmine or morning glories, which can create a colorful display and a bit of shade too.
- Seasonal Decor: Deck out your fence for holidays with bunting or strings of lights. It can be a delightful addition for you and your neighbors.
Pro Tip:
Before you get started, think about treating your wooden stakes and trellises with a weatherproof sealant. It’ll help prolong their life against moisture and the elements, meaning less maintenance for you, and a safer play environment for your dog.
After all, nobody wants to be redoing this project every season. Trust me, 12 trips to the hardware store for extra screws might just push someone over the edge!
4. Chicken Wire Fence Option
If you’re on a budget and need a simple fencing solution to keep your pup secure, a chicken wire fence may be just what you’re looking for. This DIY project not only helps to contain your dog but also saves you money while giving your yard a tidy appearance.
Plus, it’s an easy way to let your furry friend enjoy the great outdoors without worrying about them wandering off too far. In addition, creating a safe outdoor space can be enhanced using high end dog food processors to ensure that your pet enjoys nutritious meals.
Materials Needed:
- Chicken wire (enough to cover your desired area)
- Wooden posts (4×4 inches recommended)
- Gravel or soil (for post stability)
- Wire cutters
- Measuring tape
- Hammer or power drill
- Fence staples or nails
- Safety gloves and goggles
- Optional: Outdoor paint or wood stain for a stylish finish
Step-by-Step Instructions:
- Measure Your Space: Start by measuring the area where you want to put the fence. Use your measuring tape to determine the length needed for the chicken wire, adding a few extra feet just in case.
- Mark Post Locations: Plan where your wooden posts will go. Usually, placing them about 6-8 feet apart will work. Mark these spots with stakes or chalk to visualize your fence layout.
- Set Your Posts: Dig holes for the wooden posts at your marked spots. The holes should be about 2 feet deep for stability. Pour gravel or soil around the posts to secure them, then tamp it down firmly.
- Cut the Chicken Wire: Once your posts are up, lay out your chicken wire and cut it to size using wire cutters. Remember, chicken wire prefers a little extra length, especially at corners or curves, so don’t be shy.
- Attach the Chicken Wire: Starting at one end, pull the chicken wire taut and attach it to the wooden posts using fence staples or nails. Place staples every 12-18 inches to keep it secure, so your pup doesn’t think he’s found a secret exit.
- Finishing Touches: If you want to jazz it up a bit, consider painting your wooden posts with outdoor paint or wood stain. It could look great and may also help protect the wood from the elements.
- Check Your Work: Finally, give everything a good check. Walk the perimeter of your fence and see if there are any loose spots or potential escape routes.
If it holds strong, you’re all set.
Optional Add-ons/Variations:
- Want a pop of color? Paint your wooden posts a bright color to match your home’s aesthetic or your dog’s personality.
- Consider weaving some vines or climbing plants through the chicken wire to create a more visually appealing garden fencing option.
Pro Tip:
Ensure your posts are placed deeply into the ground to provide extra sturdiness, especially if you have a bigger or more energetic dog. The last thing you want is a determined pup trying to push through.
Also, chicken wire isn’t the most durable; check it regularly for wear and tear after heavy storms or playful digging sessions.
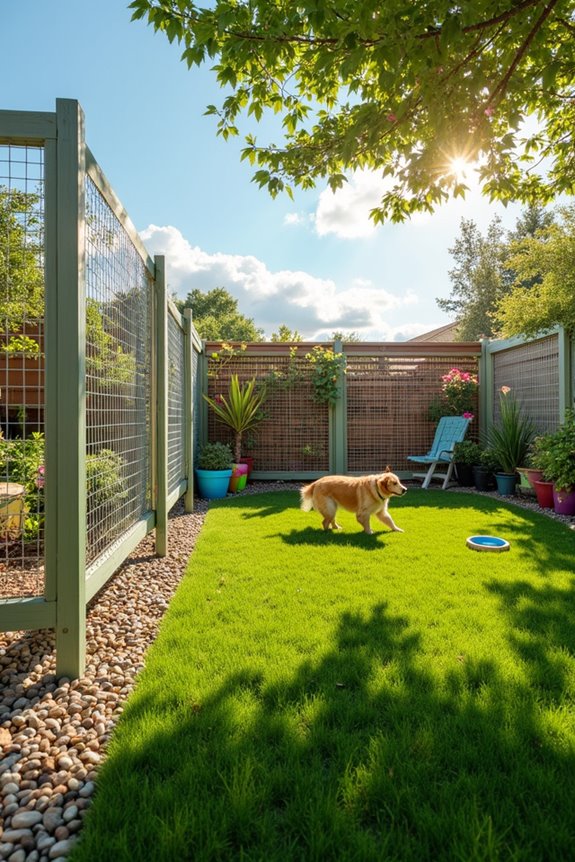
5. Vinyl Lattice Fence Panels

Creating a vinyl lattice fence isn’t only a fantastic way to enhance your dog’s outdoor space but also a stylish solution that adds charm to your yard. This DIY project provides you with a sturdy barrier while allowing your pup to enjoy the fresh air without worrying about escaping.
Plus, it’s a long-lasting material that can save you money in the long run, making it a win-win for every dog owner. Investing in luxury dog training equipment can also complement your outdoor setup and improve your pup’s training experience.
Materials Needed:
- Vinyl lattice panels (sized to your desired area)
- Wooden posts (4×4 inches recommended)
- Concrete mix or gravel (for post stability)
- Measuring tape
- Level
- Hammer or power drill
- Screws or brackets (for attachment)
- Safety gloves
- Optional: Decorative paint or wood finish for posts
Step-by-Step Instructions:
- Measure Your Area: Begin by measuring the space you want to fence in. Knowing the exact dimensions will help you figure out how many vinyl panels and wooden posts you need. Don’t forget to add a bit extra for those pesky corners.
- Plan Post Placement: Decide where your posts will go—typically 6-8 feet apart should do the trick. Mark these spots with small stakes. Picture your beautifully fenced yard; excitement is building already, isn’t it?
- Install the Posts: Dig holes about 2 feet deep for each of your wooden posts. Add concrete mix or gravel to secure them in place—make sure they’re level as you go, because nobody likes a lopsided fence, right?
- Cut the Lattice: If you need to, trim your vinyl lattice panels to size using a utility knife. Take your time with this step. We want clean edges, not jagged ones for your curious pooch to poke a nose through.
- Attach Lattice to Posts: Start at one end, lining up the lattice panel with your posts. Use screws or brackets to secure them to the posts. Make sure it’s snug but not so tight that you risk warping the panels. We want it to stay looking gorgeous!
- Fill in the Gaps: Once you have your lattice attached, double-check for any spaces where your pup might squeeze through. You can use smaller fencing material or plants to block off these areas, ensuring a secure yet stylish space.
- Finishing Touches: To really give your fence personality, consider painting the wooden posts a fun color or applying an outdoor finish if you want to highlight the natural wood grain. Your yard, your style—go wild with it.
Optional Add-ons/Variations:
- For a touch of whimsy, paint the wooden posts to match your house or opt for bright colors that reflect your dog’s personality. Who says fences have to be boring?
- Add some climbing plants like ivy or morning glories to the lattice for a beautiful, natural touch. Your dog might just enjoy the added shade while lounging in the yard.
Pro Tip:
Before you start this project, make sure to check your local regulations regarding fencing—some places have rules on height and materials!
Also, investing in some good-quality screws can save you the time and hassle of worrying about replacements down the line. Your dog will thank you for it, especially if it means fewer escapes.
Now that you have everything you need, it’s time to roll up your sleeves and get started. Your furry friend is about to have the snazziest yard in the neighborhood. Good luck, and don’t forget to take breaks for belly rubs!
6. Electric Pet Containment System
Looking for a way to keep your furry friend safe and sound without the hassle of a traditional fence? An electric pet containment system could be just what you need. This DIY project not only gives your dog the freedom to roam your yard, but it also helps you maintain a neat appearance without bulky barriers.
Plus, with the money you save avoiding a full fence installation, you can splurge on those squeaky toys your pup loves.
Materials Needed:
- Electric pet containment system kit (including wire, flags, and transmitter)
- Wire cutters
- Shovel or garden spade
- Measuring tape
- Garden stakes (optional, for marking boundaries)
- Safety gloves
- Batteries (if required for the transmitter)
Step-by-Step Instructions:
1. Choose Your Boundaries: Walk around your yard and decide where you want your dog to roam. Use garden stakes or flags to mark the area, visualizing your pup frolicking happily within these bounds. The anticipation is real!
2. Measure the Wire: Measure how much wire you’ll need based on the dimensions of your flagged area. It’s crucial to get this right, so double-check—unless you want to be digging up slack cable later, and who wants that?
3. Trench Time: Dig a small trench around the marked boundary where you’ll lay the wire. Typically, a depth of 3-5 inches should do the trick. This keeps the wire hidden and safe from lawnmowers or curious critters.
Pro tip: Take breaks often; nobody likes sore arms from digging.
4. Lay the Wire: Carefully unwind the electric wire and lay it in the trench, following your outline. Be sure to leave enough slack at the corners to handle turns.
It’s like laying down a concealed track for your dog’s very own amusement park.
5. Connect the Transmitter: Follow the instructions in your kit to connect the wire to the transmitter. Most systems are pretty straightforward, like connecting a fancy new gadget.
Just remember, not every gadget will automatically understand your love for your dog.
6. Set the Boundary Settings: Adjust the levels on your transmitter to suit your dog’s temperament. You want it to be enough to get their attention, but not so much that it becomes a scary experience for them.
A gentle reminder is best, think of it as a polite nudge rather than a wake-up call.
7. Test It Out: Before letting your pup roam free, it’s vital to test the system. Take a walk around the boundary with your dog on a leash to see how they react.
A bit of training will go a long way, getting them familiar with the system. Think of it as an introduction to a new game; set the stage right.
Optional Add-ons/Variations:
- Consider using colored flags or lighting along the boundary wires for a uplifting twist that matches your backyard’s style. It not only marks the edge but also adds a decorative flair.
- Personalize the system with a sound setting that fits your dog’s personality. Maybe a chirpy tone fits your bubbly golden retriever, while your sly terrier appreciates a gentler sound.
Pro Tip: Don’t forget to regularly check the system for wear and tear, especially after heavy rains or snowy weather.
Keeping the wires intact not only promotes safety but will also save you from potential frustrations in the future. A little maintenance goes a long way!
7. Hedge Trimmer Fence Option
If you’ve been dreaming about giving your dog some freedom while adding a touch of natural beauty to your yard, a hedge trimmer fence might be the perfect DIY project for you.
Not only does it serve as a decorative boundary, but it also offers a cozy nook for your pup to play while keeping your garden looking trim (get it?).
Plus, it’s a cost-effective and stylish alternative to a traditional fence—who doesn’t love saving a few bucks while being creative?
Materials Needed:
- Hedge trimmer (or pruning shears)
- Wooden stakes or existing fence for support
- Twine or garden wire
- Fast-growing vines (like ivy or honeysuckle)
- Shovel (if planting)
- Safety gloves
- Measuring tape
Step-by-Step Instructions:
1. Plan Your Layout: Take a stroll around your yard and decide where you want the hedge fence.
Consider how much space your dog will need to roam freely. Visualize a natural-looking boundary that enhances your garden charm while keeping your furry friend safe.
2. Prepare the Soil: If you’re planting your hedge, loosen the soil in the chosen area with a shovel.
This makes it easier for the plants to take root. If you’re using existing plants or shrubs, give them a little pruning to help them shape up nicely.
3. Plant the Vines: Dig a small hole for each vine you want to plant along the boundary.
Follow the instructions on how deep to plant your specific vine (usually about twice the size of the root ball). Space them out, keeping in mind their growth potential—those little green wonders can surprise you!
4. Support Your Growth: Once your vines are planted, tie them to wooden stakes or a trellis if you want to guide their growth.
Use twine or garden wire to help them climb. Think of it as a friendly boost; they’ll appreciate it while they stretch toward the sun.
5. Trim to Shape: After a few weeks, once your plants have started to grow, grab that hedge trimmer or pruning shears.
Keep everything neat and tidy by trimming the vines to your desired height and shape. This isn’t just a grooming session—you’re creating a natural masterpiece.
6. Establish a Boundary: To guarantee your pup knows where the limits are, mark the perimeter of the hedge fence with garden stakes or small flags.
This visual cue will help them learn the area they can frolic in, like giving them their own little kingdom.
7. Give It Time: Remember, this is a growing project. Patience is key.
Over time, your hedge fence will flourish, creating a lush barrier that’s both beautiful and functional.
Optional Add-ons/Variations:
- For a pop of color, mix in flowering plants that attract butterflies and bees, adding an extra element of joy to your yard while also giving your dog some visual entertainment.
- If you want to create a privacy screen, consider combining multiple varieties of vines that different growth rates, making for an interesting layered look.
Pro Tip:
If you want to save some dough, look around your neighborhood or local garden centers for cuttings of fast-growing vines.
Many plants can be propagated from clippings, which means you can create an entire hedge fence without spending a fortune. Just be sure to check which plants are suited for your climate before diving in.
And there you have it—an easy DIY hedge trimmer fence that adds beauty, keeps your pup safe, and brings a smile to your face every time you step outside.
What could be better than that?
Extra Tips & Ideas
Dog fences can actually be a lot more than just barriers; they can be a fun and creative extension of your yard.
Think about adding some whimsical touches, like colorful flags or DIY art. You could even paint the fence to match your home. Your pup won’t mind a little flair, right?
Consider incorporating natural elements too. A small patch of flowers or herbs can create a lovely view and keep your dog entertained.
Speaking of entertainment, why not build a little agility course using everyday materials? Just remember, safety first—never use anything that could hurt your furry friend.
With a bit of creativity and humor, your dog fence can be an eye-catching feature, not just a simple enclosure.
Frequently Asked Questions
How Much Does It Typically Cost to Build a DIY Dog Fence?
On average, building a DIY dog fence costs between $1 and $12 per linear foot. Depending on the materials you choose, your total can range from a few hundred to several thousand dollars.
What Regulations Should I Consider Before Building a Fence?
Before building a fence, check local zoning laws, height restrictions, and property lines. You should also consider homeowner association guidelines and any permits needed. Compliance helps prevent fines and potential disputes with neighbors.
How Can I Ensure My Dog Won’T Escape the DIY Fence?
Keep your canine contained by crafting a sturdy structure. Choose a tall, tight fence, bury the base, and avoid gaps. Training and toys can distract, ensuring your dog stays safe and secure within the space.
Can I Customize My Dog Fence for Specific Dog Breeds?
Yes, you can customize your dog fence for specific breeds. Consider your dog’s size, strength, and jumping ability. Adjust the height, material, and spacing between fence panels to better accommodate their unique needs.
What Tools Do I Need for the DIY Dog Fence Project?
Building your dog fence is like crafting a fortress of love. You’ll need wooden stakes, a hammer, a saw, fencing materials, measuring tape, wire cutters, and safety gear. With these tools, you’re ready to create!
Conclusion
So there you have it—seven budget-friendly DIY dog fence options to keep your furry pals safe while jazzing up your yard. Who knew you could play fence designer without going broke? Whether you prefer a sleek PVC look or a rustic wood aesthetic, there’s something for every style. Isn’t it great to know you can blend function and charm without breaking a sweat (or your wallet)? So, what are you waiting for? Grab those tools and start building!