So, you’re thinking about building a DIY dog house? That’s a fantastic idea. Imagine this: your furry pal lounging in their very own cozy retreat, sheltered from the rain and warm on chilly nights. It might seem intimidating, but trust me, you can totally do it with a bit of wood, some nails, and maybe a few less-than-perfect measurements. And don’t worry, even if your building skills are more “creative” than “expert,” I’ve got tips to help you make it a success. Ready to get started? Let’s go!
Cozy Weatherproof Designs
When it comes to building a cozy weatherproof dog house, think of it as crafting a little fortress for your furry friend.
You’ll want to choose cozy materials like insulated wood or even straw bales to keep them warm in winter. Whatever you pick, make sure it’s durable and safe for pets.
Adding weather-resistant features is essential. Think sloped roofs to shed rain and proper ventilation for summer heat. Don’t forget to elevate the house slightly off the ground, so no pesky puddles ruin their retreat. You wouldn’t want to curl up in a damp corner, right?
Plus, you can include a soft bed inside—because every fortress deserves a comfy throne. Your pup will appreciate those thoughtful touches.
Our Collection
Let’s take a look at our collection of dog houses that’ll make your pup feel right at home.
Whether you’re eyeing a raised wooden option or a cozy insulated igloo shape, there’s something for every taste (and budget).
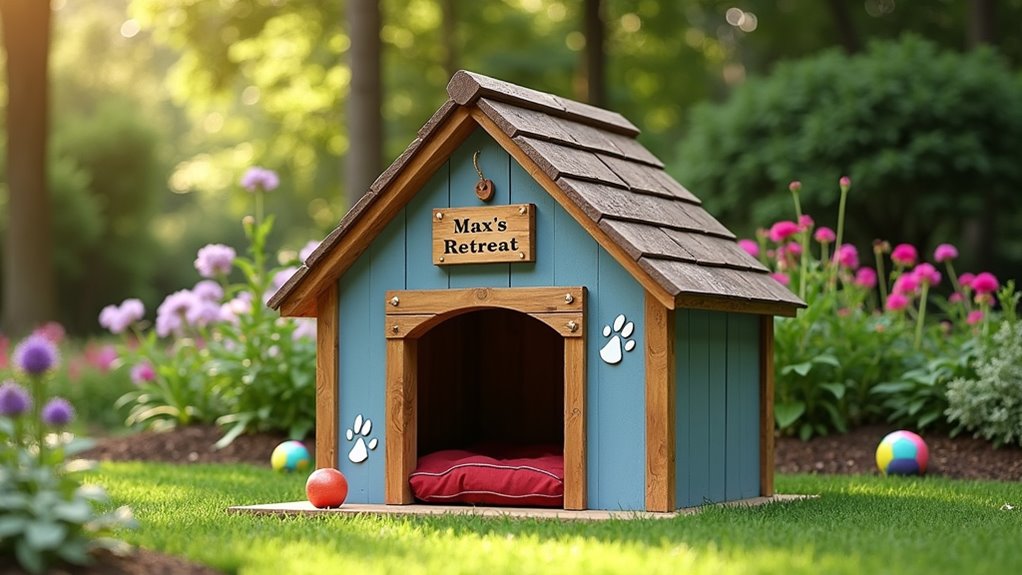
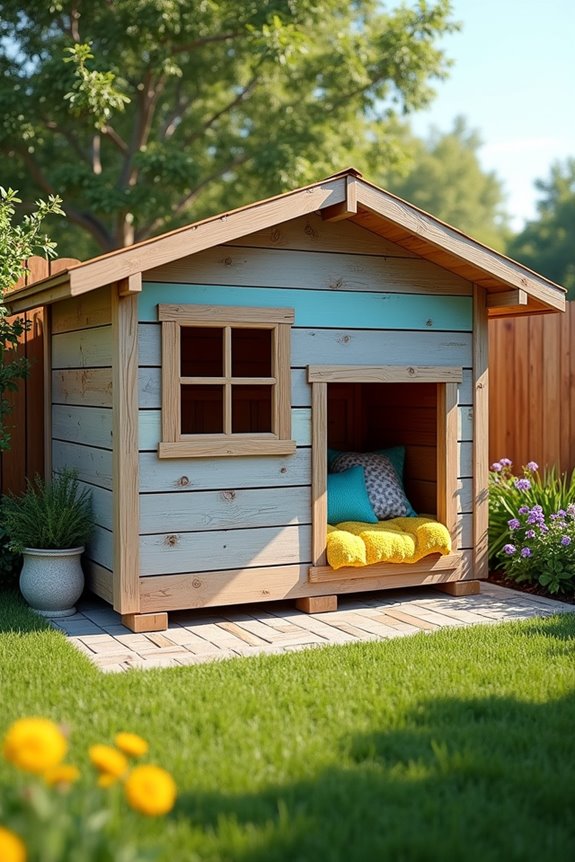
1. Raised Wooden Dog House
Looking for a way to pamper your furry friend? Building a raised wooden dog house isn’t only a fun DIY project, but it also gives your pup a cozy and safe haven.
Plus, it saves you the hassle and expense of buying a ready-made one, while allowing you to add your personal touch. Let’s get those nails in! Additionally, consider supplementing your pup’s diet with pet allergy relief supplements to ensure their overall comfort and health.
Materials Needed:
- Wood: Pressure-treated lumber (2x4s for the frame, plywood for the walls and roof)
- Screws: Outdoor-grade screws (1.5 – 2 inches)
- Wood Glue (optional): For extra strength
- Roofing Material: Shingles or waterproof tarp
- Saw: Circular or hand saw
- Drill: For making holes for screws
- Measuring Tape: To get those dimensions right
- Sandpaper: For smoothing out edges
- Paint or Stain: Optional for finishing touches
- Paintbrush: If you’re planning to add some color
- Level: To guarantee a stable base
- Protective Gear: Safety goggles and gloves
Step-by-Step Instructions:
1. Measure and Cut the Wood: Start by measuring your dog’s height and length. A good rule of thumb is to add a few extra inches for comfort. Cut your wood pieces accordingly: four walls, a base, and a roof.
2. Assemble the Base: Take your cut pieces for the base, lay them out, and screw them together to form a solid platform. Make sure it’s rectangular or square based on your measurements.
Use the level to guarantee it’s even.
3. Create the Walls: Now, take your wall pieces and attach them to the base. Start with one wall, screw it down securely, then do the next, continuing until all four are up.
You’ll want a sturdy frame, so if you feel fancy, throw in some extra bracing.
4. Add the Roof: Next, cut your roof pieces at an angle for a peaked effect—unless you’re aiming for more of a “modern flat-roof” look.
Attach them securely, using screws and/or wood glue.
5. Seal the Deal: Sand down any rough edges (no one wants splinters, including you) and apply a coat of waterproof paint or stain to protect your dog house from the elements.
This is your chance to add personality; choose colors that match your home or yard.
6. Finalize the Interior: Make the inside comfy for your dog by adding a soft blanket or dog bed.
You might even want to throw in their favorite toy for a welcoming touch.
7. Position the House: Find a cozy spot in your yard or porch that’s shaded from the sun and protected from wind.
Don’t forget to elevate it a bit for added ventilation—your pup will appreciate the breeze.
Optional Add-ons/Variations:
- Paint with Paw Prints: Let your dog’s paw be the designer. Dip their paw in non-toxic paint and stamp it on the dog house for a fun, customized look.
- Add a Porch: Got some extra wood?
Consider building a small porch in front of the dog house for your canine to lounge on while soaking up the sunshine.
Pro Tip:
Always choose pressure-treated lumber to guarantee your dog house withstands the elements.
Also, a small raised platform protects it from rain and keeps your pup dry. Trust me, nothing’s worse than a soggy dog.
You might even find your furry friend thanking you with extra cuddles.
Ready to build? Let’s release that creativity and make your pet’s dream house a reality!
2. Insulated Igloo Shape
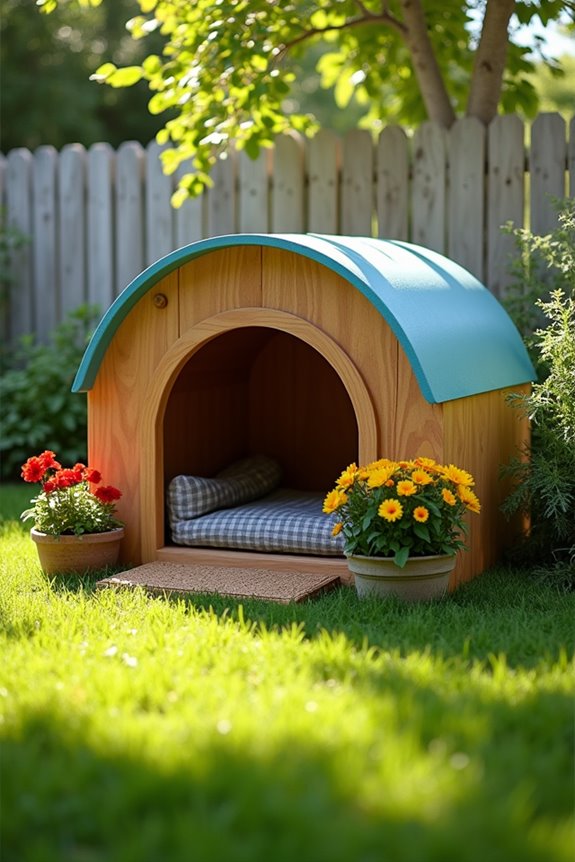
If you want to give your furry friend the gift of warmth and comfort, building an insulated igloo-shaped dog house could be the perfect project for you. This cozy retreat helps keep your pup snug during chilly nights while saving you bucks compared to store-bought models. Plus, let’s be real—nothing says “I love you” quite like a custom home made with your own two hands.
Materials Needed:
- Plywood: For the base and insulation
- Insulation Foam: Rigid foam panels or spray foam insulation
- Screws: Outdoor-grade screws (1.5 – 2 inches)
- Wood Glue: Optional for extra stability
- Plastic Sheeting: To create a waterproof barrier
- Circular Saw or Reciprocating Saw: For cutting your materials
- Drill: To insert screws
- Measuring Tape: To verify accurate measurements
- Sandpaper: For smoothing edges
- Paint or Sealant: For weatherproofing
- Paintbrush: If you wish to add a splash of color
- Safety Gear: Gloves and safety goggles
Step-by-Step Instructions:
- Plan Your Dimensions: Determine how big you want the dog house to be based on your pup’s size. An igloo shape typically has a rounded top, which will be great for both height and insulation.
- Cut Out the Base and Walls: Cut out a circular base from plywood. For the walls, cut rectangular panels that will connect into a dome shape. Depending on your dog’s size, keep the heights around 24-30 inches.
- Add the Insulation: Cut insulation foam panels to fit snugly between your plywood walls. This is the secret ingredient for keeping your pup warm and cozy, so don’t skip this part! Secure them in place with wood glue and a few screws.
- Construct the Dome: Join the wall panels together in a semi-circle or full circle to form the igloo shape. Use screws to attach the panels, and make sure to reinforce the joints with wood glue if you desire extra strength.
- Seal it Up: Once the walls are connected, cover the outside with plastic sheeting to protect against water. Then, paint or seal the exterior to keep it weatherproof. Feel free to get creative with colors or patterns that match your home or yard.
- Finishing Touches: Sand any rough edges to prevent splinters. Once everything is dried and set, add a cozy blanket or dog bed inside to make it inviting. Throw in a toy or two, and voilà—your doggy igloo is ready.
- Placement: Set it up in a sheltered area of your yard where it’ll stay dry and out of harsh weather. The igloo shape helps in deflecting cold winds, so your dog will be snug as a bug.
Optional Add-ons/Variations:
- Customize the Exterior: You can paint your dog house with fun colors or add fun decals that reflect your dog’s personality or your favorite themes. A little flower box at the front could also add a playful touch.
- Eco-Friendly Approach: Consider using reclaimed wood or materials, not only for aesthetic charm but also to be kinder to the planet.
Pro Tip:
If you want a little more comfort for your dog, use a straw or a thick blanket as bedding; it provides warmth and is easy to replace. Also, confirm the house is elevated slightly off the ground to prevent any dampness from seeping in.
With a bit of love and creative flair, your dog will be enjoying their stylish new abode in no time. Additionally, using premium dog food brands can enhance your dog’s overall health and happiness, making your homemade igloo even more worthwhile.
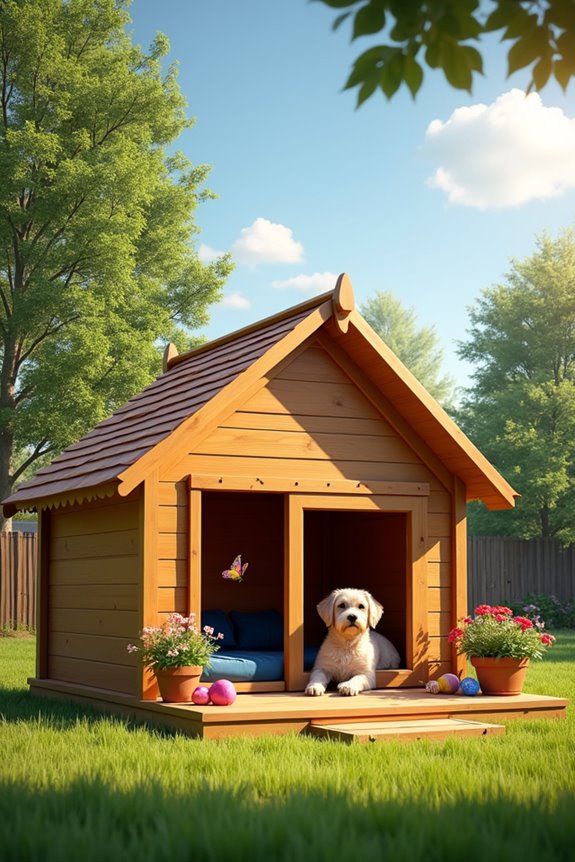
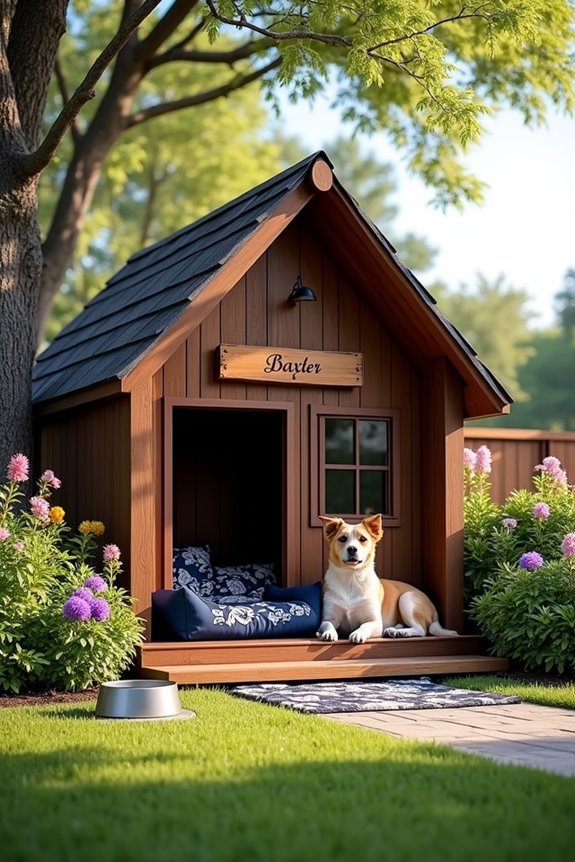
3. Small Outdoor Cedar House
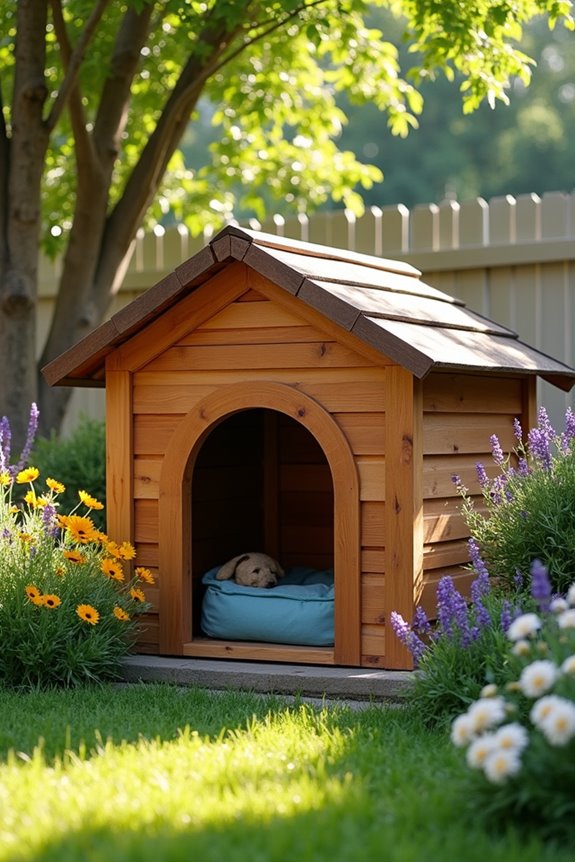
If you’re looking to create a charming little abode for your four-legged friend, building a small outdoor cedar house is a fantastic project. It not only provides a cozy shelter but also adds a touch of rustic charm to your yard. Plus, cedar wood is naturally resistant to decay, which means you’ll enjoy a durable dog house without breaking the bank on fancy materials. Your dog will appreciate the comfort, and you’ll get major bragging rights among your friends. Additionally, you can enhance your cooking experience by outfitting your kitchen with high end kitchen appliances that make meal prep a breeze.
Materials Needed:
- Cedar Wood Boards: For the walls, base, roof, and flooring
- Screws: Outdoor-grade screws (1.5 – 2 inches)
- Wood Glue: Optional, but helps to keep everything sturdy
- Circular Saw: For cutting the wood to size
- Drill: To insert screws
- Measuring Tape: To verify everything fits perfectly
- Sandpaper: For smoothing rough edges
- Roofing Material: Like shingles or metal sheets for waterproofing
- Outdoor Sealant: To protect the wood from the elements
- Safety Gear: Gloves and safety goggles
Step-by-Step Instructions:
- Choose Your Dimensions: Measure your pup to determine the size of the house. A good rule of thumb is to make it one-and-a-half times your dog’s height and about twice the length when they’re lying down.
- Cut the Wood: Use your circular saw to cut the cedar boards into panels for the base, walls, and roof. A square base is common, so if you’re up for it, you could try a slightly angled roof for that extra flair.
- Build the Base: Start by assembling the base. Lay out the floor panels and connect them using wood screws. For added durability, you can use wood glue on the joints, too. Remember to sand any rough edges—it’s all about that splinter-free zone.
- Assemble the Walls: Attach the wall panels to the base, securing them with screws. Make sure they’re uniform and straight. It’s like building a little fortress for your pup. You might want to keep a snack handy to reward yourself for accurate measuring.
- Construct the Roof: After the walls are secured, attach the roof panels. If you’re feeling fancy, you can make a slanted roof for better drainage. Don’t forget to secure it well—that roof needs to withstand all sorts of weather.
- Seal and Finalize: Apply the outdoor sealant to protect your dog house from rain and moisture. Make sure to let it dry fully. Once that’s done, you can decorate the exterior or leave it natural; remember, it’s all about your style.
- Create a Cozy Inside: To complete the dog house, add a soft rug or a dog bed for comfort. Toss in a toy or two, and watch as your pup turns it into their favorite hangout spot.
Optional Add-ons/Variations:
Want to take it up a notch? Consider painting the house in your dog’s favorite color (ha, just kidding, they don’t have preferences, but you do!). You could also add a little front porch with steps—make it seem like a doggy mansion.
Pro Tip:
Before you commence on this project, consider the location of your dog house. It should be in a shady spot if you live in a hot area, or sheltered from the wind and rain. And hey—don’t forget to show your dog its new space. It might take them a moment, but you’ll see them settle in, tail wagging in joy.
Now that you’re armed with these steps, go ahead, release your creativity, and build a sanctuary for your furball they’ll definitely appreciate!
4. Luxury Prefab Dog House
If you’re looking to give your furry friend the ultimate pampering experience, a luxury prefab dog house is the way to go. These stylish abodes offer a perfect blend of comfort, practicality, and aesthetics, enhancing both your pet’s life and your outdoor space. You’ll not only have a happy pup, but your yard will also look pretty snazzy, giving your neighbors some serious house envy.
Luxury dog houses are designed with high-quality materials, ensuring they are both stylish and durable for your pet’s enjoyment.
Materials Needed:
- Luxury Prefabricated Panels: High-quality, stylish panels for walls and roof
- Screws: Weather-resistant screws to guarantee durability
- Assembly Tool Kit: The specific tools needed usually come with the prefab kit
- Measuring Tape: For precise measurements and positioning
- Level: To guarantee your house sits perfectly straight
- Outdoor Sealant: Optional, for extra protection against the elements
- Decorative Elements: Paint, stencils, or personalized nameplates
Step-by-Step Instructions:
- Choose the Right Spot: Decide where in your yard the dog house will go. Look for a shaded area that’s away from drafts and direct sunlight. A cozy corner can feel just like a mini retreat for your pup.
- Unpack Your Prefab Kit: Open your luxury prefab dog house kit and lay everything out. Check that you have all the parts and follow the included instruction manual (yes, actually read it – I know, shocking!).
- Assemble the Walls: Start by connecting the wall panels. Generally, they fit together easily without much fuss—think of it like snapping Lego bricks together. Secure them with screws for safety.
- Attach the Roof: Once the walls are sturdy, it’s time for the roof. Slide and secure the roof panels in place. A major pro tip here is to double-check that the roof is level—nobody wants a slanted dog mansion!
- Apply Sealant: To ward off any annoying leaks (because a soggy pup just isn’t happy), apply an outdoor sealant to any seams or joints. Let it dry completely—it’s kind of like waiting for that perfect moment to take a bite of a cookie fresh out of the oven.
- Personalize Your Space: Now comes the fun part. You can paint your dog house in your pup’s favorite color (because, obviously, your dog has a favorite color).
Add a nameplate to make it feel extra special. You could even stencil paw prints for that artistic touch!
Optional Add-ons/Variations:
- Interior Decor: Thinking of adding a fluffy cushion or a stylish blanket inside? Your pup will love the extra coziness. Who says dog houses can’t come with style points?
- Outdoor Accessories: Why not throw in a small porch or deck area for your dog to lounge outside? You can find reusable outdoor carpet to add comfort under their paws.
Pro Tip:
Always guarantee your dog house is properly ventilated. A well-ventilated house not only keeps your pup comfy but also helps prevent unwanted odors.
Plus, a happy pup is a healthy pup, am I right?
5. Eco-Friendly Recycled Plastic House
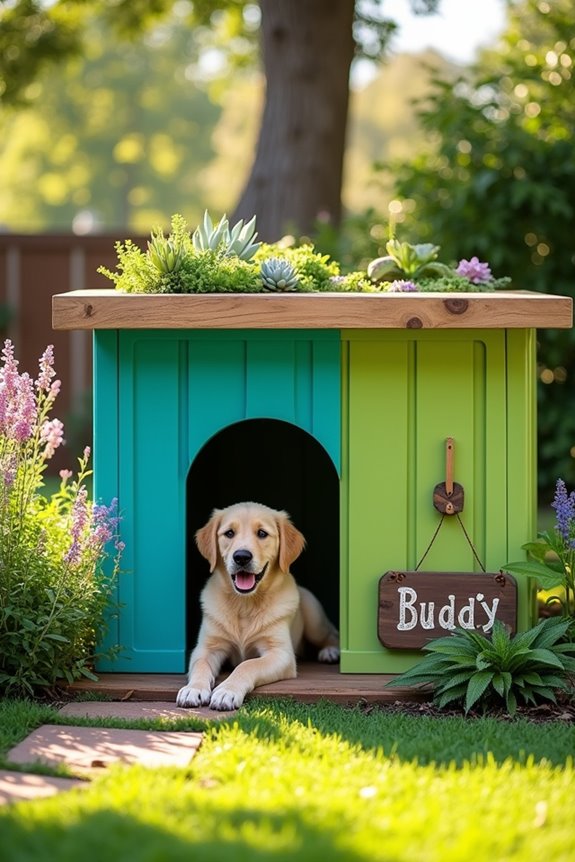
If you’re a dog owner looking to create a cozy spot for your furry friend without sacrificing the environment, this DIY Eco-Friendly Recycled Plastic Dog House is just the thing for you.
It’s simple to make, saves money in the long run, and can greatly enhance your yard while giving your beloved pooch a cozy place to chill out. Plus, think of it as a chance to flex your creativity and show the world you’re an eco-warrior. Who knew saving the planet could be so rewarding? Luxury dog crate furniture can also complement your outdoor dog house beautifully, creating a stylish and functional space.
Materials Needed:
- Recycled Plastic Panels: These are the main building blocks for your dog house.
- Weather-Resistant Screws: Because we understand weather can be unpredictable.
- Basic Hand Tools: Think screwdriver, saw (if necessary), and wrench.
- Measuring Tape: Accurate measurements are key, trust me.
- Level: To keep everything nice and balanced.
- Outdoor Sealant (optional): For that extra layer of protection against rain.
- Decorative Items (optional): Paint, stickers, or your dog’s favorite toys to personalize the space.
Step-by-Step Instructions:
1. Pick Your Spot: Lazy spots are always the best. Choose a flat area in your yard that’s shaded but also has a little sun—let your dog keep cool but catch some rays too.
2. Measure Your Space: Grab that measuring tape and determine how big you want the dog house to be. A little bigger is always better, just think of those times you cozy up with a book.
Your pup deserves some space too.
3. Cut the Panels: If your recycled panels aren’t pre-cut, don’t sweat it. Just follow your measurements and cut them into the necessary sizes for the walls and rooftop.
Use safety goggles—safety first, right?
4. Assemble the Walls: Start by attaching the rear panel to the side panels. You can use screws here to secure everything.
Repeat the process to attach the front and back until you have a sturdy rectangular box.
5. Attach the Roof: Once the walls are up, place your roof on top and make sure it fits snugly. Secure it with screws.
Pro tip here: differing angles can help with drainage, so don’t be afraid to play around a bit with the design.
6. Seal It Up (optional): If you want to make your new dog house weather-proof, consider applying a sealant around the seams for extra protection against the elements.
Wait for it to dry completely, like waiting for the perfect moment to dig into dessert after dinner.
7. Decorate and Personalize: Now, let’s get creative. You can paint it in your dog’s favorite color (spoiler: dogs see differently than us, so pick something vibrant), or add a scattering of paw prints around the base.
Making it unique not only adds charm, but also gives your furry friend a place that feels like home.
Optional Add-ons/Variations:
- Roof Garden: If you’re feeling adventurous, why not plant some dog-safe plants on the roof? It’ll be like a little green oasis for both you and your pup.
- Custom Nameplate: Get crafty and create a nameplate with your dog’s name. Nothing says luxury like a personalized touch.
Pro Tip:
Always consider ventilation. Cut small vents near the top of the walls to provide proper airflow and keep that dog house feeling fresh and breathable.
You wouldn’t want to hang out in a stuffy place, and neither does your pup.
6. Customizable Modular Dog House
So, you’re ready to take your dog’s comfort to the next level? Building a Customizable Modular Dog House isn’t only a fun weekend project, but it also shows your pup that they deserve their own stylish retreat!
This DIY project is perfect for dog owners who want to create a cozy, unique space for their four-legged friends while also adding some charm to the yard.
Plus, with a modular design, you can expand or rearrange it as needed, saving you money and giving you tons of options for future updates.
Materials Needed:
- Wooden Pallets or Reclaimed Wood: The foundation of your dog house.
- Weather-Resistant Screws: To securely hold everything together.
- Basic Hand Tools: Screwdriver, saw (or jigsaw for curves), and measuring tape.
- Sandpaper: To smooth down rough edges—because we all deserve a bit of comfort.
- Wood Stain or Paint: For that personal touch and weather protection.
- Sealer: An exterior wood sealer to keep moisture at bay.
- Optional: Decorative Items: Fabric cushions, dog beds, or even fun pet-themed decor to personalize the space.
Step-by-Step Instructions:
1. Select Your Design: Decide how you want your dog house to look. Do you want a multi-section design? Maybe a cozy cabin feel?
Sketch it out if you’re feeling fancy – or just go with the flow.
2. Gather Your Pallets/Wood: Collect the wooden pallets or reclaimed wood you’ll need.
Make sure everything is clean and free from splinters. It’s a good idea to check for any nails sticking out… don’t need any doggy accidents.
3. Measure and Cut: Using the measuring tape, figure out the size.
A good rule of thumb is to make it spacious enough for your dog to stand up, turn around, and lie down comfortably.
Depending on your design, cut the wood to your desired dimensions with your saw. Don’t forget your safety goggles!
4. Construct the Base First: Start your assembly with the base.
Screw together a strong frame using your wood panels. If you’re using pallets, simply align and secure them to form a solid base.
5. Build the Walls: Attach walls to the base using screws.
Make sure everything lines up nicely. If you want a modular design, leave some sections open for future add-ons.
6. Add the Roof: Create a roof that can either be flat or sloped for rain drainage.
Secure it well, and if you want those extra points for cuteness, consider adding a small overhang. Now, that’s a vibe.
7. Finish the Details: Sand down those edges for safety, then paint or stain your dog house as desired.
A wood sealer is a must; don’t skip this step unless you want your hard work to succumb to the elements.
Optional Add-ons/Variations:
– Make It a Color Palette****: Grab some bright paint and give each wall a different color.
Your pup will love it, and let’s be real, who doesn’t love a rainbow?
– Interior Decor: Throw in a comfy dog bed or some plush cushions inside.
You can even attach a few of their favorite toys or a cozy blanket. A happy dog equals a happy home.
Pro Tip:
Consider adding some ventilation, like a small window, to keep things airy.
Your dog will appreciate fresh air on warm days. Plus, a little breeze? That’s the true essence of luxury for our furry pals.
7. A-frame Dog House Design
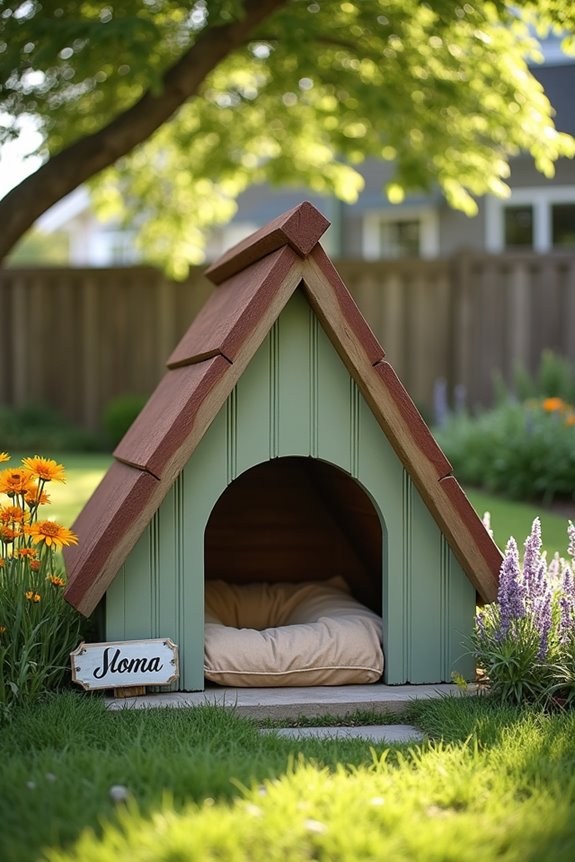
Looking to give your pup their very own cozy retreat that also looks great in your yard? An A-frame dog house is just the ticket! It not only provides a stylish shelter for your furry friend but also adds a charming touch to your home.
Plus, building it yourself saves money and gives you that wonderful feeling of accomplishment. So, grab your tools and let’s get started on this fun DIY project that your dog will absolutely love.
Materials Needed:
- Plywood or Reclaimed Wood: For the walls and roof.
- Wood Screws: To keep everything sturdy and secure.
- Basic Hand Tools: Screwdriver, saw (or circular saw for cutting the wood), and a measuring tape.
- Sandpaper: To make those edges smooth—no one likes splinters, not even dogs.
- Outdoor Paint or Stain: To protect the wood while adding a splash of personality.
- Sealant: An exterior wood sealant for extra moisture protection.
- Optional: Insulated Dog Bed: For extra comfort inside the dog house.
Step-by-Step Instructions:
- Draw Out Your Design: Start by sketching your A-frame layout. It’s amazing what a simple drawing can do. Keep it straightforward—it doesn’t have to be a masterpiece, just something to guide you.
- Gather the Wood: Collect your plywood or reclaimed wood. Give it a good inspection to make sure it’s free from any hazardous splinters or protruding nails. Safety first, after all.
- Measure and Cut Your Pieces: Measure the height and width you want for your A-frame—think about how big your dog is. Cut two equal triangles for the roof and four rectangular pieces for the walls. Don’t forget your safety goggles; they really make you feel like a pro.
- Assemble the Base: Start by creating a solid square base with the rectangular wall pieces. Make sure it’s sturdy, since it’s going to be your dog’s favorite spot soon enough.
- Attach the Walls: Securely screw the wall panels onto the base. Make sure everything aligns properly; we’re creating a cozy fortress here, not a funhouse.
- Add the Roof: Now for the fun part! Attach the triangle pieces as the roof. It should form that lovely A-frame shape. Don’t forget to secure it well so it withstands any weather that comes your way.
- Paint & Protect: Add your favorite color or stain to the exterior. This is your time to be creative! Seal everything up with an exterior sealant to keep your dog safe and dry.
Optional Add-ons/Variations:
Feeling artistic? You might want to paint some paw prints on the side of the house or use a fun patterned fabric for an interior cushion.
Maybe even add a small sign with your dog’s name—because every pup deserves a home that celebrates them.
Pro Tip:
Consider insulating the dog house if you live in cooler climates—it makes all the difference when the weather turns chilly. You can do this by lining the walls with foam board insulation, which is both affordable and easy to install.
Plus, your dog will thank you for ensuring their cozy oasis stays warm during those cold nights.
With this A-frame dog house, you’ll not only craft a shelter but create a space where your beloved pet can feel safe, comfortable, and utterly spoiled—just as they deserve. Happy building!
Extra Tips & Ideas
While building a dog house can be a fun project, there are plenty of extra tips and ideas to keep your furry friend cozy and happy.
First, think about a lively paint color that matches your home or yard—it’s like adding a splash of personality. Your pup deserves that, right?
Then, when choosing roofing materials, consider waterproof options like shingles or metal. Trust me, nothing’s worse than realizing your dog’s house is a mini swimming pool after a rainstorm.
You can also add insulation for colder months, or a cozy bed inside for comfort.
Don’t forget to personalize it with his name on the door. After all, it’s his little castle.
Who doesn’t want their own kingdom, anyway?
Frequently Asked Questions
What Materials Are Best for Building a Dog House?
You’ll want to choose quality wood selection for durability and aesthetics. Consider insulation options like foam board or reflective materials to keep your dog comfortable in varying temperatures, ensuring their cozy and safe haven.
How Can I Ensure Proper Ventilation in the Dog House?
To guarantee proper ventilation in the dog house, consider that proper airflow can reduce heat buildup by up to 30%. Use vents and windows as effective ventilation methods, and incorporate airflow strategies for comfort year-round.
Do I Need a Foundation for the Dog House?
Yes, you should consider a foundation for your dog house. It offers benefits like preventing moisture buildup and pests. Make sure you do proper ground preparation to guarantee stability and longevity for your structure.
How Much Space Should I Allocate for Different Dog Sizes?
You should allocate at least 24-30 square feet for small dogs, 30-40 square feet for medium dogs, and over 40 square feet for large dogs. Always consider each dog size’s specific space requirements for comfort.
What Tools Are Needed for Building a Dog House?
You’ll need essential tools for building a dog house, including a saw, hammer, screws, measuring tape, and level. Keep these building tips in mind to guarantee your pup’s new home is safe and comfy!
Conclusion
So, there you have it, your dog’s cozy castle awaits. Think of it as crafting a warm hug, a little fortress against the elements, where your furry friend can relax and feel safe. Whether you go for a charming A-frame or a modular masterpiece, each design is an affirmation of your love and creativity. Why not put on your tool belt, channel your inner carpenter, and let your imagination run wild? Your pup deserves a spot that’s all their own, don’t you think?