Imagine your furry pal, lounging on a cozy raised bed, cool breeze wafting through the mesh sides, right in their own little paradise. Have you thought about crafting one yourself? It’s not just budget-friendly; it’s a fun project that lets your creativity shine. Trust me, if I can build something that doesn’t resemble a three-legged table, so can you. Stick around as we explore easy steps to create this comfortable haven for your pet.
Elevated Comfort for Your Dog
When you think about your dog’s comfort, you might imagine them snuggled up in a soft bed, dreaming about chasing squirrels, right?
But what if that cozy spot isn’t doing wonders for their dog health? Elevated dog beds are game-changers for their sleeping habits. They keep your pup off the cold, hard ground, promoting better airflow and joint relief.
Picture it: your dog sprawled out, looking like they own the place, and you know they’re sleeping like a champ. Plus, they can stay cooler in summer, which is a win-win.
These beds are super easy to make; you’ll be a DIY superstar in no time. Trust me, your dog will thank you—with a wagging tail and maybe a slobbery kiss.
Our Collection
Let’s check out our collection and see what’s perfect for your pup.
You’ve got options like water-resistant fabric, a sturdy wooden frame, and adjustable height settings that adapt to your furry friend’s needs.
Plus, who wouldn’t love a soft, cushioned sleep surface made from eco-friendly materials?
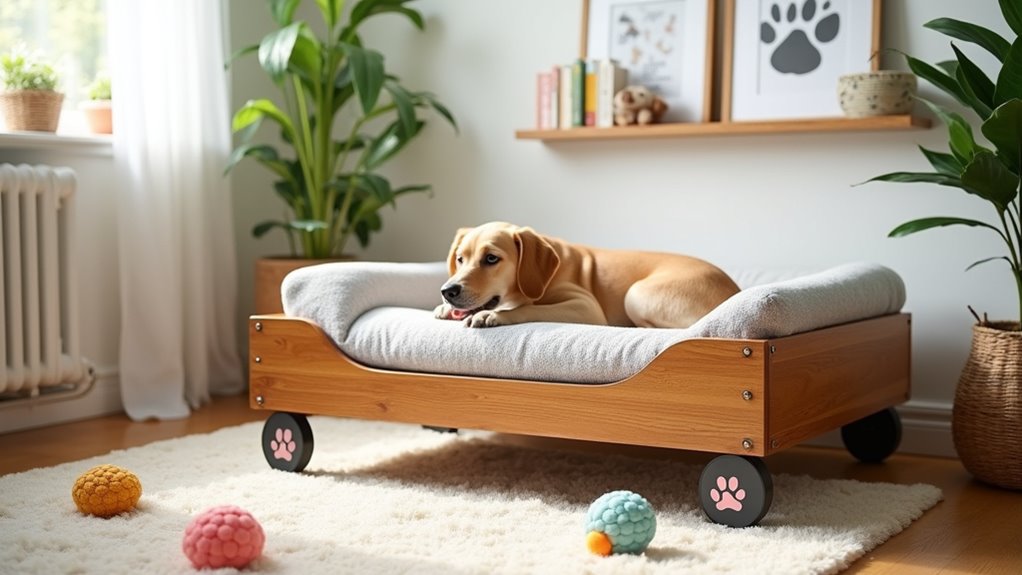
1. Water-Resistant Fabric Option
If your furry friend is anything like mine, they love to lounge, but they can also be a bit messy. This DIY raised dog bed project not only keeps them off the ground and comfortable, but it also helps you save money while keeping your home stylish. Plus, with water-resistant fabric, clean-up is a breeze. It’s the perfect weekend project to pamper your pup! The addition of premium dog boots can ensure their paws stay protected on all your outdoor adventures together!
Materials Needed:
- Wood for the frame: 1×4 or 2×4 boards (depending on the size you want)
- Water-resistant fabric: Choose something durable like canvas or outdoor upholstery.
- Foam or memory foam: Cut to size for the bed cushion.
- Wood screws: Appropriate length for the frame.
- Wood glue: For extra sturdiness.
- Drill: With bits for screws.
- Sanding block: To smooth out edges.
- Measuring tape: For those perfect dimensions.
- Saw: Miter or circular, depending on what you have.
- Staple gun: To attach the fabric to the frame.
- Paint or wood stain (optional): For that extra touch of flair.
Step-by-Step Instructions:
- Measure & Cut the Wood: First, decide how big you want the bed to be. Measure and cut your wood pieces accordingly. A common size is about 30” x 40”, but tailor it to your pup’s size. You don’t want them hanging off the edge like a bit of pizza on a too-small plate.
- Sand the Edges: No one likes splinters, least of all your pup. Take your sanding block and smooth out all the edges and surfaces of the wood. Trust me, your dog will thank you by giving you adorable, ask-you-for-more-scratches looks.
- Assemble the Frame: Use wood screws to connect the long pieces to the short pieces, creating a rectangle. Apply a little wood glue along the edges before securing with screws for extra stability. If you get confused, just remember: long sides go together, short sides meet the long sides (like a dog and their favorite toy).
- Cut Your Foam: Grab your foam or memory foam material and cut it to size, so it fits snugly inside the wooden frame. This is what your dog will plop down on, so make it comfy.
- Attach the Fabric: Lay the fabric out and place the foam on top. Then, wrap the fabric around the edges and pull it taut, stapling it securely to the underside of the frame. Make sure it’s tight enough that it won’t sag. Just think of it like tucking a bed—fluffy but firm.
- Final Assembly: Place the cushioned top back on the frame, and make sure everything is secure. Clean up any glue or stray staples, and give the whole thing a once-over with your measuring tape to validate your DIY skills.
- Add a Personal Touch: If you painted or stained the wood, now’s the time to let it dry. An optional step would be to add your dog’s name on the side for that personal flair – because dogs need to claim their territory, right?
Optional Add-ons/Variations:
- Color Choices: Bright fabrics and patterns can really make the bed pop in your living space. Think fun polka dots or stripes; it can brighten your room!
- Height Adjustments: If your dog loves to look out the window, consider making the legs higher. Just be careful that it’s still safe for your pup to hop on and off.
Pro Tip:
To make your fabric last longer, consider spraying it with a fabric protector. It helps fend off stains from food or water spills (because we all know a well-fed dog can be a messy dog).
Plus, don’t forget to check the better-quality foam; it lasts longer and keeps its shape, which means less time worrying about replacing the cushion.
There you go! With a few materials and steps, you’ve created a cozy spot for your pup—and all while saving you a bit of cash to spoil them with treats later on. Happy crafting!
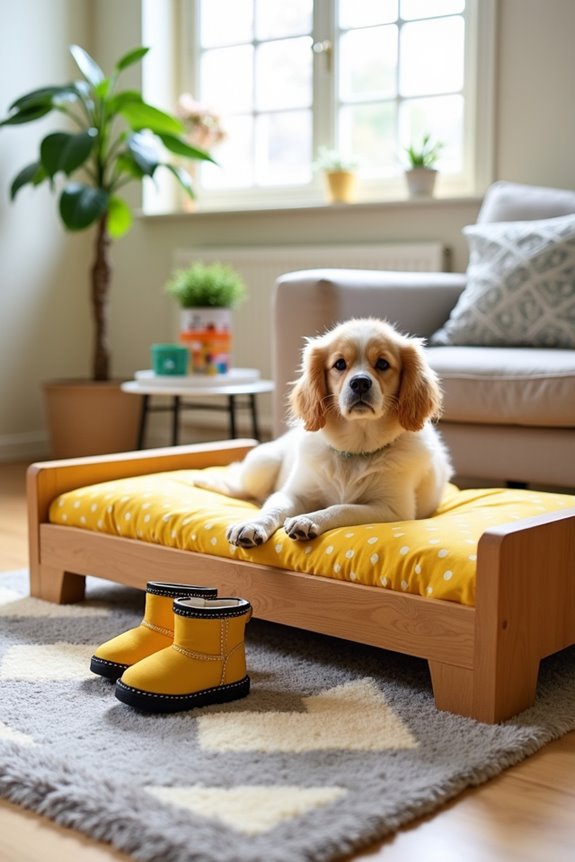
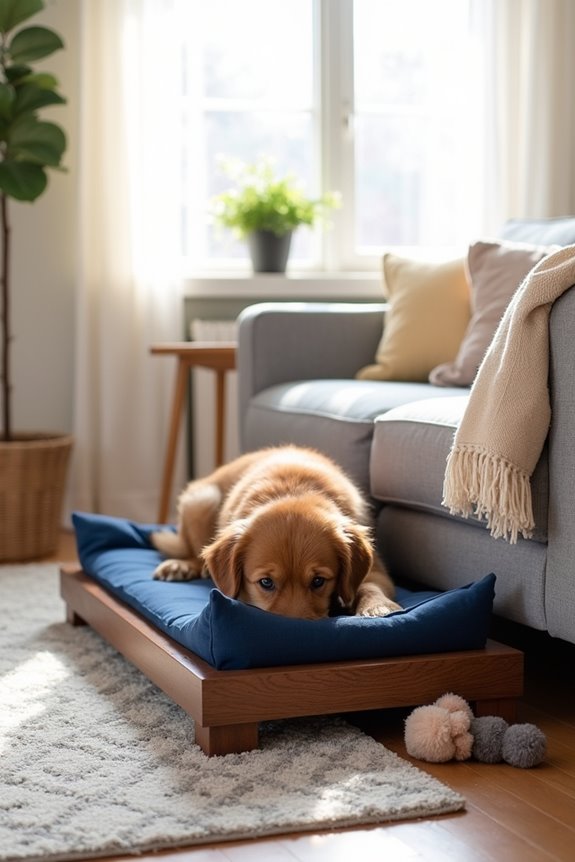
2. Sturdy Wooden Frame
Giving your dog a cozy place to sleep doesn’t have to break the bank. With a DIY raised dog bed, you can create a comfy space for your furry friend while also adding a stylish touch to your home. This sturdy wooden frame won’t only support your pup during their cuddly dreams but also elevate the entire aesthetic of your living space. Additionally, incorporating premium dog food supplements into your dog’s routine can enhance their overall health and well-being.
Let’s plunge into how you can whip up this paw-some project!
Materials Needed:
- Wood for the frame: 1×4 or 2×4 boards (size depends on your dog)
- Wood screws: The right length for your frame
- Wood glue: Just a bit for added strength
- Drill: Essential for those screws
- Saw: Miter or circular, whichever you have handy
- Measuring tape: For precise cuts
- Sanding block: Smooth those edges, please
- Paint or wood stain (optional): Customize your style
Step-by-Step Instructions:
1. Measure & Cut the Wood: Decide on the size of the bed based on your dog’s dimensions. Measure carefully, and cut your wood pieces to match. You don’t want your best buddy hanging off the edge like a forgotten toy.
2. Sand the Edges: Take your sanding block and smooth out every edge and corner. Your dog will appreciate not getting splinters—after all, less ouch means more cuddles.
3. Assemble the Frame: Using wood screws, connect the longer pieces to the shorter ones to form a rectangular frame. Apply a touch of wood glue for strength, and try to be as level as possible.
Remember: a sturdy bed means a happy pup.
4. Double Check Size: Before proceeding, verify your frame is stable and square. It’s like checking your shoe size before splurging on those fancy sneakers—an essential step.
5. Optional Finishing Touch: If you’re feeling creative, paint or stain the frame to match your home decor. A pop of color can make the bed stand out and blend or transform a space—plus, it might distract from that chew mark on the coffee table.
6. Final Assembly: The moment of truth is here. Assemble the frame together and make sure everything is snug. Give it a little shake to test its sturdiness and imagine how many happy naps are coming.
Optional Add-ons/Variations:
You can personalize the wood by using a fun paint color or even adding stenciled letters for your dog’s name. If you’re feeling adventurous, experiment with reclaimed wood for a rustic look, or cover the frame in a light-catching veneer to add a touch of elegance.
Pro Tip:
Always pre-drill holes for your screws to prevent the wood from splitting. It’s a small step that saves a potential headache and makes sure your masterpiece holds up for years.
Plus, it keeps you from having to shimmy around the house with a sad assembly that won’t stand the test of time.
With this raised dog bed, your furry friend will snuggle into a cozy spot that’s not only comfortable but also stylish and affordable.
Get to work, and let the tail-wagging begin!
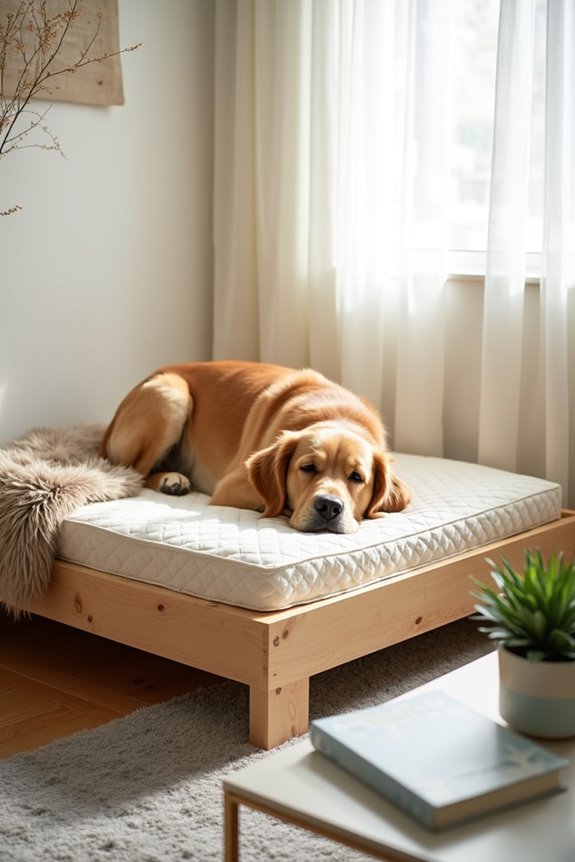
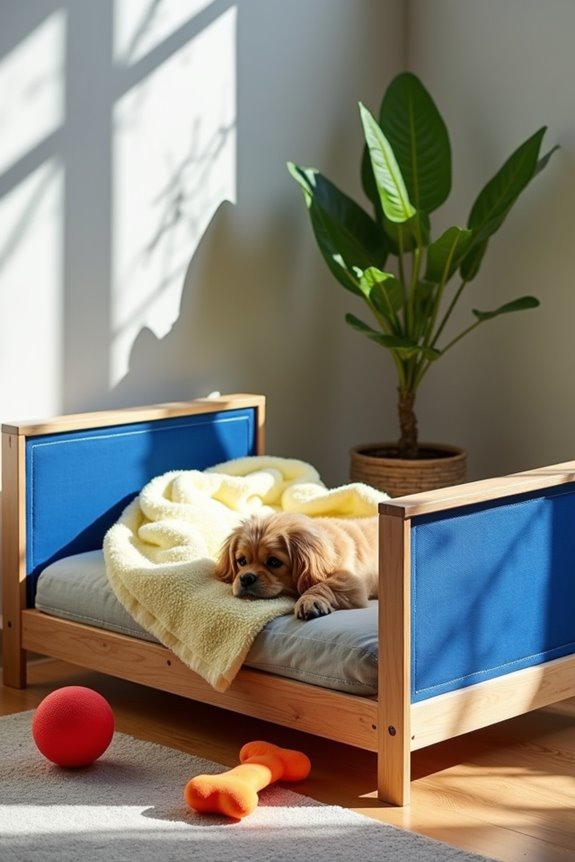
3. Adjustable Height Settings
Are you tired of bending down to pet your furry friend as they snooze away on their low-to-the-ground bed? Search no further than our DIY adjustable raised dog bed. This project provides both comfort for your pup and convenience for you by offering customizable height options. Not only will it improve your dog’s napping experience, but it also adds flair to your home and lets you save some cash along the way. Plus, luxury dog furniture beds can also offer that same level of comfort and style for your pet.
Materials Needed:
- Wood for the frame: 1×4 or 2×4 boards (height adjustments will depend on your design)
- Wood screws: Appropriate length for your frame
- Wood glue: Just a bit for reinforcement
- Drill: Essential for securing those screws
- Saw: Miter saw or circular saw works great
- Measuring tape: For precise cuts and measurements
- Sanding block: Smooth those edges for your pup’s comfort
- Adjustable height legs: You can use bolt-on brackets or sliding leg attachments
- Paint or wood stain (optional): For a fun, stylish finish
Step-by-Step Instructions:
- Measure & Cut the Wood: Start by determining how tall you want the bed to be. Consider your dog’s size and your own comfort. Cut your wood pieces accordingly. A good rule of thumb for height is anywhere from 6 to 18 inches off the ground.
- Sand the Edges: Don’t skip this step! Smooth out all edges and corners with your sanding block, ensuring no sharp bits remain. No one wants a splintery nap.
- Assemble the Frame: Connect the longer boards to the shorter ones using wood screws, applying a touch of wood glue for added strength. This will form a rectangular frame. Make sure everything feels secure—quality construction means a happy dog.
- Install Adjustable Height Legs: Now for the fun part—add your adjustable height legs! Depending on the type you choose (bolt-on or sliding), follow the manufacturer’s instructions to attach them properly. This allows you to adjust the height whenever you feel like giving your pooch a change in perspective.
- Verify Stability: Give your newly built dog bed a little shake to confirm everything is solid. If it wobbles, check your screws and reinforce where necessary. It should feel as stable as a rock…or at least like the ground when your dog flops onto it.
- Finish It Up: If you’re feeling crafty, paint or stain the bed to match your living room or your pup’s personality. Go bold with colors or keep it simple and classic; it’s all up to you.
- Set It Up: Place a cozy dog mattress or blanket on top, and voilà! You’re now the proud DIY parent of a stylish, adjustable raised dog bed.
Optional Add-ons/Variations:
Want to personalize your dog bed even more? Consider using fun fabric or a pattern for the top layer.
Try padding it with a foam mat for added comfort—because we all know how picky our pets can be about their napping spots.
If you want an artsy touch, get some stencils and add your dog’s name on the frame—who wouldn’t want a bed as chic as it’s comfy?
Pro Tip:
Always confirm that the adjustable height components are secure before letting your dog enjoy their new bed. A little wiggle can cause big problems, so take the time to make sure it’s stable.
Also, consider using weather-resistant materials or sealants if your dog will be using the bed outside.
Now go ahead, whip up this nifty project, and watch as your pup bounces onto their new throne of comfort. Who knows, you might want one for yourself!
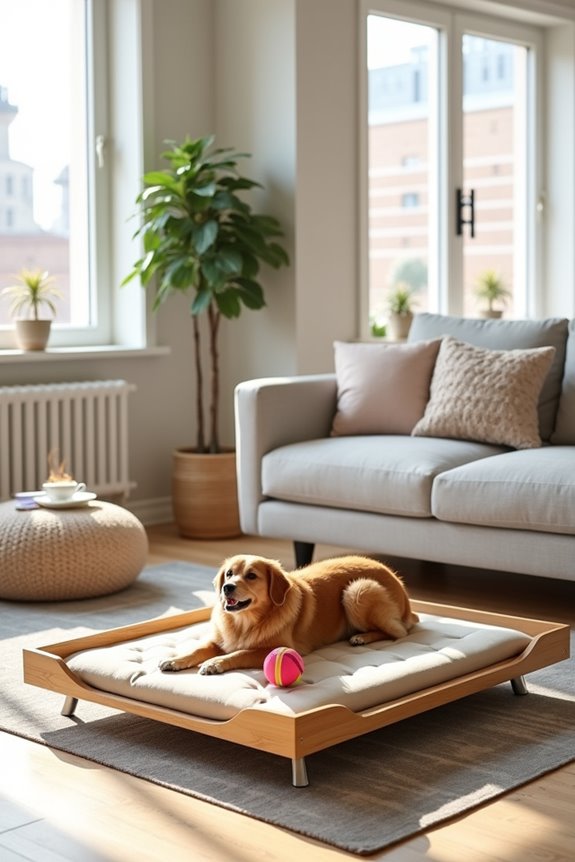
4. Eco-Friendly Materials Available
Creating a raised dog bed not only provides a comfy space for your furry friend but can also be a sustainable project that benefits the planet. By opting for eco-friendly materials, you’ll not only feel good about your dog’s new bed, but you’ll also contribute to a greener world. Additionally, ensuring the bed is made with quality carpet cleaning machine professional will help maintain its longevity and cleanliness.
Plus, these materials can often be more affordable and accessible than traditional options, meaning more money left for those extra treats. Let’s explore what you can use to craft your own dog bed.
Materials Needed:
- Reclaimed Wood: Look for old pallets or leftover wood from construction projects to create a rustic, unique look.
- Bamboo Boards: These are both beautiful and sustainable, providing strength without harming the environment.
- Non-toxic Paint or Stain: If you decide to finish your bed, make certain it’s free from harmful chemicals. Go for low-VOC options.
- Natural Fiber Fabrics: For any cushions or coverings, think organic cotton or hemp. They’re comfortable and kind to the earth.
- Eco-friendly wood screws: Made from recycled materials for added sustainability.
- Natural Adhesives: When assembling your frame, choose wood glues that are non-toxic and biodegradable.
Step-by-Step Instructions:
1. Source Your Materials: Take a trip to your local lumber yard or scour online marketplaces for reclaimed wood. If you’re lucky, you might even find a friends’ old wooden furniture they no longer need.
2. Measure & Cut the Wood: Measure the desired dimensions for your dog bed, considering the frame size you’ll need for your pup’s comfort. Carefully cut your selected wood to the appropriate length; remember, safety first!
3. Sand Those Edges: Spend a little extra time here. Sanding the edges ensures no sharp points will hurt your dog.
There’s nothing worse than a splintered pup during nap time.
4. Assemble Your Frame: Use recycled wood screws to connect the wood pieces. A thoughtful touch of non-toxic wood glue will really make the structure solid.
Just think of it as securing an embrace—a cozy, lasting hold.
5. Attach Eco-Friendly Legs: Consider using sturdy, sustainable materials for the legs, such as recycled plastic or metal. Attach these to your frame for stability and adjustability.
6. Check for Wobbliness: Give your bed a gentle shake to make certain that everything is securely in place.
If it’s shaky, double-check those screws. You wouldn’t want a poorly constructed bed sending your dog’s dreams into a tailspin.
7. Finishing Touches: If you want to inject some personality into your project, apply that non-toxic stain or paint.
Why not go for a chic natural finish? Or maybe even a pop of color that matches your decor?
Optional Add-ons/Variations:
- Personalized Touches: Consider adding a removable fabric cover made from organic cotton featuring your dog’s favorite patterns. It can be a fun way to showcase their personality while keeping cleanup simple.
- Add Drawers or Shelves: If you’re feeling ambitious, integrate storage space under the bed. This way, you can keep toys, leashes, or treats organized and within reach.
Pro Tip:
Use old bedding or blankets for the cushioning inside. Not only does this recycle items you already have, but it also adds comfort—your pup will appreciate the familiar scent and softness.
Just make sure to wash everything before using it to avoid dust bunnies making an unwelcome debut during nap time.
With this eco-friendly DIY project, you’re on your way to providing your dog with a comfy bed while doing your part for the planet.
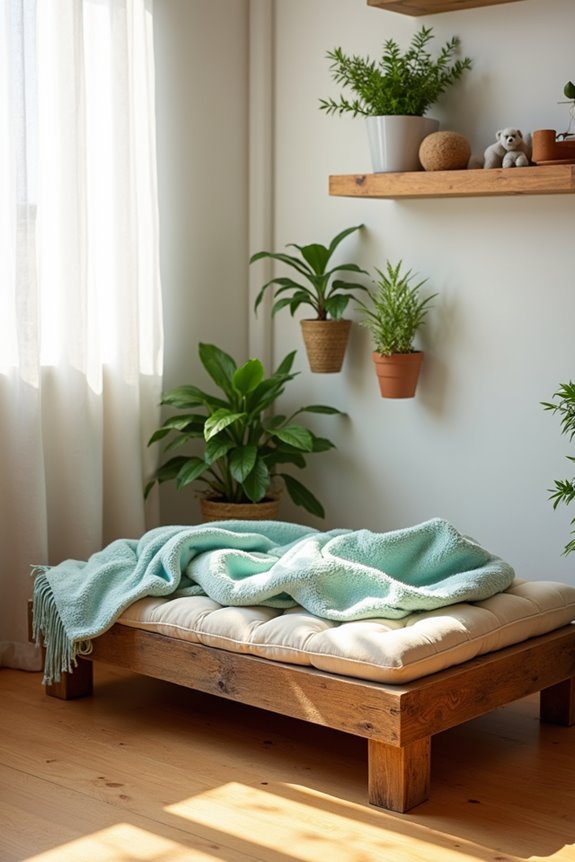
5. Soft, Cushioned Sleep Surface
Let’s face it, your pup deserves a cozy place to sleep, just like you do. A DIY raised dog bed not only provides comfort and support but also frees you from the bank-breaking costs of pet store beds. Plus, you’ll get to show off your handyman skills. After all, who doesn’t want to impress their friends with a stylish, comfy spot for their furry friend? Plus, to keep your dog’s sleeping area fresh, consider using premium dog shampoo odor to eliminate any unpleasant smells.
Materials Needed:
- Foam padding: Choose medium to high-density foam for support.
- Natural fabric (like organic cotton or linen): About 1-2 yards, depending on your bed size.
- Sewing machine: Or needle and thread if you’re feeling ambitious.
- Scissors: For cutting fabric and foam.
- Fabric pins: To hold everything together while sewing.
- Measuring tape: Because precision is key to a perfect fit.
- Staple gun: For an easy way to attach fabric to the frame (optional).
Step-by-Step Instructions:
- Measure Your Frame: Take the measurements of the bed frame you’ve built. This will guide you in cutting your foam and fabric to size. Remember, the foam should fit snugly inside without spilling over.
- Cut the Foam: Using your scissors, carefully cut the foam to the size of your frame. A utility knife can also work; just watch those fingers.
- Prepare the Fabric: Once your foam is ready, cut your chosen fabric to double the size of the foam. Why double? Because you’re going to wrap it around for a clean finish.
- Pin the Fabric: Lay your fabric flat, then place the foam in the center. Fold the fabric over the foam and pin it securely in place. This step guarantees that the fabric doesn’t wiggle while you’re stitching.
- Sew It Up: If you’re using a sewing machine, run a straight seam along the edge of the fabric, leaving the ends open for easy access. If sewing by hand, you might want to binge-watch a show while you sew; it could take a bit longer.
- Attach the Sleeping Surface: Place your cushioned fabric on the wooden frame, making sure it fits well. If you want that polished look, use a staple gun to secure the fabric to the frame, making it neat and removing any risk of slipping off during puppy movement.
- Final Touches: Fluff up the cushion, give it a shake, and you’re done. Now, just watch as your pup dives into comfort!
Optional Add-ons/Variations:
- Different Patterns: Feel free to get creative with your fabrics. How about a fun paw print pattern or a cool geometric design? It could be a lovely way to match your home decor.
- Memory Foam: If you really want to pamper your pup, consider using a memory foam mattress pad instead of regular foam. It’s like a cloud for their sleepy heads.
Pro Tip:
If you want to save some cash, shop around at local fabric stores or online for discounts. And remember, if you’re at a craft fair or flea market, keep an eye out for pre-cut foam offerings or fabric remnants. They can sometimes offer the perfect materials for this project at a bargain price.
Now, with a little creativity and effort, your dog will have the ultimate relaxation station, and you get bragging rights for being the coolest pet parent on the block. Plus, it’s less expensive than a fancy spa day, right?
6. Breathable Mesh Side Panels
Let’s take your DIY raised dog bed to the next level with breathable mesh side panels. Not only do they enhance airflow, keeping your furry friend cool and comfortable, but they also add a touch of style to your pup’s new snooze spot. Trust me, adding these panels is like putting the cherry on top of an already delicious sundae.
Materials Needed:
- Breathable mesh fabric: About 1-2 yards based on your frame size.
- Sewing machine or needle and thread: Depending on how brave you are.
- Scissors: For cutting fabric.
- Fabric pins: To hold everything in place while you sew.
- Measuring tape: Precision is key, even with mesh.
- Wood screws or a staple gun: For securing the panels to your frame.
- Marker or fabric chalk: To mark your cut lines.
Step-by-Step Instructions:
- Measure Your Side Panels: Using your measuring tape, determine how much mesh fabric you’ll need. You want each panel to cover a side of your frame comfortably, with a little bit of overlap for securing.
- Cut the Fabric: Grab your scissors or utility knife and cut the mesh according to your measurements. Aim for clean edges; frayed fabric is far less impressive (trust me, I learned that the hard way).
- Pin the Mesh: Lay the cut mesh panels flat on a clean surface. Pin the edges down to keep them in place while you sew. This keeps things from shifting, guaranteeing your panels are nice and straight.
- Sew the Edges: Whether you’re using a sewing machine or sewing by hand, stitch along the edges of the panels for a polished finish. If your sewing skills are teaching you patience, consider this your zen moment.
- Attach to Frame: Position the panels against the sides of your raised bed frame. You can either screw them in or use a staple gun to secure them firmly. If you go for the screws, make sure they’re not too long or they might poke out, and nobody wants that surprise.
- Final Check: Give your panels a gentle shake to make sure they’re secure. Then marvel at how fancy your dog’s bed looks with its new side bling.
Optional Add-ons/Variations:
- Colors and Patterns: Mix it up by choosing mesh in different colors or patterns. How about a bright yellow for sunny vibes or a subtle gray for a more modern touch? The sky’s the limit when it comes to personalizing your dog’s space.
- Fun Pockets: How about sewing small pockets onto the mesh for dog toys or treats? It’s a neat way to keep everything organized and makes for a cute detail.
Pro Tip:
For extra breathability, select mesh that has UV protection if your pup loves sunbathing. This guarantees that while they lounge, they’re not just comfy but also protected from harsh rays. Plus, think of it as a way to make your dog the coolest kid in the park.
Creating mesh side panels is a simple yet effective way to not only enhance your DIY raised dog bed but also show your dog that you care about their comfort and style. It’s a project you can feel good about—and your pup will love it.
7. Non-Slip Paw Print Feet
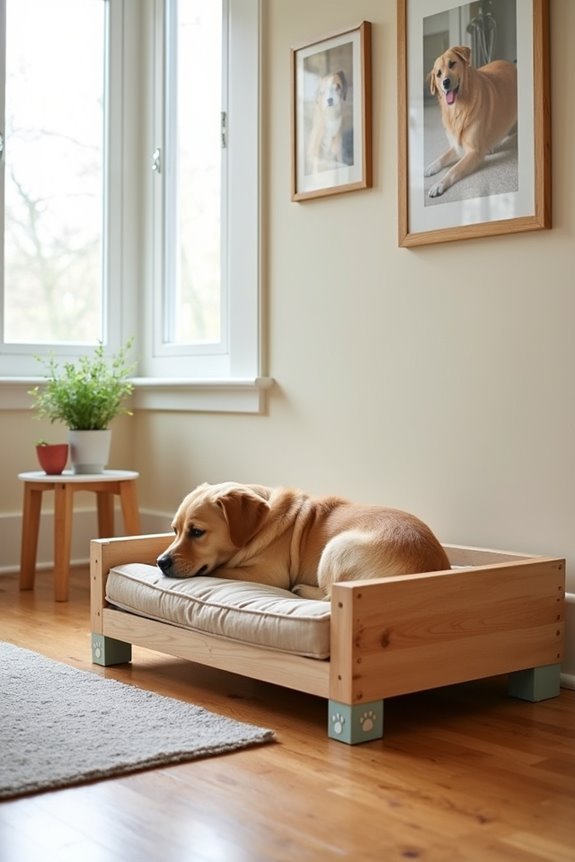
Creating a raised dog bed is a fantastic way to give your pup a cozy sleeping spot, but what about making certain it stays in place? Enter the non-slip paw print feet. These little guys not only keep the bed from sliding around on your floors, but they add a fun decorative touch as well. Plus, your dog can jump in and out without the risk of a slip and slide. Who doesn’t want their pup’s bed to look cute and be safe?
Materials Needed:
- Furniture coasters or rubber pads: 4 pieces to fit your bed frame’s legs.
- Paw print stickers or stencil: To add that adorable detail.
- Spray adhesive or craft glue: For securing the stickers to the pads.
- Scissors: Just in case you need to trim anything.
- Measuring tape: To confirm your pads fit perfectly.
- Cleaning supplies: To wipe down surfaces before applying your stickers.
Step-by-Step Instructions:
- Choose Your Pads: Head to your local store (or online) and pick out coasters or rubber pads that are the right size for your dog bed’s legs. They should be sturdy enough to hold up against your dog’s rambunctious movements.
- Clean the Surface: Before attaching your cute paw print stickers, make sure the pads are clean. A little rubbing alcohol on a paper towel goes a long way. You want the glue to stick, not just sit there clueless.
- Measure and Cut (if needed): If your pads are larger than your dog bed’s legs, grab those scissors and trim them down. You want a snug fit, so measure twice and cut once, right?
- Stick on the Paw Prints: Using your spray adhesive or craft glue, carefully apply the paw print stickers or stencils to the top of each pad. If you’re using stencils, make certain they’re lined up straight – no one wants a crooked paw.
- Let Them Dry: Allow the adhesive to dry completely before attaching them to the bed. Go ahead and take a break; maybe get some treats for your pup while you wait.
- Attach to the Bed: Place a non-slip paw print foot at each leg of the bed frame. Press down firmly to make sure they adhere well. You should feel like a proud parent as you witness your dog’s new bed take on its cute new foundation.
- Final Check: Give the whole setup a gentle shake. If everything feels secure and looks adorable, you’re ready for some serious naptime with your pup!
Optional Add-ons/Variations:
- Colorful designs: Instead of just basic paw prints, consider using bright patterns or even themed patterns to match your home decor. Your dog’s bed can become a real statement piece.
- Seasonal accents: Why not change out the stickers seasonally? Paw prints for fall, snowflakes for winter—your dog’s bed can always be in vogue.
Pro Tip:
If you’re worried about scratches on your floors, look for pads that are specifically designed to be floor-safe. A little extra care now can save you from wear and tear down the road, allowing your pup’s bed to be both stylish and practical.
Extra Tips & Ideas
Even if you think you’ve nailed the perfect design for your DIY raised dog bed, there are always a few extra tips and ideas that can elevate your project.
For instance, consider painting or staining the wood to match your room’s decor. A splash of color can really make a difference, adding some fun, creative design elements.
And don’t forget about blankets—opt for something cozy that speaks to your pet’s personality. It’s like their little throne, right?
If you’re out of DIY inspiration, hop on Pinterest and soak in others’ designs.
Ultimately, think about adding a personalized nameplate. Your dog deserves some flair, too.
Who knew a bed could be so stylish?
Frequently Asked Questions
What Materials Are Best for Constructing a DIY Raised Dog Bed?
For your raised dog bed, consider using durable wood types like pine or cedar. Pair it with comfortable cushion options such as memory foam or thick pet mats, ensuring your furry friend sleeps well and stays cozy.
How Do I Determine the Appropriate Size for My Dog’s Bed?
Choosing the right bed size for your dog is like finding the perfect pair of shoes. Follow size guidelines based on dog breeds, measuring your furry friend’s length and width to guarantee a comfy fit.
Can I Paint or Stain the Bed? Will It Be Safe?
Yes, you can paint or stain the bed using non-toxic paints or safe finishes. Just make certain they’re specifically labeled as pet-friendly, so your dog stays safe while enjoying their comfy, personalized space.
How Do I Ensure Stability and Sturdiness in the Design?
To guarantee stability and sturdiness, use supportive frames and focus on weight distribution. Reinforce corners with brackets, choose durable materials, and consider a wider base to prevent tipping. Your design will benefit from these enhancements.
What Maintenance Is Required for a DIY Raised Dog Bed?
Like a garden needs tending, your dog bed requires regular cleaning methods to remove dirt and odors. Inspect for wear and follow repair tips to maintain its strength—ensuring it remains a cozy haven for your furry friend.
Conclusion
So, why not give your dog the gift of comfort with a DIY raised bed? It’s not just a cozy spot; it’s a fun project that lets you flex your creative muscles (or at least your measuring tape skills). Plus, you’ll feel pretty proud seeing your pup lounge in their personalized haven. And trust me, they’ll thank you with every wag and snuggle. Who knew being a pet parent could come with such stylish perks? Happy building!