
Did you know that creating a cozy bed for your dog can greatly boost their happiness and comfort? It’s true! With some simple DIY ideas, you can transform any corner of your home into a snug retreat for your furry companion. Imagine a personalized blanket, a memory foam layer, or even a reversible pillow, all tailored to your dog’s needs. Want to know how to make it all happen? Stick around for some heartwarming tips and tricks.
Cozy Fabric Choices for Warmth
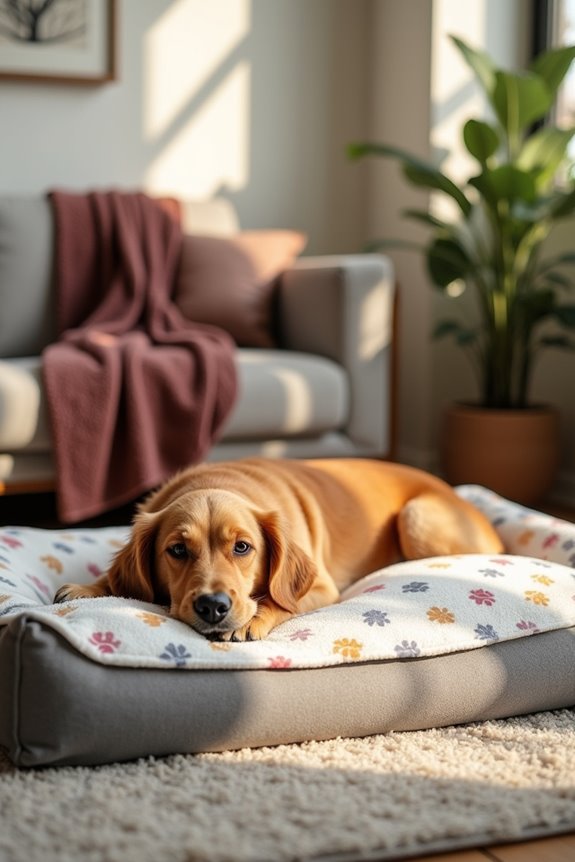
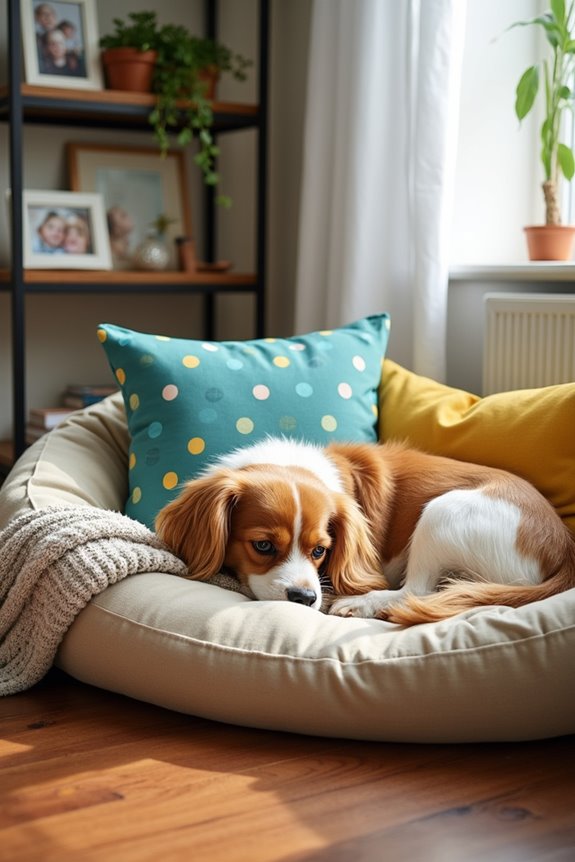
When you think about your pup snuggling up in their bed, you probably want them to feel as cozy as they do when they curl beside you on the couch, right?
For a dog bed DIY project, choose fabric that screams comfort. Fleece is a top pick—it’s soft, warm, and ultra-snuggly. If you’re feeling bold, think about using a faux fur for that luxe touch; I mean, who wouldn’t want their pup to feel like royalty?
Don’t forget about durability; fabrics like canvas or denim can withstand some serious chew time.
And hey, if you want to add a splash of color, try mixing patterns. Your dog won’t care, but you’ll love how it vibes with your decor. It’s a win-win!
Our Collection
When it comes to creating the perfect dog bed, our collection offers some amazing options.
Think about a memory foam comfort layer for that luxurious feel, or a chew-resistant cover if your pup has a gnawing habit—trust me, I know that struggle all too well.
Plus, with personalized embroidered blankets and custom sizes, you can give your furry friend a bed that’s not just comfy but also uniquely theirs.
1. Memory Foam Comfort Layer
Have you ever watched your dog shuffle around their bed, looking for a comfortable spot to settle down? It’s heart-wrenching. That’s why creating a memory foam comfort layer for your dog’s bed is an absolute game-changer. Not only does it save you money compared to buying a fancy new bed, but it also guarantees your furry friend gets the cozy support they need. Plus, it’s a fun little project to engage in on a quiet afternoon. Your pup will thank you, and who doesn’t love a happy, well-rested dog? Additionally, incorporating a luxury dog bed will elevate your pet’s comfort to new heights.
Materials Needed:
- Memory foam mattress topper (cut to your dog’s bed size)
- Fabric cover (you can use fleece, cotton, or upholstery fabric)
- Measuring tape
- Scissors
- Sewing machine or needle and thread
- Pins (to hold the fabric while sewing)
- Non-slip fabric (optional, for the bottom)
Step-by-Step Instructions:
- Measure Your Dog’s Bed: Start by measuring the dimensions of your dog’s current bed. You want your memory foam to fit perfectly, so get those numbers straight. Width, length, and depth are key here.
- Cut the Memory Foam: Once you have your measurements, take the memory foam mattress topper and carefully cut it to the right size. No one wants foam sticking out like an awkward teenager at a dance.
- Prepare Your Fabric Cover: Cut your chosen fabric to size. Make sure to add a few extra inches on all sides for seams. If you’re feeling brave, you could even get a snazzy pattern that matches your home decor.
- Sew the Sides: Fold the fabric around the memory foam, making a pocket, and pin it in place. Sew up the sides with a sewing machine or by hand. Just think of it as creating a cozy blanket specifically for your dog’s new comfort layer.
- Finish with Non-Slip (Optional): If your pup tends to slide around on the floor when getting in or out of bed, attach a non-slip fabric to the bottom of the foam. It can help keep the bed stable and guarantee a dramatic dog leap is injury-free.
- Slide It In: Once everything is sewn up, gently place the memory foam into the fabric pocket, making sure it fits snugly. Now, it’s time for the big reveal.
- Test It Out: Call your dog over and observe the blissful moment when they discover their newly comfy spot. It’ll be like the scene in a movie when the hero finally finds true love.
Optional Add-ons/Variations:
- Personalize the Cover: If you’re feeling artsy, you could add some paw prints or your dog’s name to the fabric using fabric paint or embroidery. Think of it as their own little throne.
- Mix and Match Fabrics: Use a combination of vibrant colors or patterns for a playful touch. Your pup’s bed could become a funky piece of home décor that sparks joy.
Pro Tip:
Before using your new memory foam layer, allow it to air out for a day or two to get rid of any odors. This is especially important with memory foam, which sometimes has a smell right out of the package. Safety first—your dog deserves the best, odor-free comfort.
2. Personalized Embroidered Dog Blanket
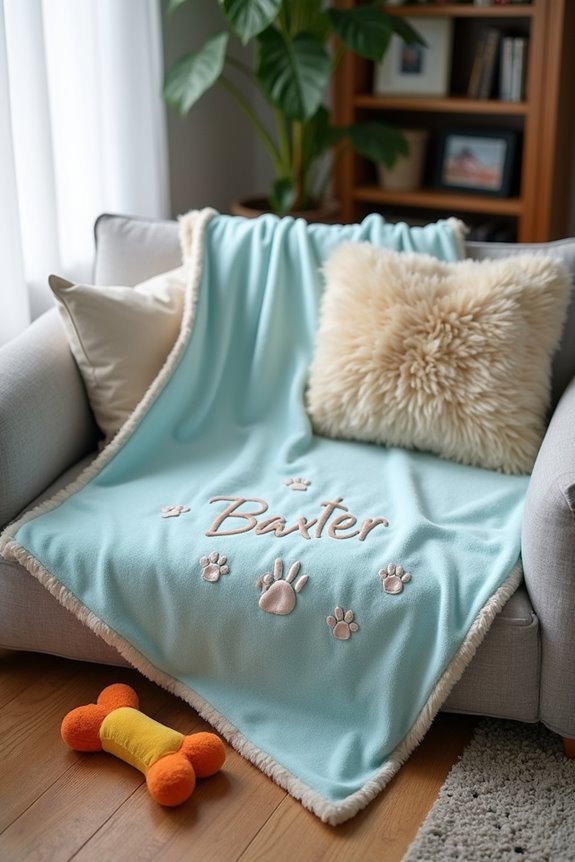
Have you ever wanted to give your dog a gift that keeps them warm while also showing off your unique flair? Enter the personalized embroidered dog blanket. Not only does this cozy accessory add a touch of style to your dog’s space, but it also provides that extra warmth your furry friend deserves. These adorable blankets often come in designer dog clothes styles that reflect your pup’s personality.
Plus, it’s a thoughtful project that lets you save money and create something special for your pup, making them feel cherished every time they snuggle up.
Materials Needed:
- Soft fleece or cotton fabric (enough for your desired blanket size)
- Embroidery thread in your chosen colors
- Embroidery needle (or a sewing machine with an embroidery attachment)
- Fabric scissors
- Measuring tape
- Embroidery hoop (optional, but helpful)
- Iron for smoothing out wrinkles
- Personalization template or design (you can sketch it or print it out)
Step-by-Step Instructions:
- Choose Your Fabric Size: Decide how big you want the blanket to be. A great size for a dog blanket is around 30″ by 40″, but that’s totally up to you and your pup’s size. Measure out your fabric, and cut it neatly.
- Design Your Personalization: Think about what you want to embroider—your dog’s name, a cute phrase, or maybe even a paw print. Sketch out your design on paper first or use a computer for a clear template.
- Prepare to Embroider: Stretch your fabric in an embroidery hoop if you have one; it keeps your fabric taut so you can create cleaner stitches. This is also the moment to thread your needle with the embroidery thread, and it’s time for some creativity.
- Start Stitching: Carefully follow your design as you embroider. Take your time; it’s okay if it’s not perfect. My first attempt looked like a 5-year-old’s art project (which, let’s be honest, is sometimes the charm). Just keep going, and soon you’ll be amazed by your handiwork.
- Finish the Edges: Once you’ve completed your embroidery, check the edges of your fabric. Use a sewing machine (or your trusty needle and thread) to sew around the perimeter of the blanket to prevent fraying. If you’re feeling fancy, you could use a zigzag stitch.
- Iron and Smooth: Give your blanket a gentle iron to remove any wrinkles and give it that polished look. Just be careful not to burn yourself—or, you know, melt the fabric. Trust me, I’ve been there.
- Gift It to Your Pup: Watch with delight as you give your dog their new blanket. You might even find them getting all cuddly and cozy, enjoying the warmth of something made just for them.
Optional Add-ons/Variations:
- Choose Fun Fabrics: Instead of a plain blanket, pick fabrics with fun patterns or colors that reflect your dog’s personality. Maybe a bright plaid or a soft pastel with cute bones on it.
- Add Doggie Treat Pockets: Sew a small pocket onto one side of the blanket where you can store treats for easy access during snuggle time.
Pro Tip:
When selecting your fabric, go for the softest material you can find. Dogs love comfort, and a cozy blanket can be a significant upgrade from that old bedraggled towel they’ve been using.
Also, make certain that your stitching is secure; no one wants a rogue thread coming loose mid-cuddle.
Creating a personalized embroidered dog blanket is simpler than it sounds and allows you and your pup to share a special memory. Happy crafting!
3. Custom Size Options Available
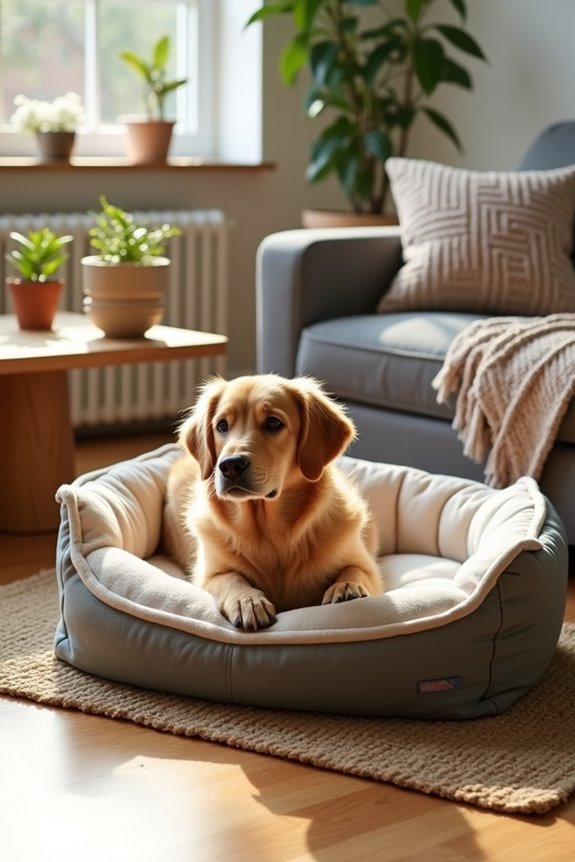
As dog lovers, we recognize that every pup deserves their own comfy space—regardless of size. A custom-sized dog bed guarantees that your furry friend has just the right amount of room to stretch out and lounge. Investing in a high-quality premium dog beds orthopedic can also provide additional support for your pup’s joints and help alleviate discomfort as they age.
Plus, crafting your own bed can save you some serious dollars compared to store-bought options. Let’s create something that’s not only practical but also fits right into the style of your home.
Materials Needed:
- Fabric of your choice (soft fleece, cotton, or a durable alternative)
- Soft padding or old blankets to fill the bed
- Sewing machine (or needle and thread for a hand-sewn option)
- Measuring tape
- Fabric scissors
- Straight pins or fabric clips
- Iron and ironing board (for a neat finish)
- Pattern or measuring guide for bed size
Step-by-Step Instructions:
1. Measure Your Dog: Get your pup to lie down in their favorite sleeping position. Measure the length and width, adding a few extra inches to guarantee a comfy fit. Remember, we want them to be cozy, not cramped.
2. Cut Your Fabric: Decide how thick you want the bed to be and cut two pieces of fabric to match the dimensions you measured. If you’re making a cushy bed, don’t skimp on padding!
3. Pin It Together: Place the two pieces of fabric together, right sides facing in. Use straight pins or fabric clips to secure the edges.
It’s like a mini fashion show for your dog’s bed—just with less glamour and more fluff.
4. Sew the Edges: Using your sewing machine, stitch around the edges, leaving a gap of about 6 inches on one side. This will allow you to flip everything right-side out later.
If you’re hand-sewing, take your time here. Tight stitches help keep the bed together; we don’t want any fluff escaping.
5. Turn It Right-Side Out: Pull the fabric through the gap you left, so the right side is out. This is where the magic happens—watch your creation unfold.
6. Fill It Up: Stuff your newly-formed bed with the padding. You can use old blankets, foam, or store-bought stuffing. Make sure you fill it evenly for maximum comfort.
Dogs deserve a plush spot, after all.
7. Sew It Closed: Once it’s filled to your liking, hand-stitch the gap closed. This is your final touch, so make sure it’s secure. Your pup will thank you every time they snuggle in.
Optional Add-ons/Variations:
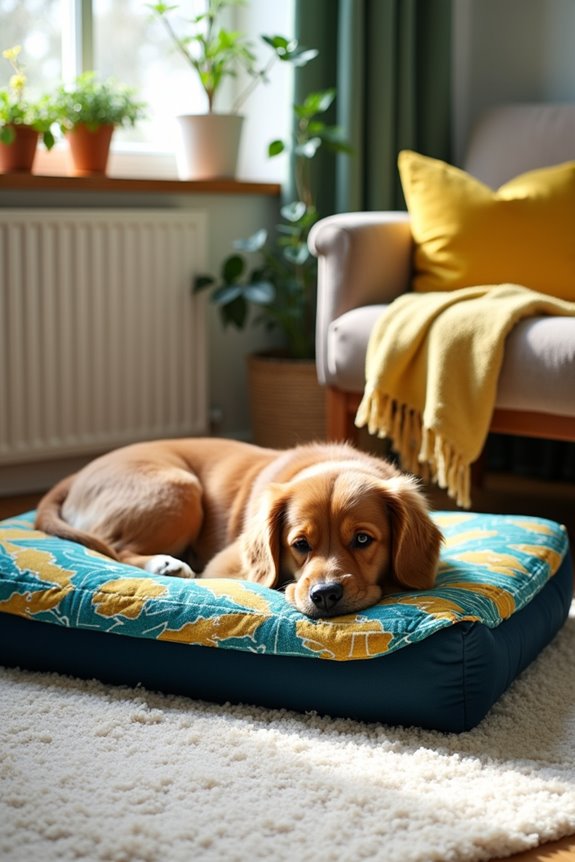
- Fabric Patterns: Experiment with prints and colors that match your home decor. If you like a bit of flair, try using themed fabric—like polka dots or paw prints—for a playful touch.
- Water-resistant Bottom: For those indoor-outdoor pups, consider adding a layer of water-resistant fabric on the bottom to protect against spills or muddy paws.
Pro Tip:
Before cutting your fabric, wash it. This helps shrink any excess fabric and guarantees your bed stays the right size after washing.
Trust me; you don’t want to make a custom bed that turns into a dog-sized pancake after the first wash. That’s a mistake I learned the hard way.
With this custom dog bed, not only will your furry friend have a special place to rest, but you’ll also have the satisfaction of realizing you created something just for them.
It’s a fun project that adds comfort and a personal touch to your home—what’s not to love?
4. Chew-resistant Dog Bed Cover

If your dog is a chewer, you know the struggle of keeping their bed intact. This DIY project will equip you with a chew-resistant dog bed cover, providing a comfy space for your pup while saving you money on replacements. Plus, a stylish new cover can breathe fresh life into your dog’s sleeping area, making it a cozy corner of your home.
Notably, the best premium beds for large dogs prioritize durability in their design.
Materials Needed:
- Heavy-duty fabric (like canvas or ballistic nylon)
- Soft padding or an old dog bed (to use as a base)
- Sewing machine (or needle and thread for hand-sewing)
- Measuring tape
5. Waterproof Liner Protection
If your dog is like mine, they’ve a knack for making messes. From spills to accidents, a waterproof liner for your dog’s bed can be a game-changer. Not only does it protect the cushion from unwanted stains, but it also extends the life of your dog’s bed, saving you money in the long run. Plus, it can make cleaning a breeze. So, let’s keep those beds fresh and comfy for our pups with this easy DIY project. Adding some premium dog fashion accessories can elevate your pup’s style along with comfort.
Materials Needed:
- Waterproof fabric (like vinyl or PUL—polyurethane laminate)
- Soft padding (you can repurpose an old bed or buy new)
- Sewing machine (or a needle and thread for hand-sewing)
- Measuring tape
- Fabric scissors
- Straight pins or fabric clips
- Iron and ironing board
- Velcro strips or a sturdy zipper (for easy washing)
Step-by-Step Instructions:
- Measure the Bed: Start by measuring the dimensions of your dog’s bed. Remember to add an inch on each side for the seams. You might want to have a treat handy—just in case your dog decides that measuring time is a good time for snuggles.
- Cut the Fabric: Cut two pieces of waterproof fabric to match those measurements. This will form the top and bottom of the liner. Just keep the scissors away from the dog’s paws; we don’t need another “oops” moment here.
- Pin It Together: Lay the two pieces of fabric right sides facing each other and pin them along the edges. Give it a gentle pat—there’s something satisfying about seeing them bond.
- Sew the Edges: Use a sewing machine or hand-stitch to sew around the edges, leaving a gap of about 6 inches on one side. This gap is your golden ticket for turning the liner inside out later. Trust me, you don’t want to skip this step.
- Flip It Inside Out: Now comes the fun part. Turn the fabric liner right-side out through that gap. It’s like unwrapping a gift—only it’s for your dog. Use something pointy, like a chopstick, to poke out those corners. They don’t get these treats often, do they?
- Insert Padding: Slip your soft padding inside the waterproof cover and adjust it to fit snugly. This is the moment of truth; your dog is definitely going to approve. You might even see a wag or two.
- Close the Gap: To finish, either hand-stitch or machine-sew the gap closed. A snug closure means no spills will escape, keeping your dog’s bed fresh and clean. You did it; give yourself a pat on the back (or a snack; you deserve it).
Optional Add-ons/Variations:
- Fun Fabrics: Choose waterproof fabric in funky colors or patterns that match your home décor—because even dog beds can have style. Who wouldn’t want to complement their living room with a chic dog bed liner?
- Personalized Sizes: If you have multiple dogs or different-sized beds, consider making liners in various sizes or shapes. Then everyone gets their tailored touch.
Pro Tip:
To save money, always check your local fabric stores for remnant bins or clearance sections. You may find some amazing waterproof fabrics at a fraction of the price. Plus, remember to always wash your liner before use; it needs to be fresh and clean—just like your dog deserves.
Creating a waterproof liner for your dog’s bed not only protects that precious investment, it also adds a layer of comfort to their nap time. So roll up those sleeves, and let’s keep those doggy naptimes as cozy as ever.
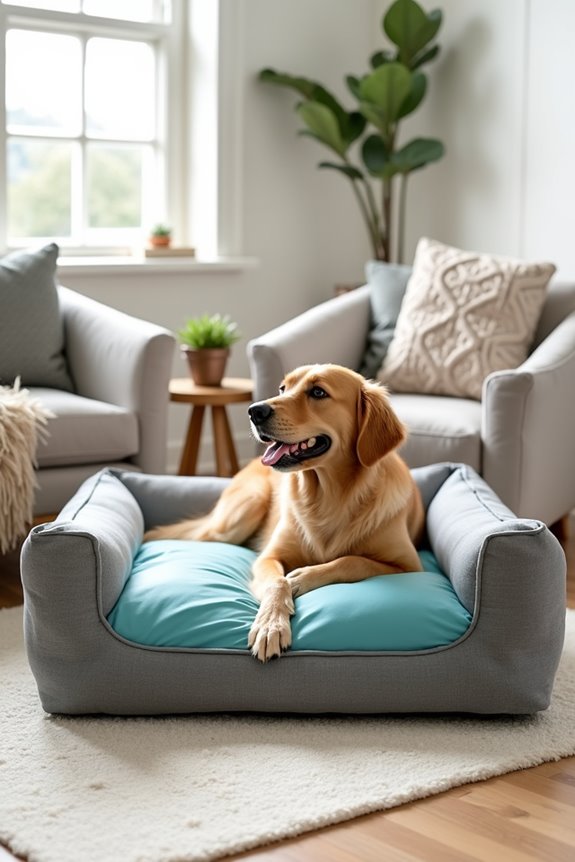
6. Reversible Decorative Dog Pillow
Let’s face it—your dog’s bed doesn’t always match your home décor, and that can be a bit of an eyesore. Enter the reversible decorative dog pillow. This DIY project not only gives your furry friend a comfy spot to rest but also adds a stylish touch to your living space. The best part? You can change the look to suit your mood or the season without breaking the bank. It’s a win-win for you and your pup!
Materials Needed:
- Two types of fabric (your choice of colors or patterns, ideally a durable material for the outside)
- Soft filling (like polyester fiberfill or repurposed old pillows)
- Sewing machine or needle and thread
- Measuring tape
- Fabric scissors
- Straight pins or fabric clips
- Iron and ironing board
- Optional: Velcro or buttons (for a closure)
Step-by-Step Instructions:
- Measure and Cut Fabric: Start by measuring your desired pillow size—typically around 18 x 18 inches for a small to medium dog. Cut two squares of each fabric to these dimensions. Double-check your measurements; I’ve been known to end up with a rogue pillow that wouldn’t fit a Chihuahua.
- Pin Fabric Together: Lay one piece of fabric right side up and place the second piece right side down on top. Pin the edges together, leaving a little space—about ¼ inch—so your seams aren’t too tight. Think of it as making a cozy sleeping bag for your dog.
- Sew the Edges: Use your sewing machine (or hand stitch if you’re in a pinch) to sew around the edges, leaving a gap of about 4-5 inches on one side for turning it inside out. Remember, don’t sew it all shut unless you want your dog to look at you in confusion about their new, very small toy.
- Turn It Right-Side Out: Flip the pillow inside out through that gap you left. Use something with a point, like a chopstick, to poke out the corners nicely—you might find it oddly satisfying.
- Add Filling: Now, it’s time to stuff it! Fill the pillow with the soft filling, ensuring it’s nice and fluffy. Your dog will appreciate the extra comfort, although be prepared for them to eye you intently, wondering if this is their new chew toy.
- Close the Gap: Hand-stitch or use a sewing machine to close the gap. Be sure to secure those seams tightly; the last thing you want is a fluffy explosion when your dog does their happy dance.
- Give It a Fluff: Once you’ve closed everything up, give the pillow a good fluff and make sure it’s everything you hoped for. Then present it to your dog like it’s the new crown jewel of their bed, and wait for that approving tail wag.
Optional Add-ons/Variations:
- Fabric Choices: For a pop of personality, use patterned fabric on one side—maybe polka dots or fun prints—and a solid color on the other. You could even personalize it with your dog’s name if you’re feeling crafty.
- Size Adjustments: Make smaller or larger versions for different dog sizes, or create a set of different shapes, like bones or hearts, to mix things up!
Pro Tip:
If you’re worried about durability, consider using fabric with a stain-resistant treatment or adding a lining inside the pillow. This not only helps prevent accidents but also makes it much easier to clean—great news for those of us who are a little bit of a clean freak; I’m definitely raising my hand here.
Now you’re all set to create a reversible decorative dog pillow that’s not only functional and budget-friendly but also stylish! Happy sewing!
7. Unique Patterned Dog Bed
Let’s elevate your dog’s sleeping game with a Unique Patterned Dog Bed. This DIY project not only offers your furry friend a cozy and personalized space to rest, but it can also save you money compared to store-bought options. Plus, it’ll beautify your home with your own unique flair. Trust me, once you see your pup curled up on this custom masterpiece, you’ll be patting yourself on the back for this DIY win.
Materials Needed:
- A large piece of durable fabric (canvas, cotton, or fleece; choose a fun pattern!)
- Heavy-duty sewing thread
- Soft filling (like foam, polyester stuffing, or repurposed cushions)
- Sewing machine (or needle and thread for hand sewing)
- Measuring tape
- Fabric scissors
- Straight pins or fabric clips
- Optional: Non-slip backing material (to prevent slipping)
Step-by-Step Instructions:
1. Design Your Bed Size: First, decide how big you want the dog bed to be based on your pet’s size. I usually go for a rectangular design measuring about 30 x 40 inches for my Golden Retriever, but you might want to scale it to fit your pooch.
2. Cut Your Fabric: Once you’ve got your size, cut two rectangular pieces of fabric (one for the top and one for the bottom). Make sure they’re exactly the same size. You don’t want any surprises when it’s time to sew, unless you’re into abstract art… and poorly executed pet beds.
3. Pin ‘Em Together: With the fabric right sides facing each other, pin along the edges, leaving a gap of about 6 inches on one side for stuffing. Think of it like tucking your dog in for a deep nap.
4. Sew the Edges: Now it’s time to sew. Go around the edges using a sewing machine or hand-sewing, making sure to backstitch at the beginning and end for extra durability. Just keep the gap unstitched—that’s where the fluff goes.
5. Flip and Stuff: Once you’ve got it all sewn up, flip the bed right-side out. Using your fingers (or a tool if you’re fancy), poke the corners out. This is the stage where you can do a little happy dance because it’s starting to look like a real dog bed.
Next, stuff it to your dog’s desired fluffiness level.
6. Close That Gap: After filling it up, it’s time to hand-stitch that opening closed. Just make sure to pull tight so no stuffing escapes during an enthusiastic dog dream.
7. Final Fluff and Style: Give the bed a final fluff, smoothing out any bumps, and voila! It’s ready for your pup to reclaim their throne.
Optional Add-ons/Variations:
- Want a pop of fun? Consider using two different fabrics for each side of the bed—perhaps a vibrant print on one and a solid color that matches your decor on the other.
- You could also add a pillow pocket or a cozy blanket stitched to the side for a little added extravagance. Your dog will adore being all fancy and warm.
Pro Tip:
Always wash and dry your fabric before starting. This helps prevent shrinkage after you’ve crafted your dog bed masterpiece.
And don’t forget to give it a good shake after each wash to keep it looking fresh and stylish—just imagine the looks from your friends when they see your creation instead of a store-bought bed!
Extra Tips & Ideas
Have you ever thought about how much your dog’s bed can reflect their personality?
You might want to contemplate adding personal touches, like their name embroidered on a pillow. It’s simple but really special.
Maybe throw in some quirky, fun fabric—anything that screams “them.” If you’re feeling crafty, try adding a removable cover for easy washing. Trust me, that’s a lifesaver when you realize Fido decided to roll in mud.
For a touch of luxury, contemplate adding a small blanket they can snuggle with. They might ignore it, but it’s worth a shot.
Don’t forget, sometimes you just need to slap a tennis ball toy in the corner. After all, isn’t a dog’s bed a little slice of doggy heaven?
Frequently Asked Questions
How Do I Measure My Dog for a Custom Bed?
To measure your dog for a custom bed, measure their length from nose to tail and their width while lying down. Add a few inches for comfort, then use these dimensions to choose or create the perfect bed.
What Materials Are Dog-Friendly and Safe for Beds?
You’ll want to use materials like organic cotton, hypoallergenic foam, and non-toxic fabrics. Avoid synthetic materials and harmful chemicals, ensuring your dog’s bed is cozy, safe, and supportive for their restful sleep and overall health.
Can I Machine Wash My DIY Dog Bed?
Absolutely, you can machine wash your DIY dog bed! Just make sure the materials are durable enough. After all, isn’t it comforting to have a clean space for your furry friend to snuggle up?
How Often Should I Replace My Dog’s Bed?
You should replace your dog’s bed every 1 to 2 years, depending on wear and tear. Check for odors, stains, or lumps; if you notice any, it’s time for a new bed. Your pup deserves comfort!
What Is the Best Filling for a Dog Bed?
Choosing the best filling for a dog bed is like selecting the right pillow for yourself; memory foam offers comfort and support, while shredded paper is eco-friendly. You’ll want your pup sleeping soundly and securely.
Conclusion
Transforming your dog’s bed into a cozy retreat isn’t just a fun project; it can help your pup feel more secure and happy. After all, a well-loved bed can become a dog’s happy place. Have you ever noticed how dogs burrow into their blankets? It’s their way of seeking comfort. So, why not create a space that reflects their personality while ensuring they cuddle up in style and comfort? Your creative flair can make all the difference for your furry friend.