
If you’ve ever thought about building a dog run but felt overwhelmed by the costs, you’re not alone. It can be tough, right? But trust me, there are actually some affordable ways to create a safe space for your furry friend without emptying your wallet. Think wooden pallets or flexible wire mesh – easy both to find and to work with. Curious about how these solutions can transform your yard into a pup paradise? Stay tuned.
Creative Fencing Options
When you think about building a dog run, you might picture those fancy, expensive wooden fences that seem to pop up in all the home improvement shows.
But let’s keep it real—DIY dog run cheap is totally doable. Instead of splurging on the latest trends, consider using chain-link fencing.
It’s durable, easy to install, and can often be found for a fraction of the cost.
Our Collection
When it comes to fencing your dog run, you’ve got options galore.
Whether you fancy some rustic wooden pallets or prefer the sturdy vibe of chain link panels, there’s something to fit every budget and style.
Let’s explore our collection and find out which fencing solution suits you and your pup best – because a happy dog means a happy life, right?
1. Wooden Pallet Fencing Solutions

Are you looking for a budget-friendly way to create a cozy dog run for your furry friend? Well, wooden pallets are your answer! This DIY project not only saves you money but also provides your pup with a secure outdoor space to play and relax, while adding a rustic charm to your backyard. Plus, reusing pallets is environmentally friendly—talk about a win-win!
Additionally, you can find a variety of premium outdoor dog kennels that can complement your homemade run for added comfort.
Materials Needed:
- Wooden pallets (check local classifieds or hardware stores)
- Drill and drill bits
- Screws (wood screws for building)
- Sandpaper (medium and fine grit)
- Paint or wood sealant (optional)
- Measuring tape
- Level
- Safety gloves and eyewear
Step-by-Step Instructions:
1. Gather and Prepare Your Pallets: Start by collecting enough pallets for your desired area. Give them a good inspection—make sure they’re safe and sturdy.
If they’re rough or splintered, sand them down with medium grit, followed by fine grit for a smooth finish. Safety first, folks.
2. Measure Your Space: Use a measuring tape to mark out the area where you want your dog run. This will help determine how many pallets you’ll need.
You don’t want to end up with a chicken coop instead of a puppy paradise.
3. Frame It Up: Stand the pallets upright to form the walls of your dog run. Begin with one side and use your drill to secure the pallets together with screws.
Make sure they’re level as you go—trust me, you don’t want a crooked fence.
4. Build the Enclosure: Continue attaching pallets for each side, creating a rectangular space.
If your dog is especially strong, consider reinforcing the corners with extra screws or even a wooden stake at each.
5. Create an Entry Point: Choose one of the pallet sections for a door. You can hinge it or just leave an opening and place a simple wooden plank to cover it.
Your pup might appreciate a tulip-shaped doorway, but simple works just as well.
6. Final Touches: Once the structure is up, paint or apply wood sealant if you want extra protection and flair.
Maybe you’ll even get fancy and decorate it with paw prints? I personally opted for a color I thought matched my dog’s fur. Spoiler alert: that color wasn’t it.
7. Set Up for Safety and Fun****: Before you let your dog loose, check for any sharp edges or gaps where a pup might squeeze through.
Add some comfy doggy mats or toys to the run to make it special.
Optional Add-ons/Variations:
– Painted Pallet Designs: Want to personalize your dog run? Consider painting the pallets in fun, bright colors.
Just remember, use non-toxic paint to keep your four-legged friend safe.
– Add Some Greenery: You could attach hanging planters with herbs or flowers for a cute, garden-like ambiance—the perfect spot for your dog to sniff and lounge.
Just make sure the plants are pet-safe.
Pro Tip:
Always remember to check your area’s local regulations regarding fencing. Some places have specific rules about how high or secured a run must be, especially if you live near bigger pups.
And if you can, layer the bottom of the run with gravel or turf to keep the mud (and doggy messes) down.
After all, a tidy dog is a happy dog, right?
Enjoy creating a paw-sitively delightful haven for your furry friend. Happy DIY-ing!
2. Chain Link Fencing Panels
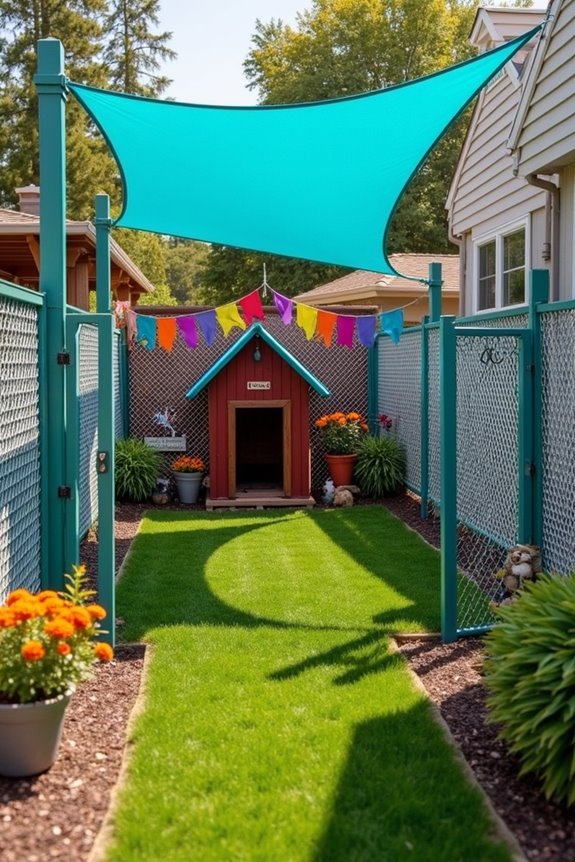
Have you ever thought about how a sturdy chain link dog run could transform your backyard into a safe haven for your furry friend?
This DIY project not only offers peace of mind with its security but also allows your pup to enjoy the great outdoors without worry. Plus, chain link panels are often more affordable than you might think, making this project budget-friendly while upgrading your home’s outdoor aesthetic. Investing in essential service dog training equipment can also help facilitate training sessions right in your newly created space.
Materials Needed:
- Chain link fencing panels (measure the area you want to cover)
- Chain link posts (enough for your perimeter, typically one every 6-10 feet)
- Post hole digger (or a shovel if you’re feeling ambitious)
- Concrete (to secure your posts)
- Gate latch and hinges (for your entryway)
- Level (to verify everything is straight and true)
- Measuring tape
- Safety gloves and eyewear
- Optional: Wire cutters and fencing ties (for flexibility in securing the panels)
Step-by-Step Instructions:
1. Outline Your Area: Start by measuring the area where you want your dog run. Use the measuring tape to mark corners and straight lines with stakes or spray paint. This way, you’ll know exactly how much fencing you need. No more guessing games, right?
2. Dig the Post Holes: Grab your post hole digger, and get to work. Dig holes about 2 feet deep (this will help keep your fence sturdy).
Space the holes at intervals based on the size of your panels—typically 6-10 feet apart. If you weren’t excited about digging before, you might be thinking about ice cream later. Just saying.
3. Install the Posts: Place your chain link posts into the holes, making sure they’re level. If they’re not straight, it’ll drive you up the wall later when you try to attach the panels.
Once your posts are good to go, pour in the concrete to secure them. Give it about 24 hours to set—patience is key.
4. Attach the Chain Link Panels: This part is where the magic really begins. Starting at one end, lean a chain link panel against the posts and use fencing ties to attach it.
Work your way around, verifying each panel is tight against the last. Sometimes it can feel like solving a puzzle, but remember, it’s just fencing. You got this.
5. Create Your Gate: Choose a section for the gate and install it using hinges on one side. Attach the latch on the opposite.
Enjoy this much-needed moment of triumph—a gate you can open with ease is worth celebrating.
6. Check for Bumps and Gaps: Once your panels are up, evaluate the fencing for any gaps or loose areas. You want to make sure your dog can run wild without a Houdini escape plan.
If you find any weak spots, use extra fencing ties or wire to secure those areas.
7. Add Finishing Touches****: Think about adding a tarp or shade sail on hot days or some dog-safe plants around the perimeter to spruce things up.
Your pup deserves a charming outdoor run, after all.
Optional Add-ons/Variations:
– Spray Paint: Want to add a splash of color? Use spray paint to color coordinate your panels.
Maybe a bright blue that complements your dog’s collar? Or a neutral to blend in. The choice is yours.
– Decorative Elements: Consider hanging some outdoor dog-friendly art or signage on the fence—or even some fun flags. Make it a personalized spot that both you and your dog can enjoy.
Pro Tip:
Always check local building codes before starting your project; it’s a quick way to verify you’re not in for any unexpected fines.
And remember, if your pup seems to have separation anxiety, introducing them to their new space gradually can help them adjust better. Happy building!
3. Wire Mesh Fencing Rolls
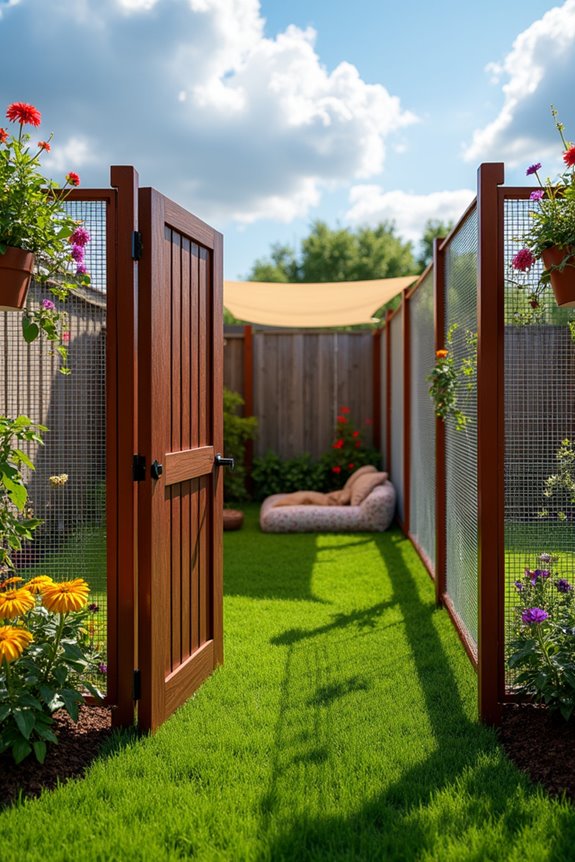
If you’re looking for a simple and cost-effective way to provide your dog with a safe and enjoyable outdoor space, wire mesh fencing rolls might just be your new best friend. Not only is this DIY project a fantastic solution for creating a dog run, but it’s also budget-friendly and super adaptable to fit any yard design you have in mind. Plus, it saves you the hassle of constantly keeping an eye on your pup in the backyard. Let’s explore how to make it happen.
Materials Needed:
- Wire mesh fencing rolls (the size will depend on your dog run dimensions)
- Wooden or metal posts (enough to anchor the fencing securely)
- Post hole digger or shovel
- Concrete (to stabilize your posts)
- Gate latch and hinges (for easy access)
- Heavy-duty wire ties or fence clips (to attach the mesh to the posts)
- Level (to verify everything is straight)
- Measuring tape
- Safety gloves and eyewear
- Optional: Wire cutters (for adjusting the mesh as needed)
Step-by-Step Instructions:
1. Plan Your Space: Before you begin, take a moment to visualize the area where the dog run will go. Use your measuring tape to determine length and width, and mark the corners. A little planning goes a long way, saving you headaches later.
2. Dig Holes for the Posts: Now it’s time to channel your inner earth mover. Using your post hole digger, create holes for your posts, spacing them about 6 to 8 feet apart. You want these holes deep enough (about 2 feet) to keep your fence steady, so don’t skimp on that digging.
3. Set the Posts: Place each post into its hole, then make sure it’s level before filling with concrete. Give it at least 24 hours to dry. This will help assure your fence doesn’t lean or wobble, which is vital for keeping your dog secure. Think of it as a mini foundation for happy puppy playtime.
4. Attach the Wire Mesh: Unroll the wire mesh fencing and start at one end, attaching it to the posts using heavy-duty wire ties or clips. Go along the perimeter, pulling the mesh taut as you go. If you find yourself getting tangled, just take a breath; it happens to the best of us.
Keep your wire ties evenly spaced to help it stay in place.
5. Create a Gate: Choose an opening for the gate, then install it using hinges on one side and the latch on the opposite side. A gate isn’t only practical but essential to your dog run—plus, it’s satisfying to swing it open and close.
6. Inspect Your Work: Once everything is set and looking fab, check for any sharp edges or gaps that could let your pup escape. Smooth out anything rough and secure the bottom of the mesh to prevent any digging. Better safe than sorry, right?
Optional Add-ons/Variations:
Want to get creative? Consider painting your posts in a fun color to match your home or garden theme. Or, why not add some decorative accents like hanging plants or a small canopy? This way, your dog run can be a chill space for your pup and a charming feature in your yard.
Pro Tip:
To keep your wire mesh fence more durable, treat it with a weather-resistant spray. This little act can prolong its life, making sure it stands strong through all seasons. Plus, remember to check the fence regularly for any wear and tear or rust that may develop over time.
With a little elbow grease and some friendly planning, your dog run could quickly transform into your pup’s favorite spot. So, roll up your sleeves, and let’s get started—your furry friend is waiting for his new adventure zone. Additionally, consider incorporating outdoor dog kennel panels into your design for added safety and comfort for your pet.
4. Recycled Vinyl Fencing Sections
If you’re looking to give your pooch a safe play area while being kind to Mother Earth, recycled vinyl fencing sections are the perfect DIY project for you. Not only do they create a sturdy and stylish dog run, but they also help keep landfill waste at bay. Additionally, dog run fencing systems are specifically designed to provide a secure and safe environment for your pets.
Plus, with a bit of creativity, you can turn your outdoor space into a vibrant dog haven that you can proudly show off to friends.
Materials Needed:
- Recycled vinyl fencing sections (measure to suit your space)
- Wooden or vinyl posts (to anchor your fence securely)
- Post hole digger or shovel
- Concrete (for securing posts in place)
- Gate latch and hinges (to create an easy access point)
- Heavy-duty screws or brackets (to attach fence sections)
- Level (to make sure everything stands tall and proud)
- Measuring tape
- Safety gloves and goggles
- Optional: Decorative paint or vinyl wraps (for personal touch)
Step-by-Step Instructions:
1. Design Your Dog Run: Start with a good layout plan. Measure how big you want your dog run and outline your design on the ground using spray paint or chalk.
You’re the artist here—make it as big or small as you like. Don’t forget to account for your furniture and any play equipment.
2. Prepare the Post Holes: Grab your trusty post hole digger and start digging. Space those holes about 6 to 8 feet apart, making certain they’re at least 2 feet deep.
This is vital for keeping your fence sturdy because no one likes a dog run that leans like a drunken sailor.
3. Set Your Posts: Place a post into each hole you’ve dug. Use the level to make certain they stand straight—nobody wants a crooked fence.
Fill the holes with concrete and allow them to set for about 24 hours. Go grab a snack while you wait; patience is key.
4. Attach the Fencing Sections: Now, it’s showtime. Start attaching your recycled vinyl fencing sections to the posts using heavy-duty screws or brackets.
Step back occasionally to check for any wobble. You wouldn’t want a playful pup to accidentally topple an unsteady fence.
5. Install the Gate: Find a spot for your gate and attach it using the hinges on one side and the latch on the other.
Give it a test swing—it’s like a sense of accomplishment mixed with a little dance. Your dog will love the access.
6. Finishing Touches: Inspect your handiwork. Walk around the fenced area and check for any loose ends or sharp edges.
If you’re feeling adventurous, consider adding some decorative paint or vinyl wraps to brighten up the fence. It’s your space; make it shine!
Optional Add-ons/Variations:
– Color it Happy: A fresh coat of outdoor paint on your vinyl sections can turn a plain fence into a colorful backdrop.
Choose shades that complement your backyard or even your dog’s favorite toy color.
– Personalized Art: Attach some cute wooden signs or decorations with your dog’s name.
It adds a touch of personalization that will delight visitors and give your dog run a unique flair.
Pro Tip:
Keep your pup’s comfort in mind. Consider adding a shaded area with a simple tarp or awning.
Dogs love to lounge in the shade to escape the blazing sun, and it can help keep them cool during those hot summer days.
Plus, a stylish setup will make your backyard feel more inviting!
5. Bamboo Fencing Alternatives

Creating a chic and functional dog run is a top priority for many dog owners, and bamboo fencing provides a fantastic and affordable option. Not only does bamboo have a natural vibe that blends beautifully with any outdoor space, but it also gives your pup a unique touch to their play area. Plus, incorporating stylish elements like a luxury air fryer can enhance your outdoor gatherings and meals during your downtime with your pet.
If you’re looking to save some cash without compromising on style, this DIY project is for you.
Materials Needed:
- Bamboo fencing panels (measure to fit your area)
- Wooden or metal posts (strong enough for stability)
- Post hole digger or shovel
- Concrete mix or gravel (for securing your posts)
- L-brackets or heavy-duty screws (to attach fencing)
- Gate latch and hinges (for easy access)
- Measuring tape
- Level (to guarantee everything stands correct)
- Safety gloves (to protect your hands)
- Optional: Outdoor-grade sealant (to extend fence life)
Step-by-Step Instructions:
1. Layout Your Area: Start by deciding where you’d like your dog run. Measure out the dimensions, and mark the corners with stakes or spray paint.
Think about the flow and guarantee there’s enough room for your dog to run around.
2. Dig the Post Holes: Use your post hole digger to make holes for your posts. Space them about 6 feet apart, and make each hole at least 2 feet deep.
This depth keeps the fence sturdy, so it doesn’t wobble like it’s been out partying all night.
3. Set the Posts: Place each post in the holes, guaranteeing they’re level.
Take your time here—it’s essential for the fence to stand tall and proud. Once they’re straight, secure them with concrete or gravel, and let them set for 24 hours.
Maybe sneak in a movie during that wait.
4. Attach the Bamboo Panels: Now for the fun part—attach the bamboo panels! Use the L-brackets or screws to secure them to the posts.
Stand back occasionally to admire your progress, and adjust as needed to keep everything tight and neat.
5. Install the Gate: Where’s the fun in a fence without a way in and out? Choose a side for your gate, attach it with hinges, and add the latch.
Practice opening and closing—it’ll give you that special DIY accomplishment feeling, plus it’s just practical.
6. Finishing Touches: Walk around your dog run to check for any sharp edges or loose areas.
You can even add some outdoor-grade sealant to help protect your bamboo from the elements, prolonging its lifespan for years of tail-wagging fun.
Optional Add-ons/Variations:
– Add colorful outdoor cushions or a shaded area with a canopy for your furry friend to lounge in style.
This can turn your dog run from a simple space into an outdoor retreat.
– Consider painting the bamboo panels with non-toxic, outdoor paint to match your home or garden décor—think sophisticate chic versus playful fun.
Pro Tip:
If you’re concerned about longevity, opt for treated bamboo or apply a protective sealant.
This can safeguard against moisture and pests, guaranteeing your dog run lasts longer than your latest Netflix binge.
6. Hog Wire Fencing Panels
Creating a functional and stylish dog run doesn’t have to be complicated or expensive. Enter hog wire fencing panels: a durable, versatile, and surprisingly chic option for dog owners looking to build a safe and secure space for their pups. This DIY project isn’t only budget-friendly but also elevates your yard’s appearance. Your dog will have room to romp safely, and trust me, it’s a great conversation starter at barbecues when your friends ask where you got your amazing setup.
Materials Needed:
- Hog wire fencing panels (measure to fit your space)
- Wooden or metal posts (enough to secure panels)
- Post hole digger or shovel
- Concrete mix or gravel (to anchor the posts)
- L-brackets or heavy-duty screws (for panel attachment)
- Gate latch and hinges (for entry)
- Measuring tape
- Level (to verify everything is even)
- Safety gloves (because we care about your hands)
- Optional: Wood stain or paint (to match your outdoor décor)
Step-by-Step Instructions:
- Plan Your Space: Decide where you want your dog run to go. Measure the area and mark it out with stakes or spray paint. Think about shade, sun exposure, and, of course, how your dog likes to play.
- Dig the Post Holes: Use the post hole digger to create holes for your posts, spacing them about 6-8 feet apart. Aim for at least a 2-foot depth. Trust me, the deeper the holes, the less likely your fence will resemble a wobbly, drunk giraffe.
- Set the Posts: Position each post in its hole and use your level to make sure they’re straight. Pour concrete or gravel around them to hold them in place, and let them set for 24 hours. Go treat yourself to a snack during that wait, you’ve earned it.
- Attach the Hog Wire Panels: Now comes the fun part—attach the hog wire panels to the posts using the L-brackets or screws. Stand back occasionally to appreciate your handiwork. If a panel seems off-kilter, don’t hesitate to fix it. You want this looking sharp!
- Install the Gate: Decide where your entry point will be, then hang the gate with hinges. Add the latch, and voilà! You’ve got an entrance for easy access. Nothing beats the sweet sound of a well-working gate, right?
- Final Checks: Walk around and inspect your dog run. Look for sharp edges or any spots that could use some reinforcement. If you want to add a splash of color, consider staining or painting the wood posts to match your yard’s aesthetic.
Optional Add-ons/Variations:
– If you want to sprinkle in some personality, consider painting the wooden posts in fun colors or designs. You can also customize hog wire by attaching decorative panels or climbing plants to enhance your space. This way, your dog run isn’t just practical—it’s pretty to look at!
Pro Tip:
When setting your posts, keep in mind the future: dogs dig (trust me, I learned this the hard way). Consider burying some chicken wire at the base of your fence to stop any potential escape artists from tunneling out. It’s a small step that adds a lot of peace of mind; after all, your pup’s safety is worth it!
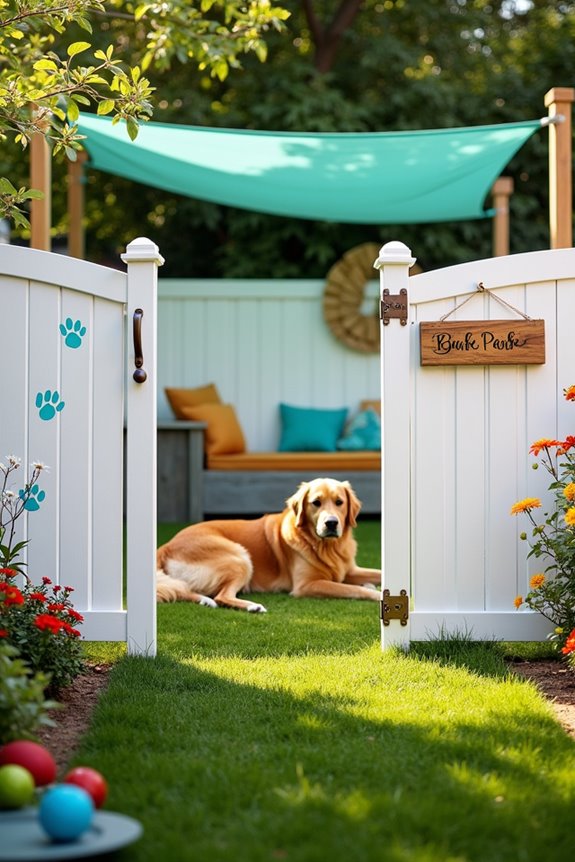
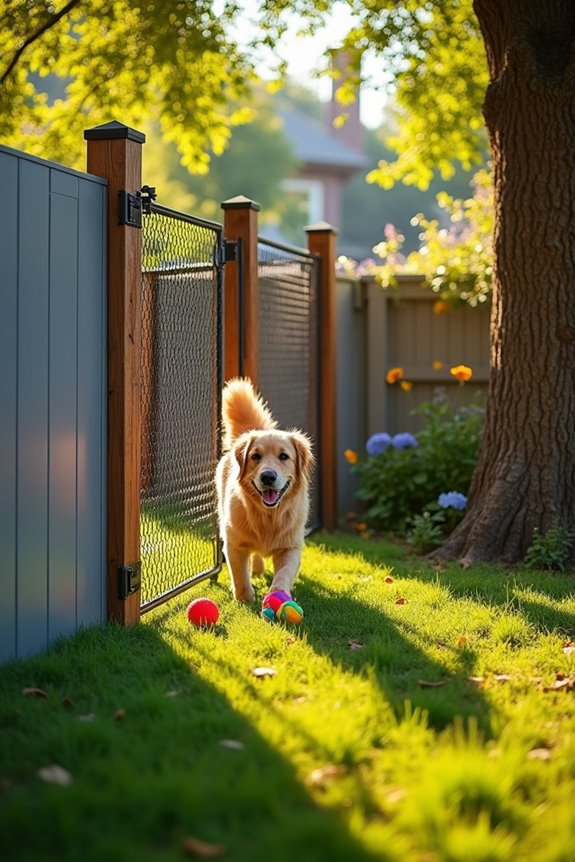
7. Gates for Easy Access

So, you’ve built a stunning dog run with hog wire fencing panels, but what about getting in and out easily? That’s where a gate comes into play. Not only does it provide easy access for you and your furry friend, but it also offers a secure entry to keep your pup safe. Plus, it’s a fantastic touch that brings the whole project together. If you want functionality with a dash of style, let’s explore this DIY gate project.
Materials Needed:
- Wooden or metal gate frame kit
- Hog wire fencing (if you want a consistent look)
- Hinges (heavy-duty for support)
- Gate latch (make it easy to use)
- Wood screws or bolts (depending on your frame)
- Measuring tape
- Drill or screwdriver
- Level (let’s keep everything in line)
- Optional: Paint or wood stain (to match your stylish dog run)
Step-by-Step Instructions:
- Measure the Opening: First up, measure the height and width of the space where your gate will go. Double-check your numbers for a snug fit. Nobody wants a gate that’s floppier than a wet noodle.
- Build the Gate Frame: Using your gate frame kit, assemble the frame. Cut the hog wire to fit inside the frame if you’re adding it for cohesion. Secure it using screws, making sure everything is tight. Think of it as building a small home for your pup—because dogs deserve a bit of luxury too.
- Install the Hinges: Attach the hinges to one side of the gate frame. Firmly fasten them in place. This gate needs to swing smoothly, like a cool dog entering a summer party.
- Set Up the Gate: Position the gate within the opening, securing the hinge side first. Use your level to confirm it sits straight—nobody wants a gate that leans more than a tired dog.
- Attach the Latch: Finally, install the latch on the opposite side. Test it out a few times to make sure it opens and closes easily. If everything sounds good, congratulations! You now have a lovely gate right where you wanted it.
- Finishing Touches: If you want to dress it up a little, now’s the time to stain or paint the gate frame. This will help it blend in or stand out, depending on your style preference. You could even add some cute décor like paw prints or a “Welcome” sign, just to add character.
Optional Add-ons/Variations:
Feeling creative? You could customize your gate with some recycled wood for a rustic look or experiment with fun colors that match your garden.
Or, how about adding a little flower box on top? A burst of greenery could be just what your dog run needs.
Pro Tip:
For added durability, consider opting for a metal frame instead of wood—it’s more resistant to chewing and weather changes.
And, when securing your hinges, place them high up so your pup won’t think of trying to jump over the gate. Because we all know dogs can be sneaky, right?
And just like that, you have a sturdy, stylish gate that compliments your dog run perfectly. From safety to design, it’s a win-win for both you and your furry companion. Happy building!
Extra Tips & Ideas
Even if you think you’ve got it all figured out, there are always a few extra tips and ideas that can take your dog run from just okay to downright spectacular.
Ever considered adding a splash of color? A few plants or dog-safe flowers can brighten things up.
Those clunky old tires lying around? Stack ‘em for a fun climbing adventure for your pup.
And don’t forget about shade—whether it’s a small canopy or strategic trees, your fur baby will appreciate a cool spot to relax.
For fun, toss in some toys or even a kiddie pool on hot days.
Frequently Asked Questions
What Size Should My Dog Run Be for Optimal Space?
Your dog run should ideally be at least 10 feet by 10 feet for small dogs and 20 feet by 20 feet for larger breeds. This provides enough space for your dog to play and explore comfortably.
Can I Use Recycled Materials for Building a Dog Run?
Absolutely, you can use recycled materials for your dog run! Just like a phoenix rises from its ashes, your creativity will transform discarded treasures into a cozy haven where your pup can play and thrive.
How Can I Keep My Dog Safe From Pests in the Run?
To keep your dog safe from pests in the run, install fine mesh fencing, regularly check for standing water, and use natural repellents like essential oils. Regular cleaning also helps minimize pest attraction.
What Are the Best Ground Surfaces for a Dog Run?
The best ground surfaces for a dog run include gravel, mulch, grass, and artificial turf. Each option offers varying benefits, like drainage and comfort, so you can choose what suits your dog’s needs best.
How Do I Introduce My Dog to the New Run?
Introduce your dog to the new run gradually. Start with short visits, using treats to encourage exploration. Stay nearby, allowing them to sniff and adjust. Praise them for being calm, reinforcing positive experiences in their new space.
Conclusion
Building a dog run on a budget can be a fun project, and you don’t need to be a DIY expert to pull it off. Just look at Sarah, who turned her backyard with old pallets and a dash of creativity into a pup paradise. It’s all about finding what works for you and your furry friend. So grab those tools, get inspired, and watch your dog enjoy their new space—it’ll be worth every effort when you see those wagging tails.